Tag Archives: Android

Sideload Zwift on NVIDIA Shield

I recently got a Tacx Neo 2 smart trainer for my bike and was eager to use it on my big screen TV with Zwift. Unfortunately, despite the Nvidia Shield being a more that capable Android device, Zwift does not show up in the Google play store. I didn’t want to stream Zwift from my PC because a) the Windows app is annoying and doesn’t go full screen (title bar at the top) and b) my PC is located upstairs and the bluetooth doesn’t appear to reach from the trainer to the PC.

My solution to this was to sideload the Zwift app onto my Nvidia shield. It wasn’t as straightforward as most sideloading due to how Zwift is configured: it has an APK file, and an OBB file. The APK is small and is the application itself, the OBB file is all the map data (it’s large – over 600 MB)

Fortunately, a new Android format called xapk exists, and is an archive of both in one package. This was the process I used to successfully get my Zwift on my Nvidia Shield:

  1. Download Zwift xapk file from apkpure: https://apkpure.com/zwift/com.zwift.zwiftgame
    I had to use a download manager (I used XDM) because downloading in the browser kept failing.
  2. Copy XAPK to USB, plug USB into the shield
  3. Install a file explorer app on the shield via the play store (I used FX file explorer)
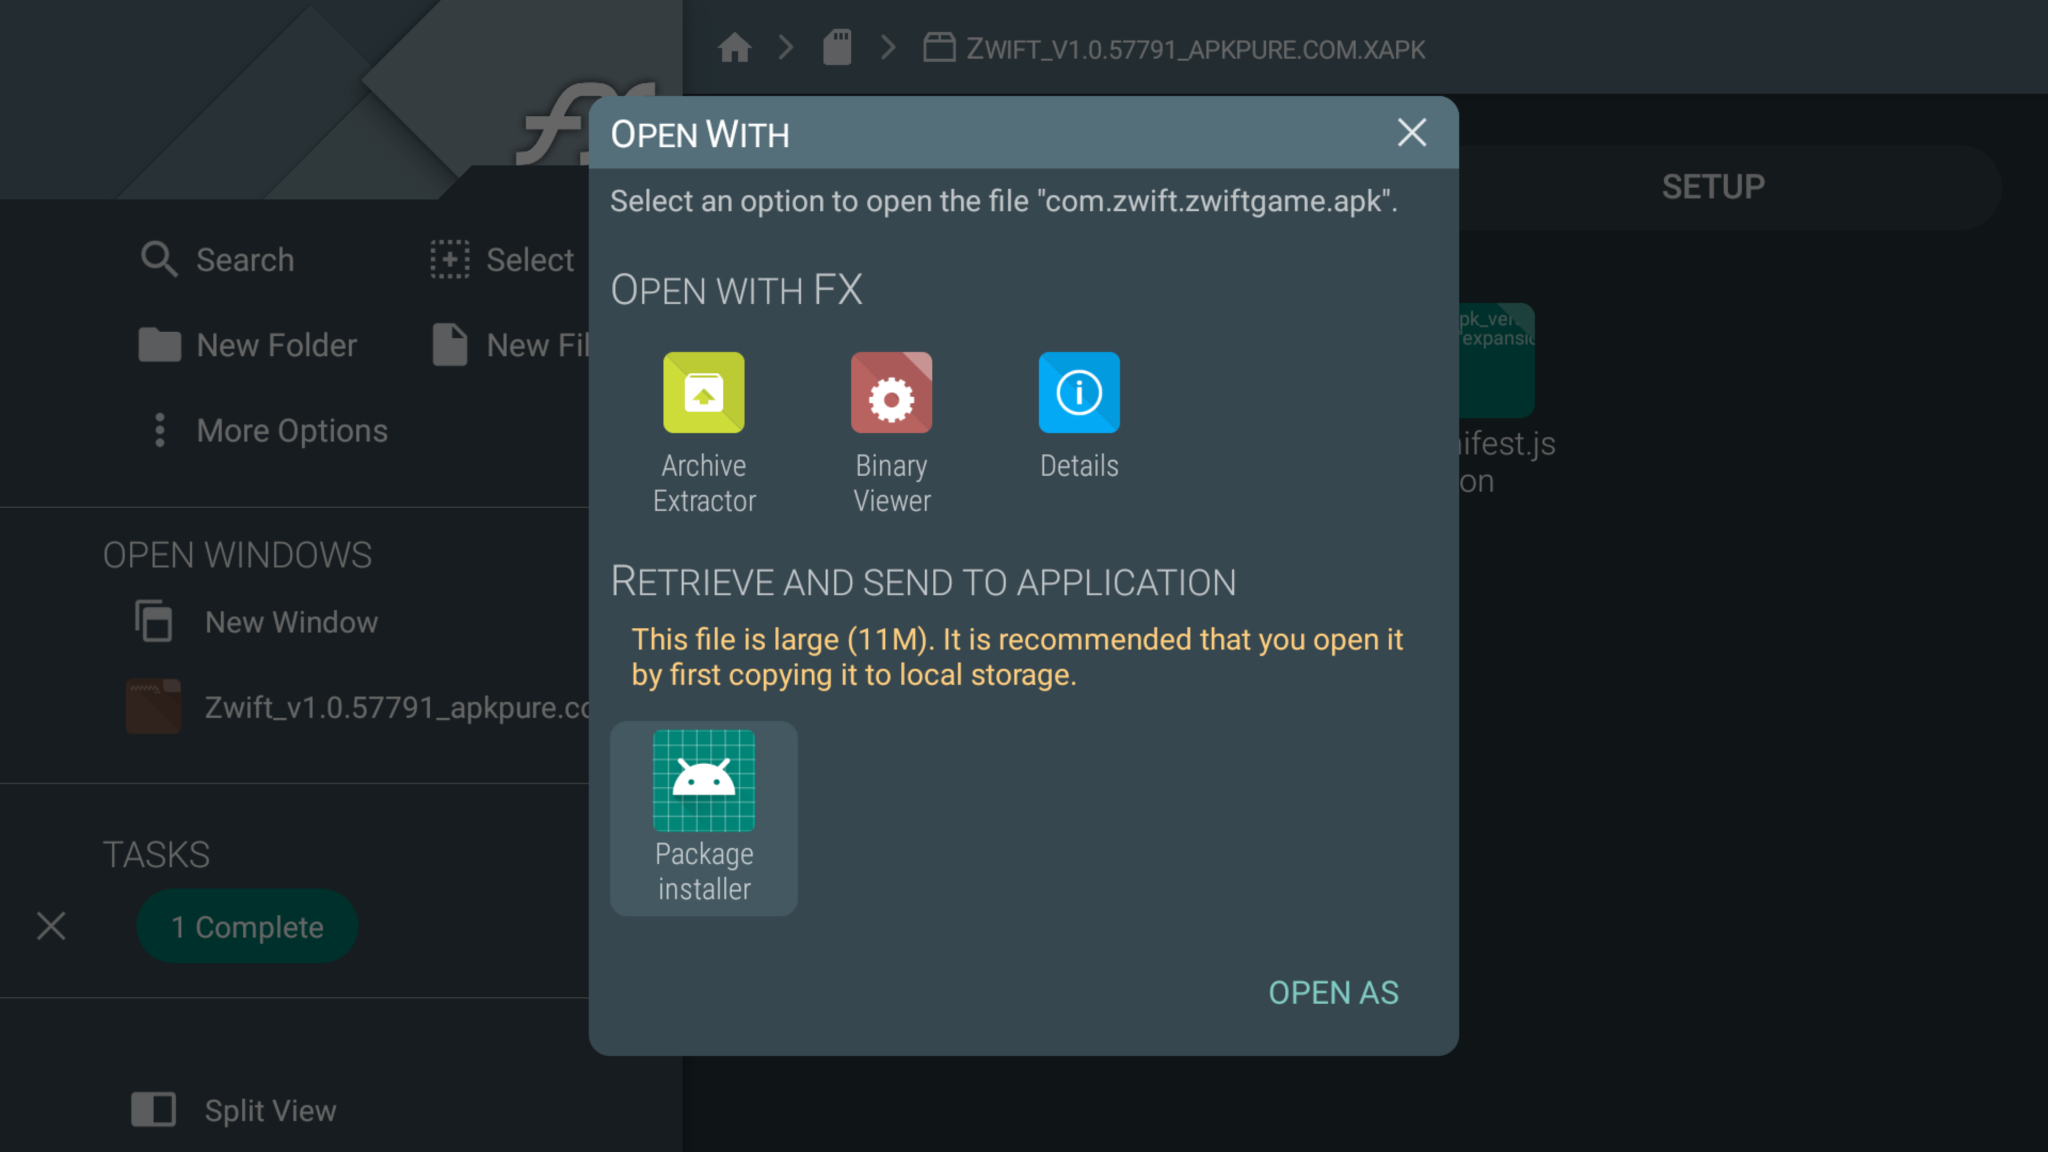
  4. Use the file explorer app to open the xapk file as an archive (Archive Explorer)
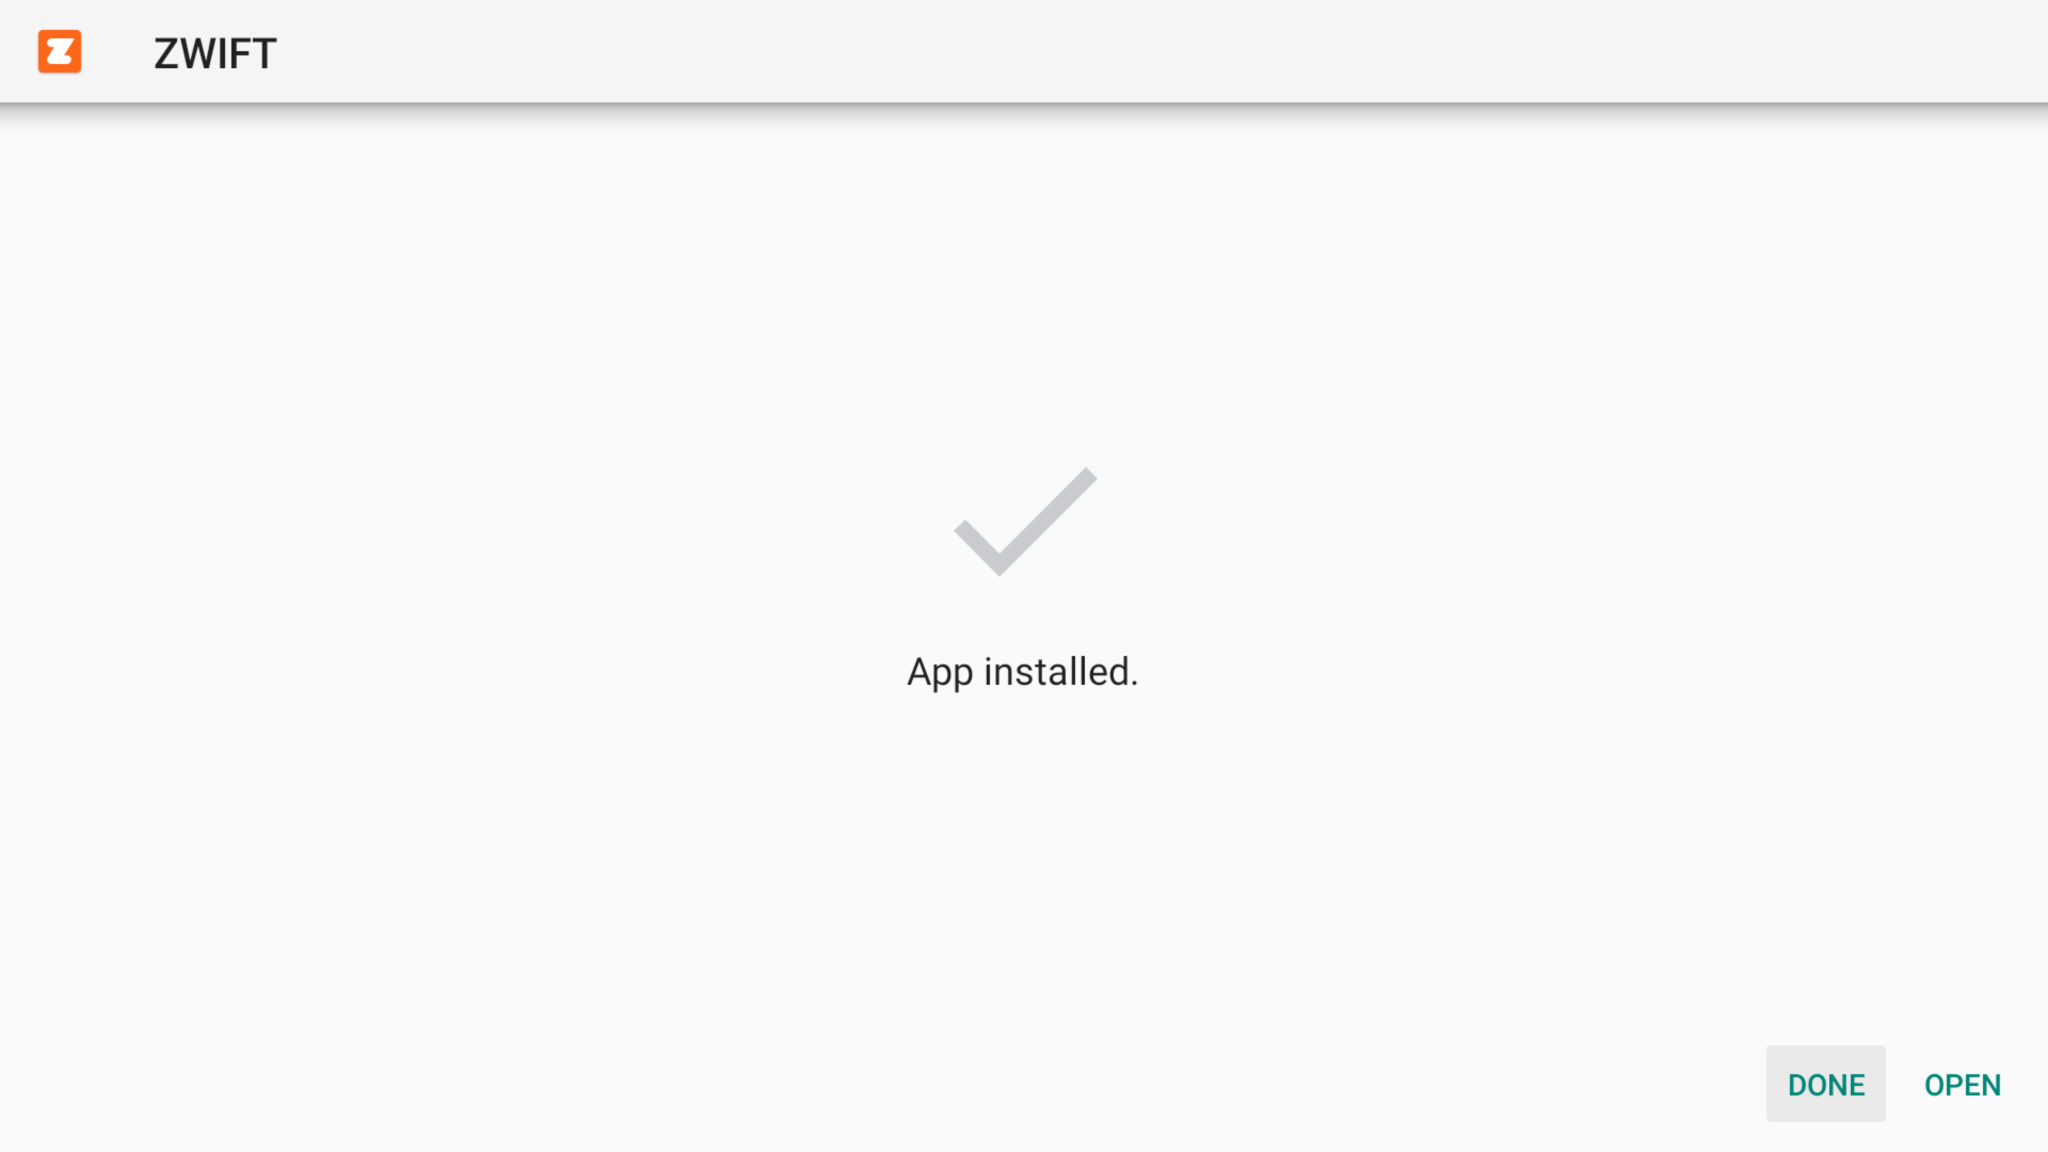
  5. Click on APK and install it by selecting to open with Android installer (grant access to when prompted)


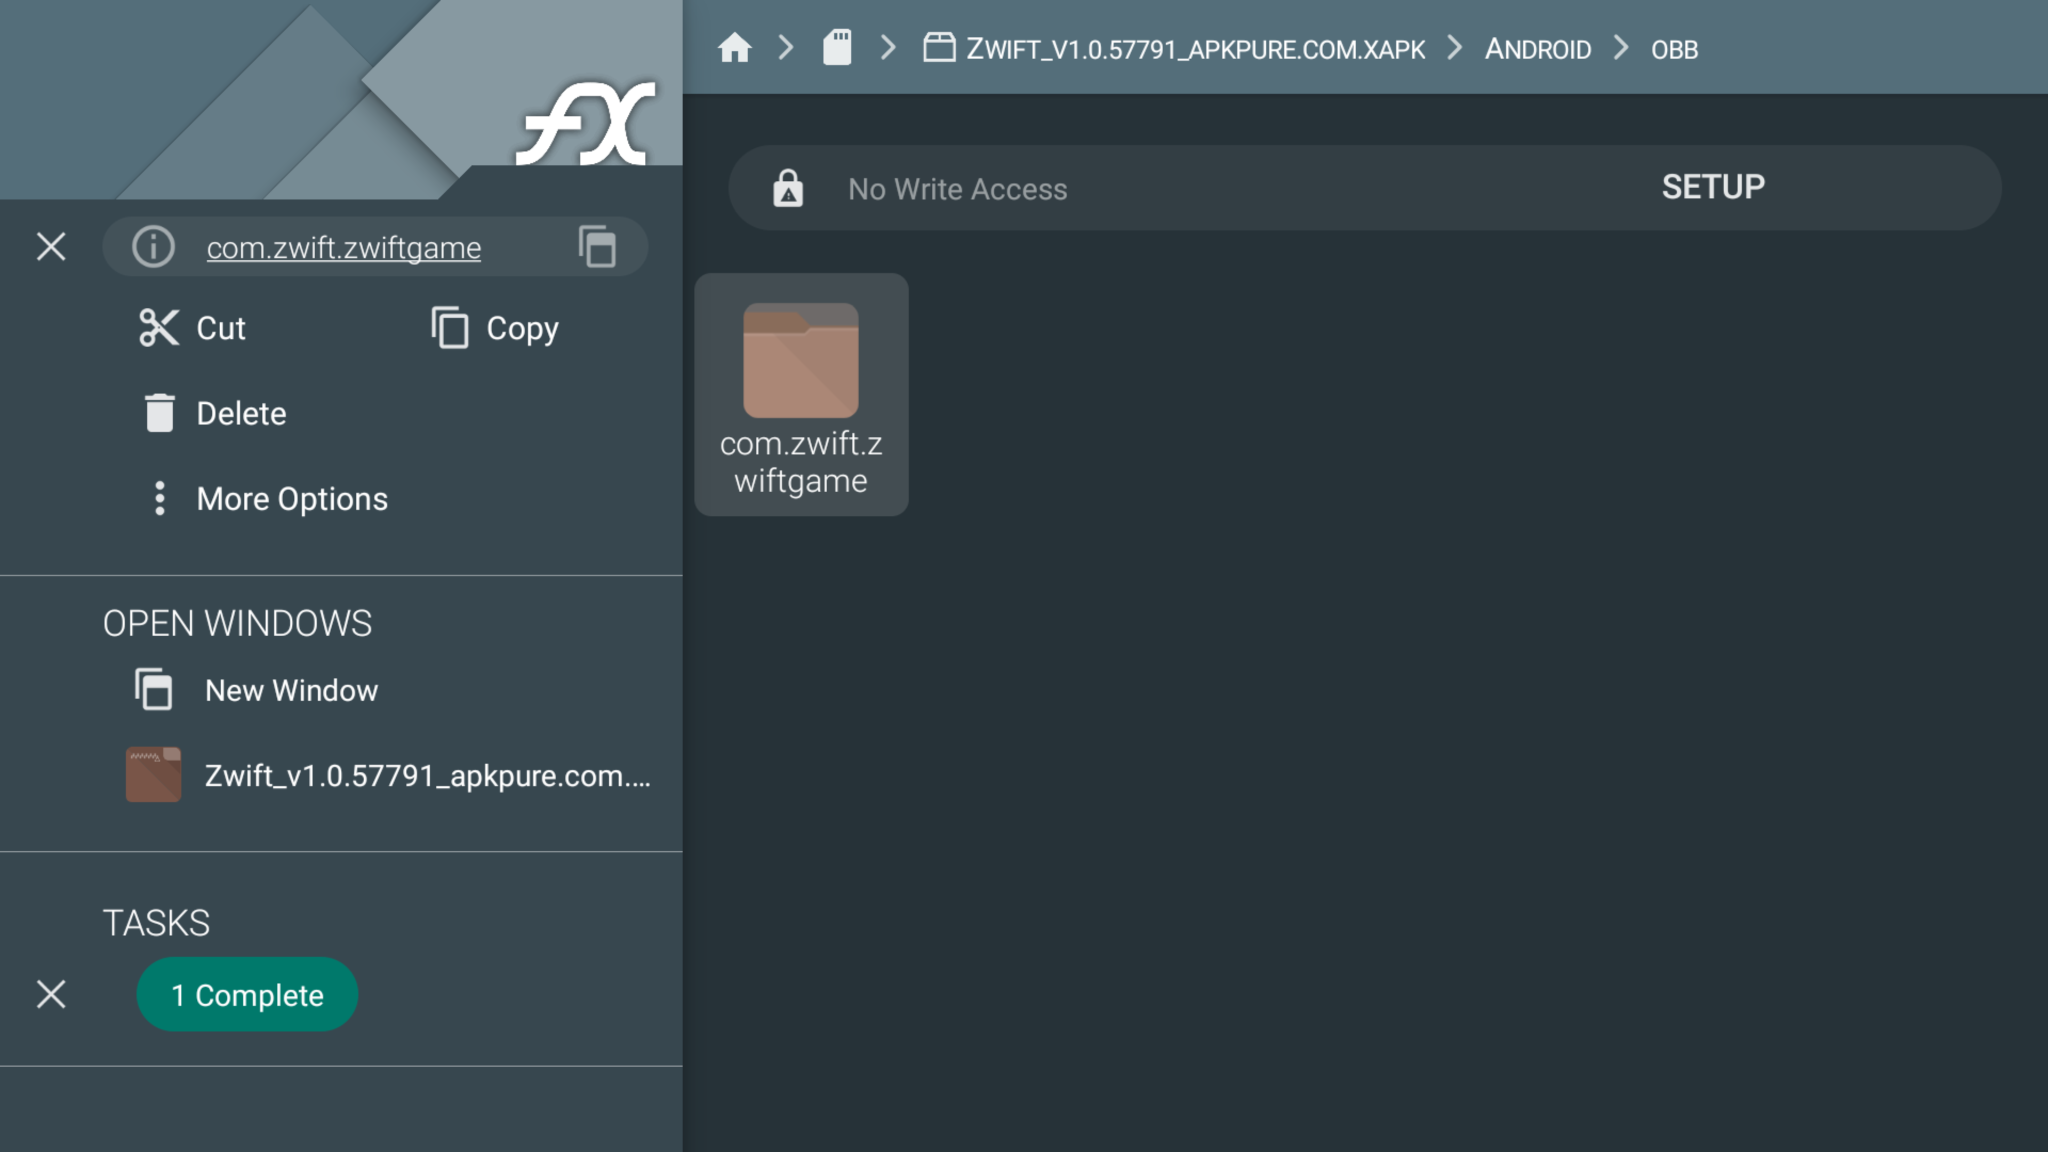
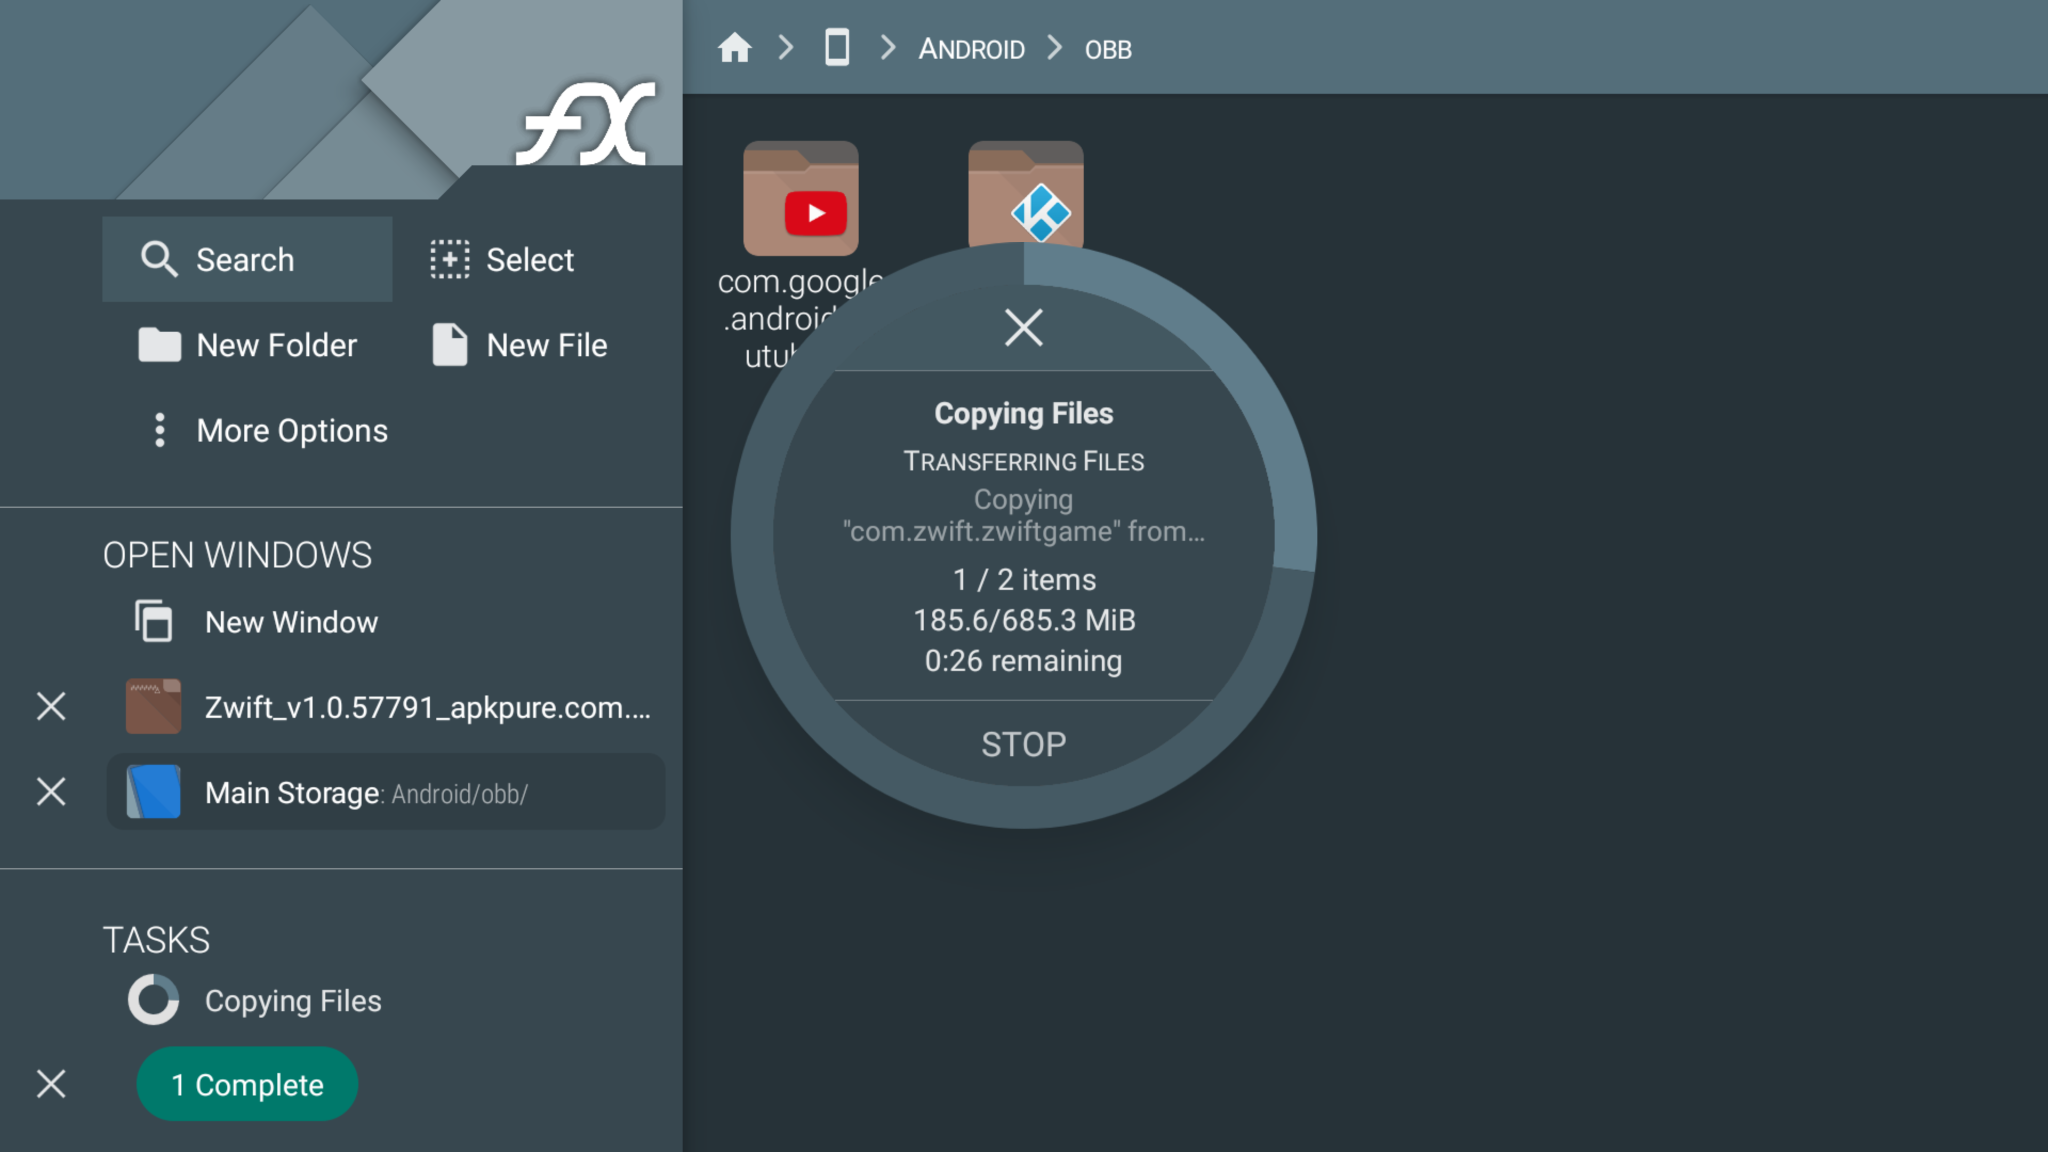
  6. Copy the Android/obb/com.zwift.zwiftgame folder to home / Android / obb


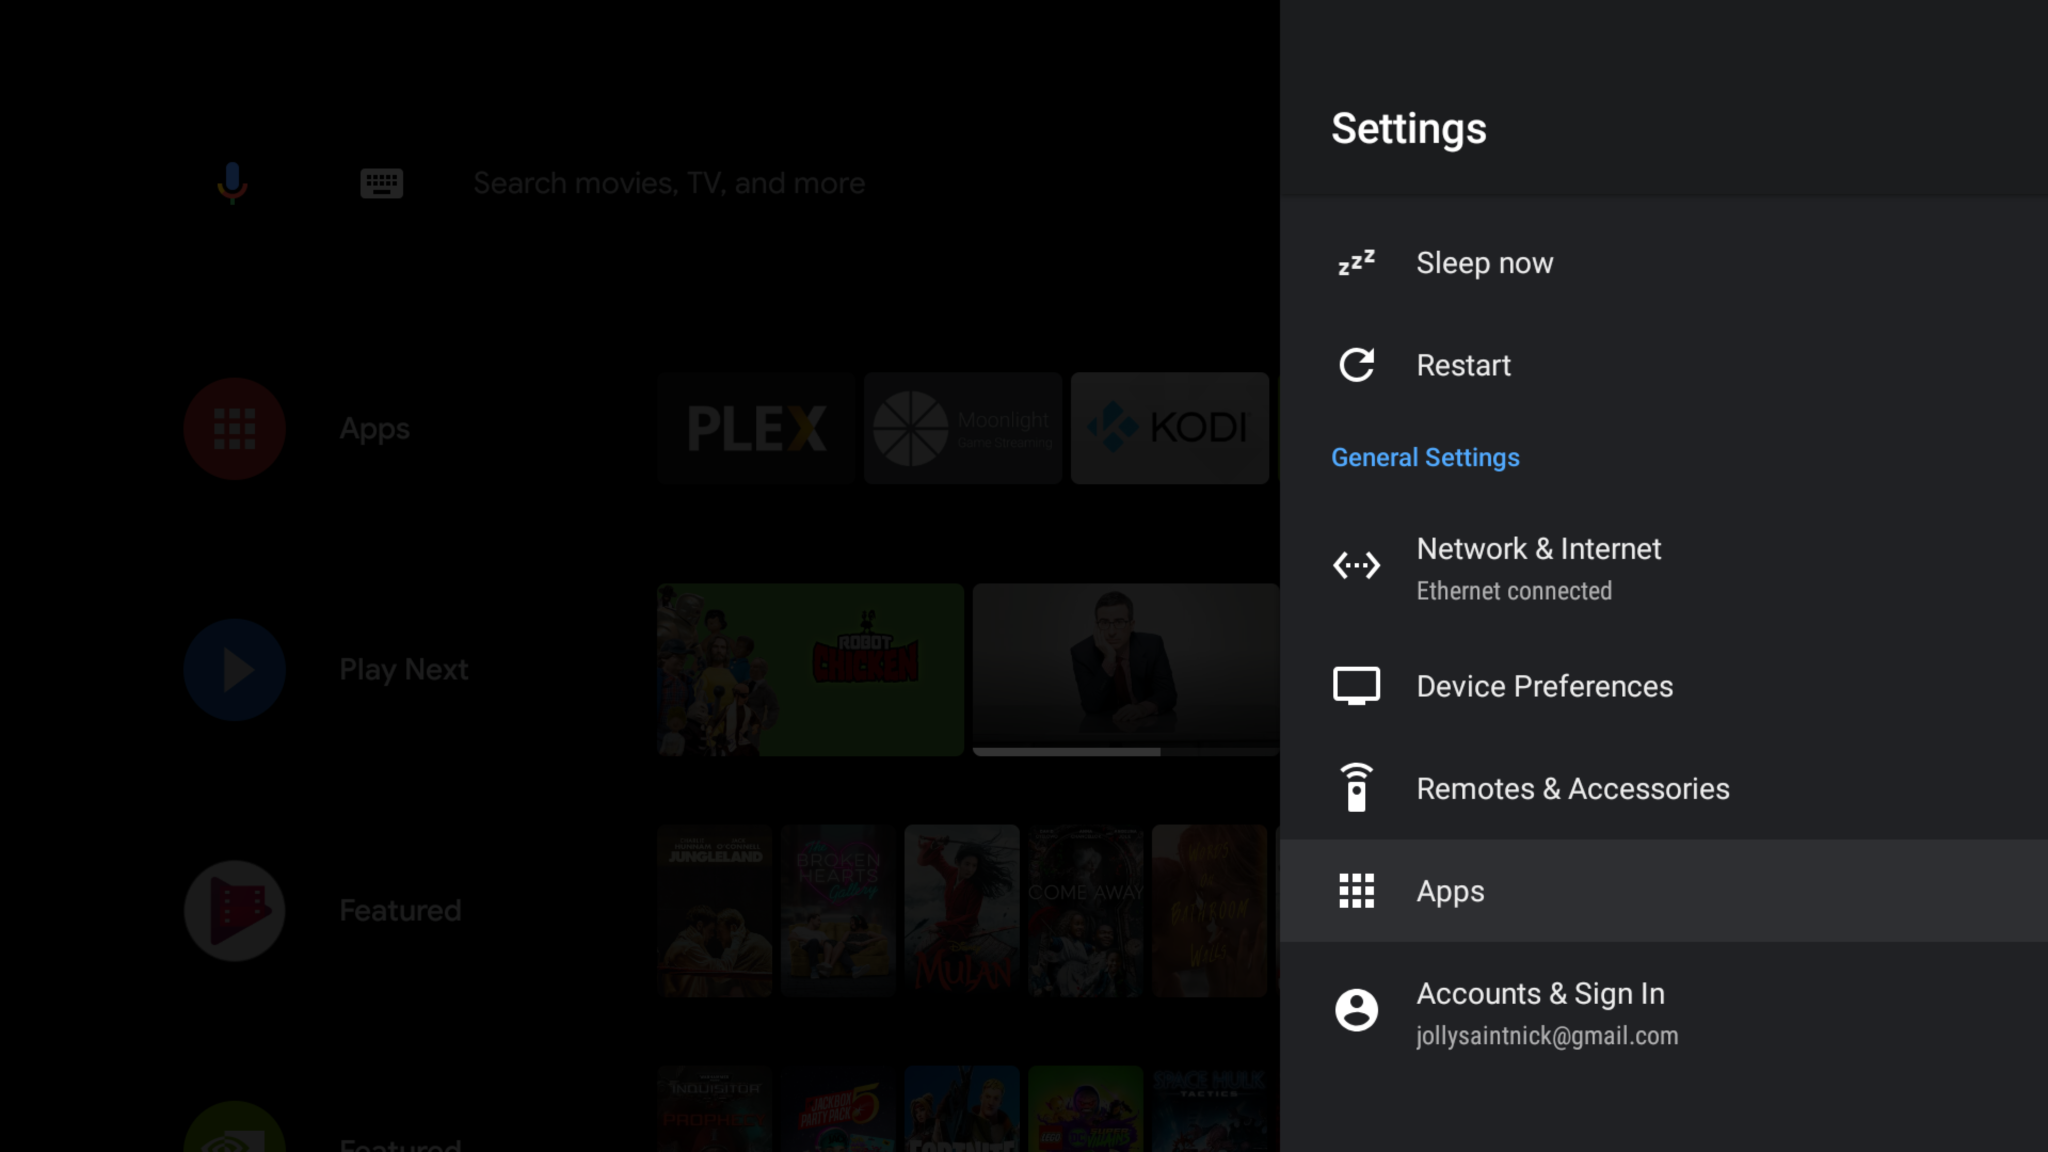
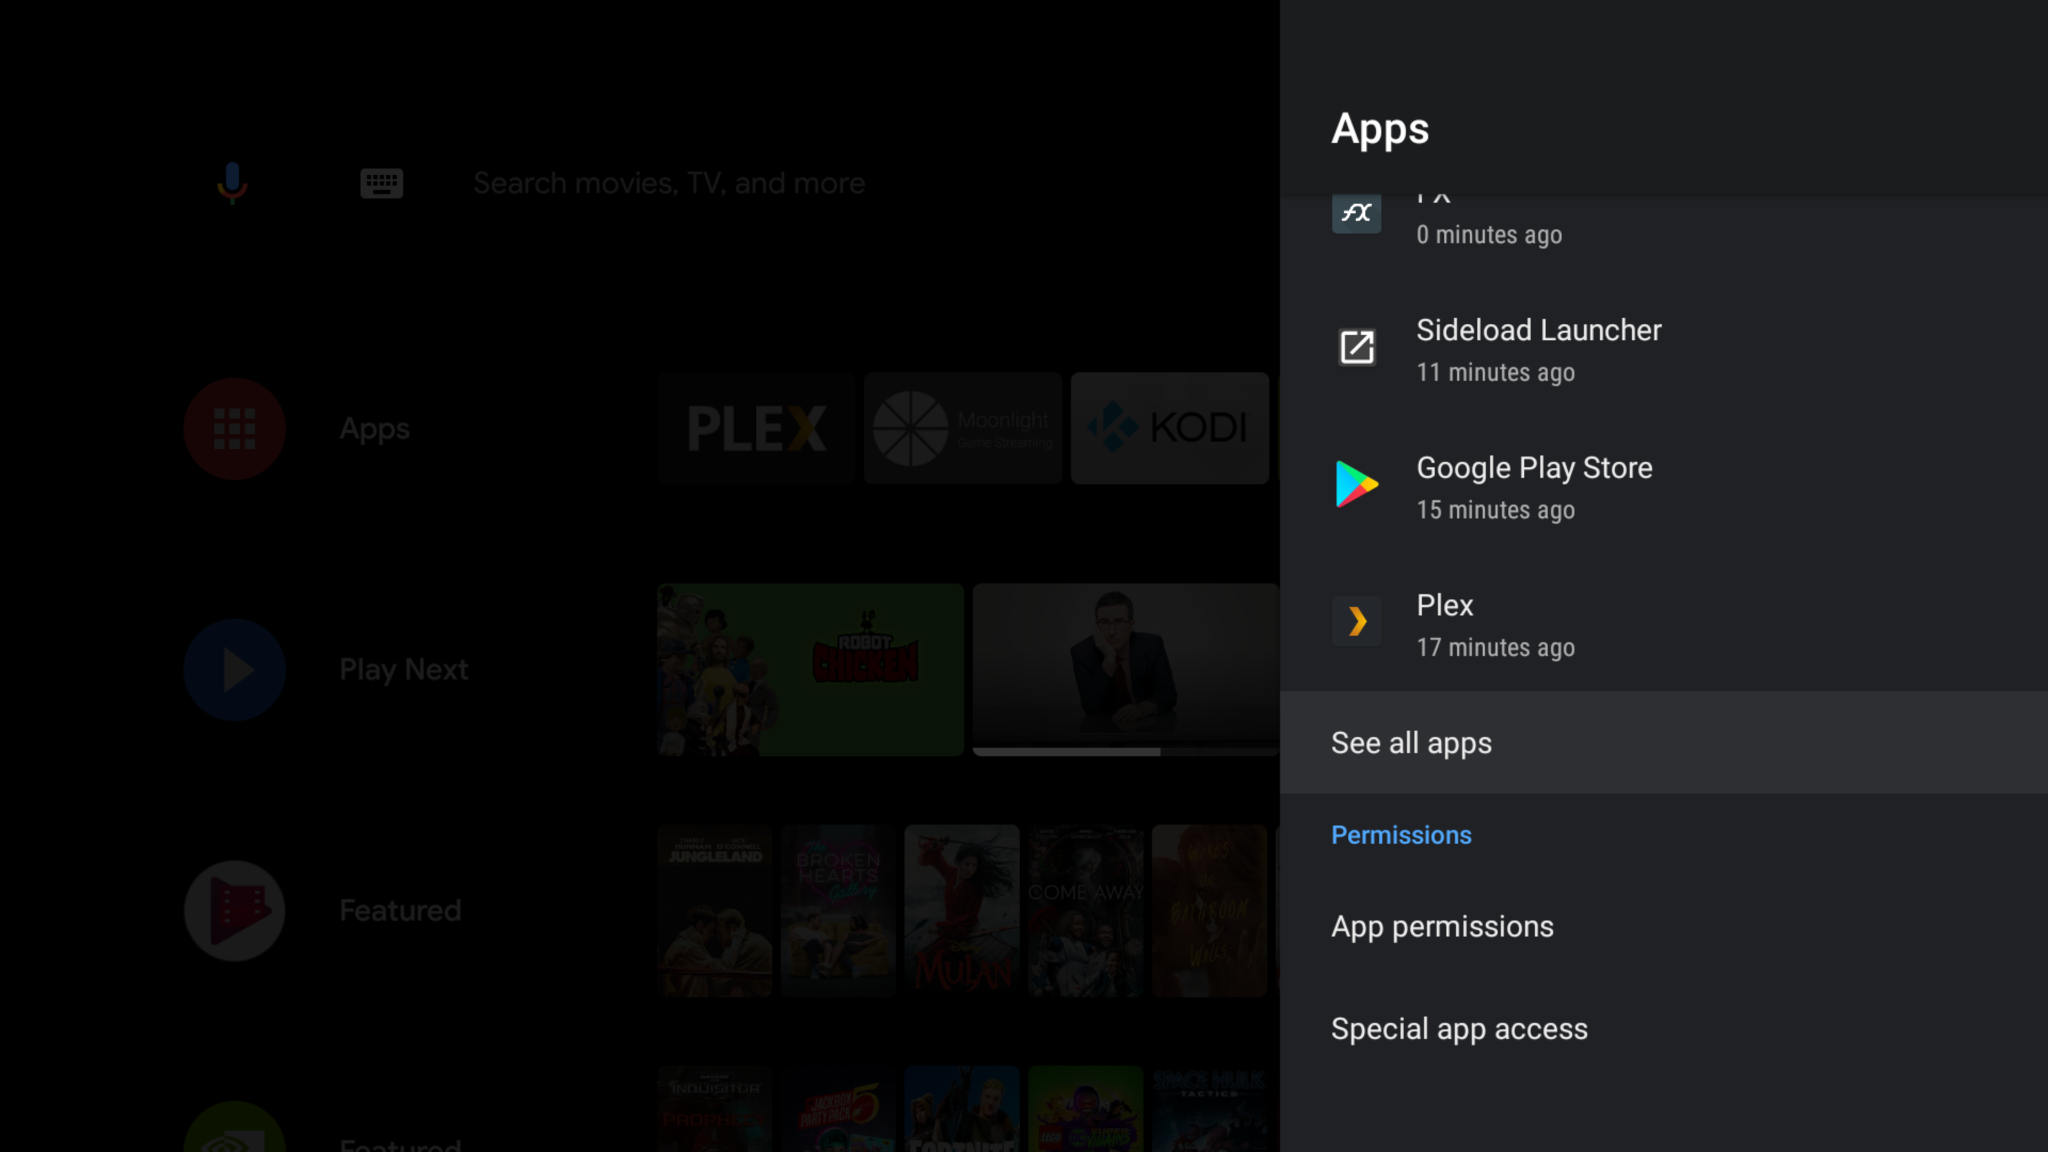
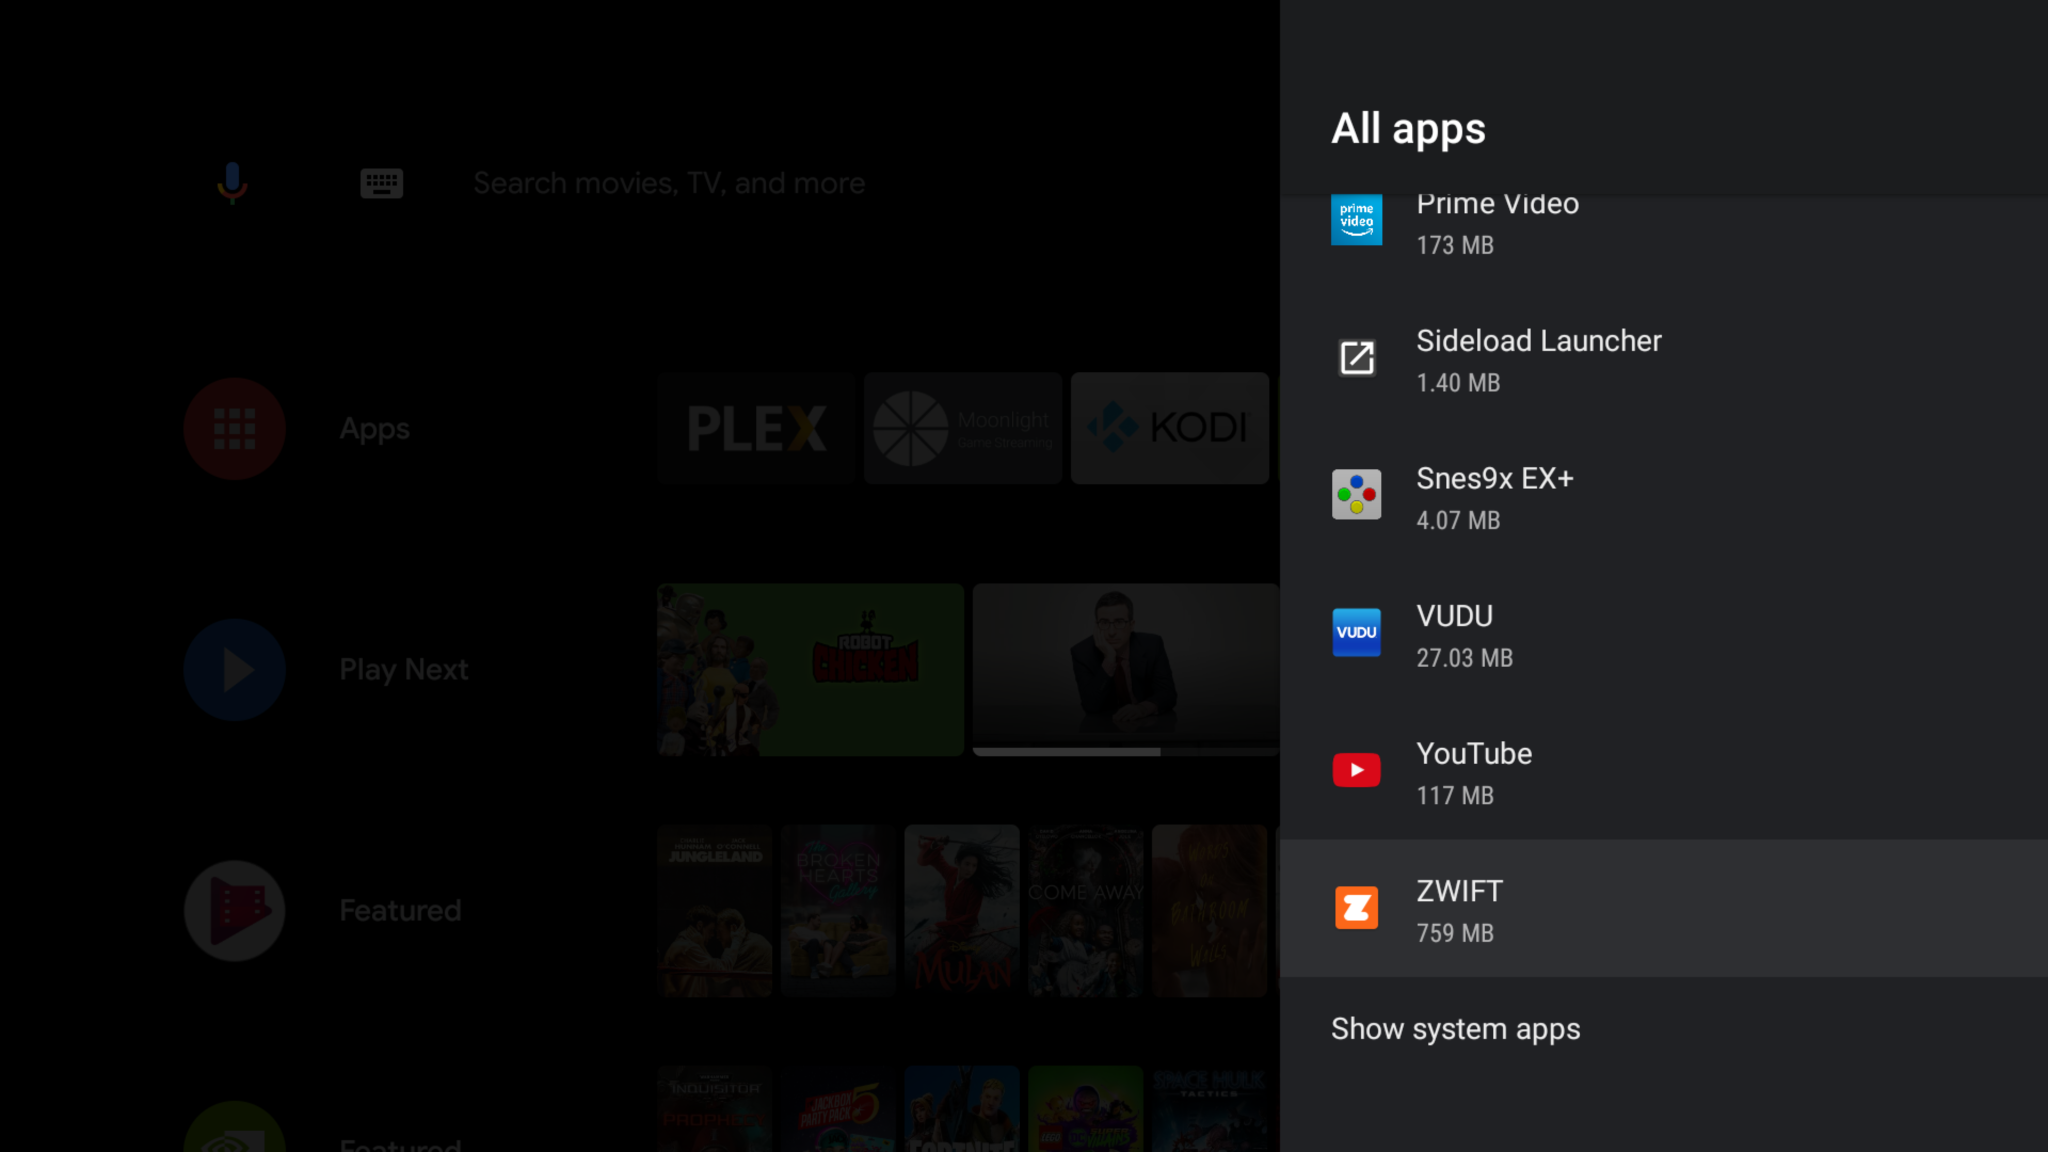
  7. Access Zwift by going to settings / Apps / See all apps and scroll to the bottom


    1. Optional: Install sideload app from the play store, launch Zwift from that app instead

The shield remote doesn’t appear to control anything within the app. Plug in a mouse so you can swipe away the first run tutorial screens (hold left click and drag to the left.) Optional: plug in a keyboard while you’re at it so you can log in faster.

Success! My trainer showed up in the pairing screen and everything works! You can even have your own music playing in the background, with a caveat: if you ever switch apps away from Zwift, it will reset back to the login screen because the Shield doesn’t appear to have enough memory to keep Zwift running when switching another app to the foreground. If you want your shield to play music, start the music first, then switch to Zwift. Once you’re in Zwift, you can’t switch away to any other app without losing your progress.

Configure ARC welder to access local folder

ARC Welder is an amazing tool. It’s a chrome extension that allows you to take an android APK file and convert it into a chrome extension. This means you can run android apps on any device with Chrome installed. Sweet!

I came across a need for an arc welder app to access my local filesystem. I wanted to share a file that was on my host system with the android app. After some digging I came across this forum post which details what you need to do.

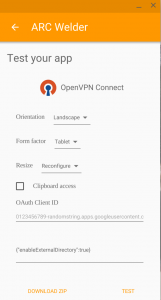
The solution is specify a certain option when using arc welder:

{"enableExternalDirectory": true}

You do this on the final screen before you click test app / download zip.

Screenshot 2016-01-28 at 1.24.25 PM

Arc welder will prompt you to pick a folder. Once that’s done, you can navigate to the Downloads folder in your app and your linked folder will be there. Pretty slick.

(No, OpenVPN ended up not working, but I wanted to save this knowledge in case I want to try a different app that needs / creates files.)

Manually update firmware on Nexus devices

The release of Android 6.0.1 had me excited because it enables LTE band 12 for my phone, the Nexus 5X, which currently uses T-mobile. Band 12 is in the 700mhz range which should greatly increase speed and coverage. I’m too impatient to wait for the OTA!

This tutorial will walk you through how to manually backup, unlock, flash, re-lock, and restore a Google Nexus 5X, but the procedure is pretty much the same for any Nexus device.

First, obtain two necessary Android development tools: adb and fastboot. Do not use your distribution’s versions of these tools – they are likely out of date. Instead, download the Android SDK directly from Google by going here and scrolling to the bottom of the page. Java is required for the sdk to install – install it if you haven’t already. Thanks to this site for explaining how to only obtain platform-tools.

sudo apt-get install openjdk-7-jre
tar zxvf android-sdk_r24.4.1-linux.tgz
android-sdk-linux/tools/android update sdk --no-ui --filter 1,platform-tools

Once you have platform-tools you need to add them to your PATH to make scripts run adb successfully (thanks to this site for the information). When you run the command below make sure to update /path/to/… to the folder where you extracted the android-sdk.

echo "export PATH=$PATH{}:/path/to/android-sdk/tools:/path/to/android/platform-tools" >> ~/.bashrc
source ~/.bashrc

Next, obtain the latest firmware for your device from the google developers site. Extract it somewhere you will remember for later.

Now, enable USB debugging on your phone if you haven’t already (thanks to this site for the info.) To do this, go to Settings / About phone, scroll to the bottom and press on the build number 7 times. Press back and go to developer options, and enable USB debugging and enable OEM unlocking. Then plug in your phone to the computer with adb installed and run this command (thanks to xda for the information)

adb backup -apk -shared -all -f <backup_filename>

Confirm the on-screen prompt on your phone. Make sure you specify a password for encryption. The above command should backup everything, but in my case it did not backup files in the flash partition (downloads, pictures, etc). Make sure you manually copy any important files from your phone before you proceed.

My first attempt at the above command didn’t work for me. I received the error message:

adb: unable to connect for backup

When I ran adb devices it showed this:

List of devices attached 
00c739918fbf4e2a offline

It turns out I had an old version of adb installed. Make sure you download Google’s official SDK instead of relying on your distribution’s version.

Once the backup is complete, you then need to reboot your phone into fastboot mode:

adb reboot bootloader

Wait for the reboot, then run the following command. Warning: this command will wipe your device. Make sure you have a reliable backup and confirm the message on your phone screen.

fastboot oem unlock

Now, navigate to the directory where you extracted your latest firmware and execute the flash-all script:

cd bullhead-mmb29k
./flash-all.sh

After some time your phone will reboot into your shiny new updated OS. Skip everything setup-wise. Re-enable developer mode and android debugging, and then re-lock your bootloader:

adb reboot bootloader
fastboot oem lock

Lastly, we need to restore everything from the backup we made and re-lock the bootloader for security. Once again skip everything setup-wise on the phone, re-enable developer mode and android debugging, and then restore your stuff:

adb restore <filename>

Don’t forget to manually copy back any flash files you manually backed up earlier.

The very last (optional) step is to go into developer options settings and disable OEM unlocking.

Success!

Rooting and flashing Verizon Galaxy S4 VRUFNC5

Below is my experience with rooting and flashing a newer ROM on my Verizon Wireless Samsung Galaxy S4. Thanks to a recently discovered kernel exploit (both scary and awesome) rooting was the easy part. Thanks to the encrypted bootloader on my phone and the KitKat update which made it impenetrable (at least for now) getting a new ROM on the phone was a little more difficult. Thanks to rootjunky.com for the informative video guide.

  1. Root the phone with towelroot.
    Simply navigate to the site, click the lambda to download the towelroot APK, then copy to your device and install it.
  2. Install SuperSU from the Google Play store
  3. Install Android Terminal Emulator
  4. Set selinux to permissive mode
    Open terminal editor and type the following:
    su
    setenforce 0
  5. Install busybox
  6. Install Safestrap 3.72 (the ATT version works fine)
  7. Reboot into safestrap and backup the current ROM (optional, but recommended)
  8. Install ROM of choice via Safestrap on the Stock ROM slot (other slots don’t work as of this writing.)
    I chose the hyperdrive ROM
  9. Flash safestrap KitKat module to fix Wireless functionality
  10. Remove “Press and Hold to add items to launcher screen” by dragging a widget from one screen to another

Success.

Screenshot_2014-08-26-08-36-16