I just finished installing the Android Auto / Apple CarPlay retrofit kit into my 2016 Mazda CX-3 Grand Touring AWD. It’s sweet! The process to get it installed was a learning experience for me.
The CX-3 is not as popular as its bigger brother the CX-5 and therefore there wasn’t nearly as much information on how to do the retrofit. Of great help were various posts over at CX3 forum and this youtube video.
The steps to accomplish the retrofit are as follows, taken from the official Mazda guide
- Update Mazda firmware to latest 70.00+ version
- Firmware can be found here
- Remove glove compartment
- Remove Audio Panel 1
- Remove Audio Panel 2
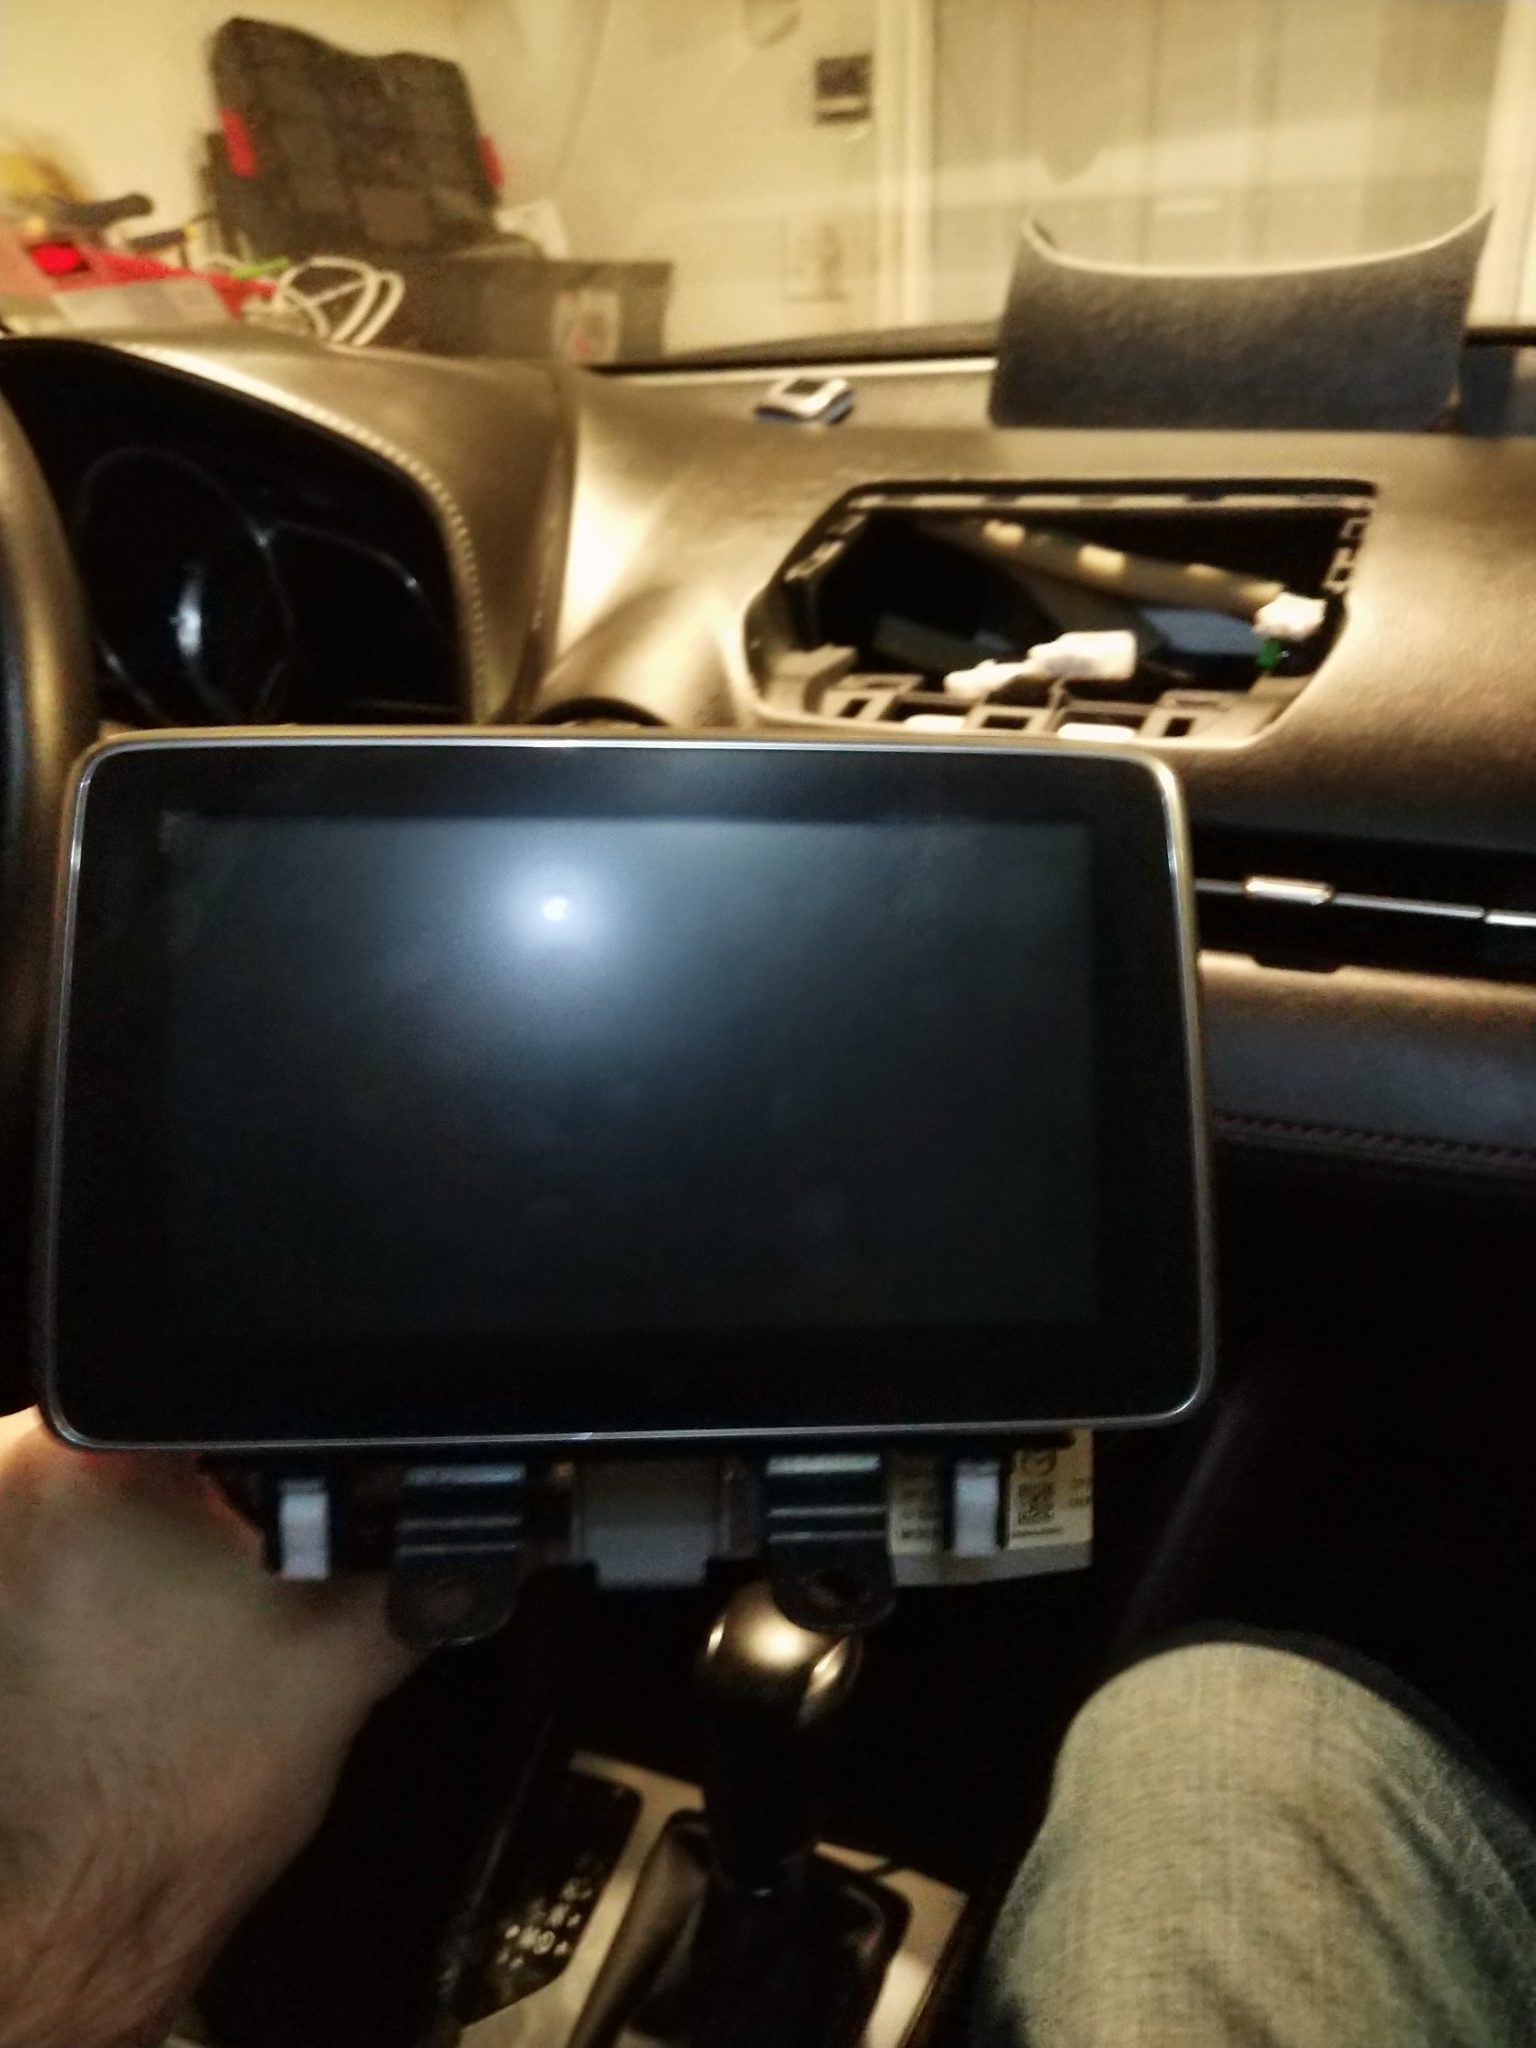
- Remove Central display
- Be careful here. This will scratch up your dashboard. Do not ignore recommendations to lay down protective tape/other layer
- Remove Center Console Tray (or, in my case, the armrest attachment)
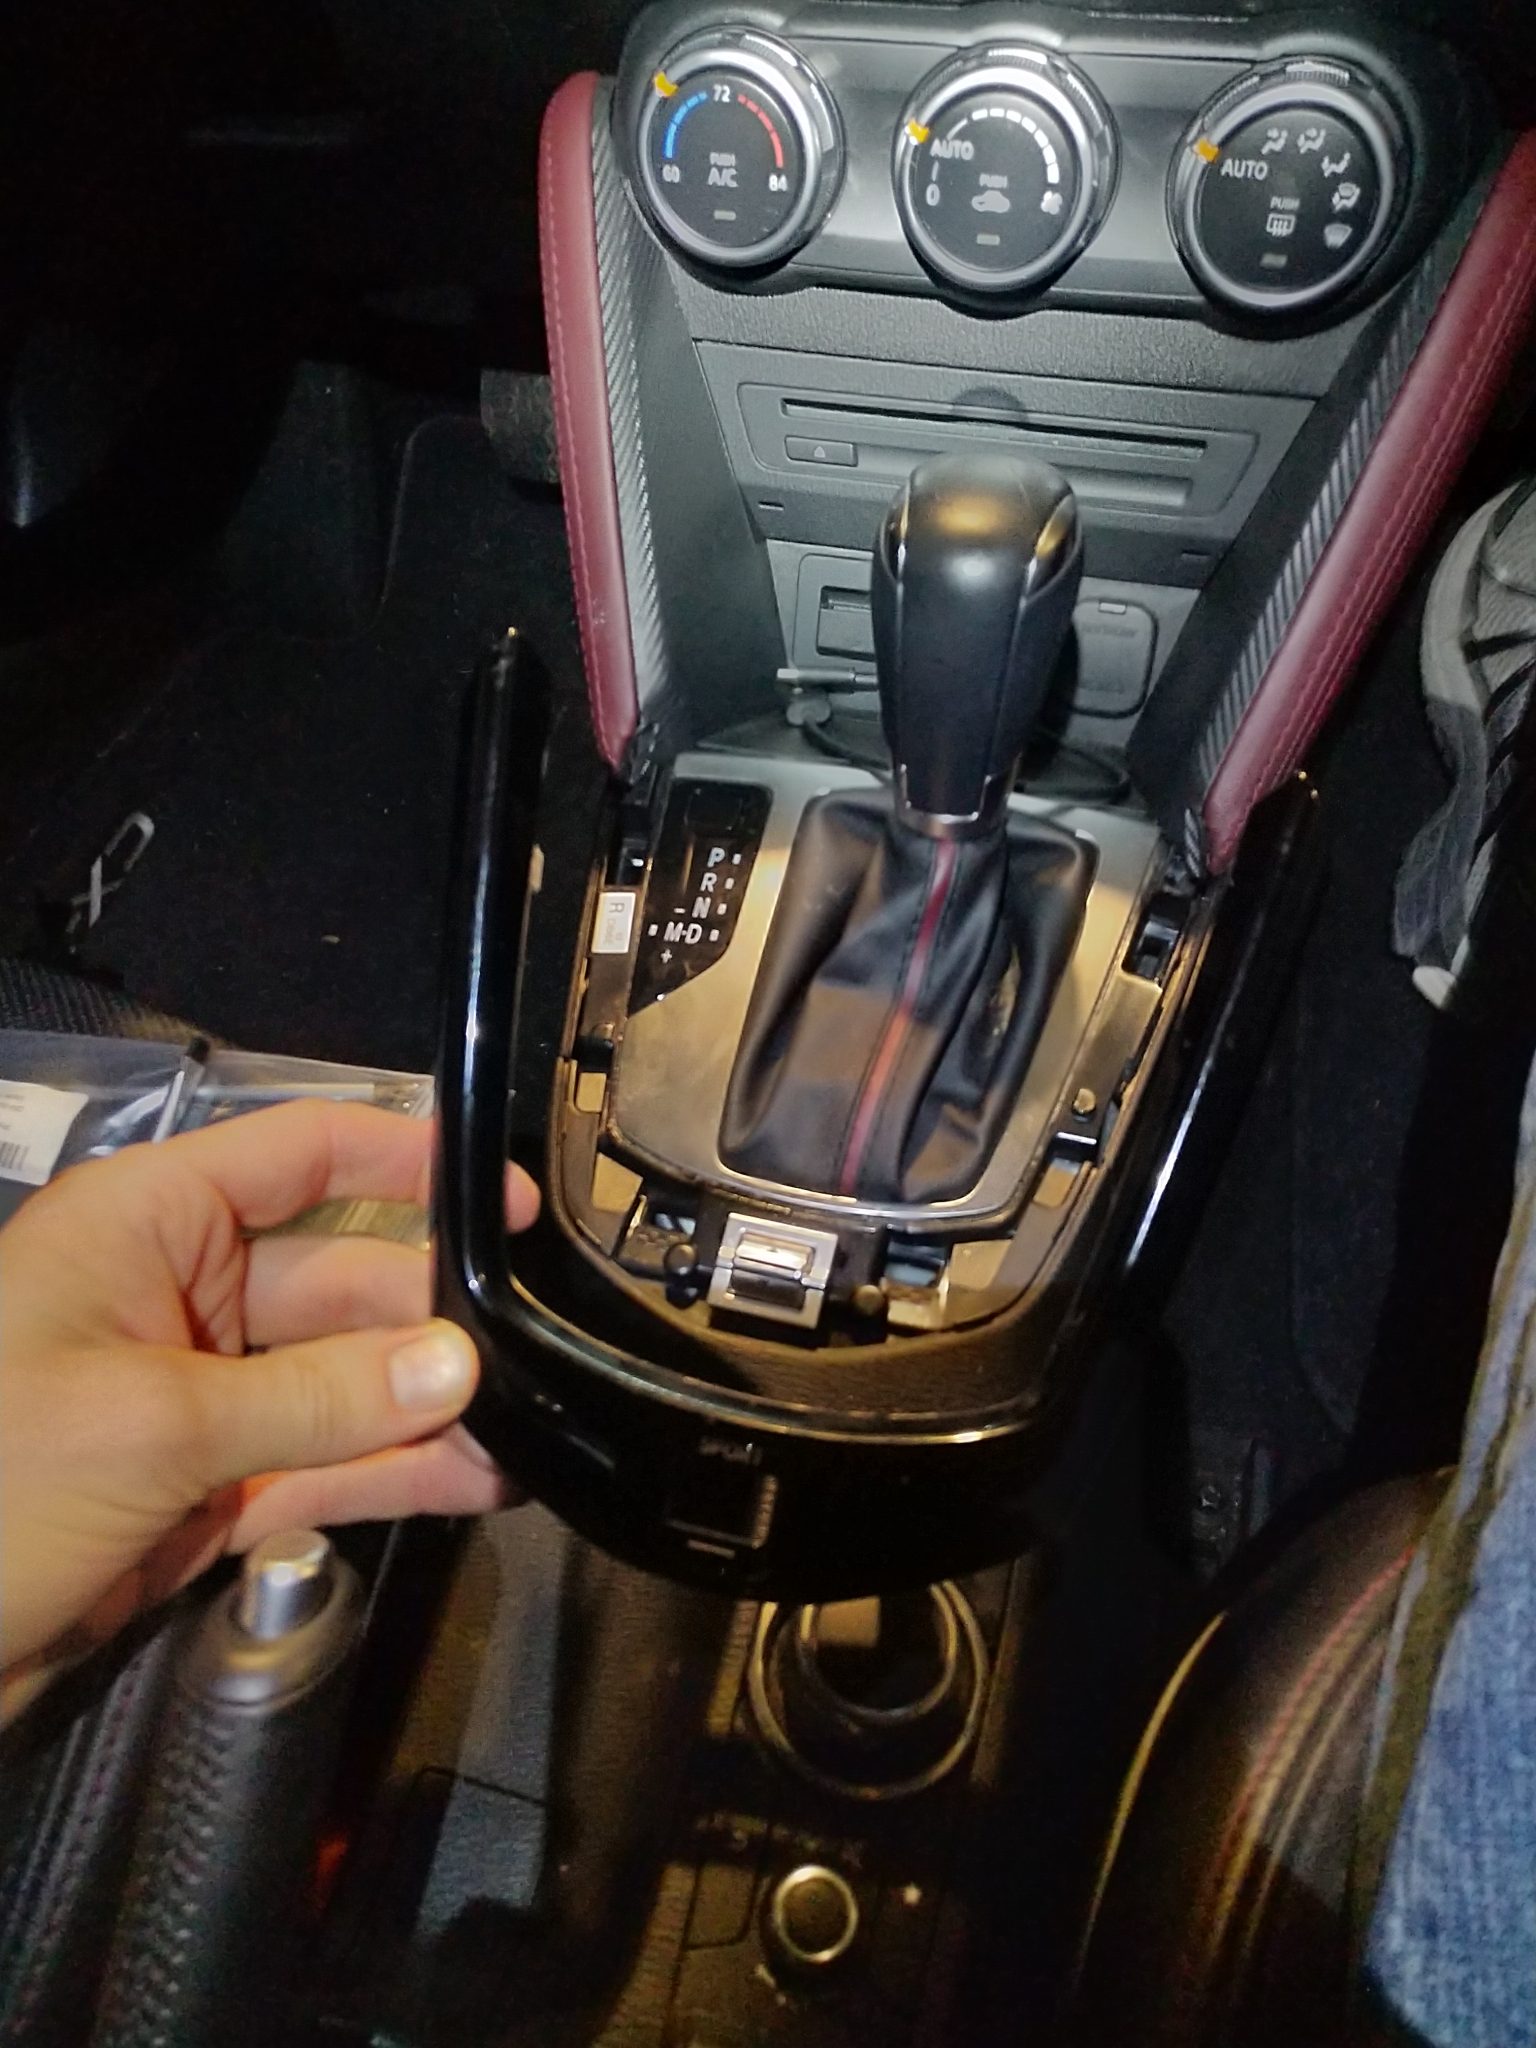
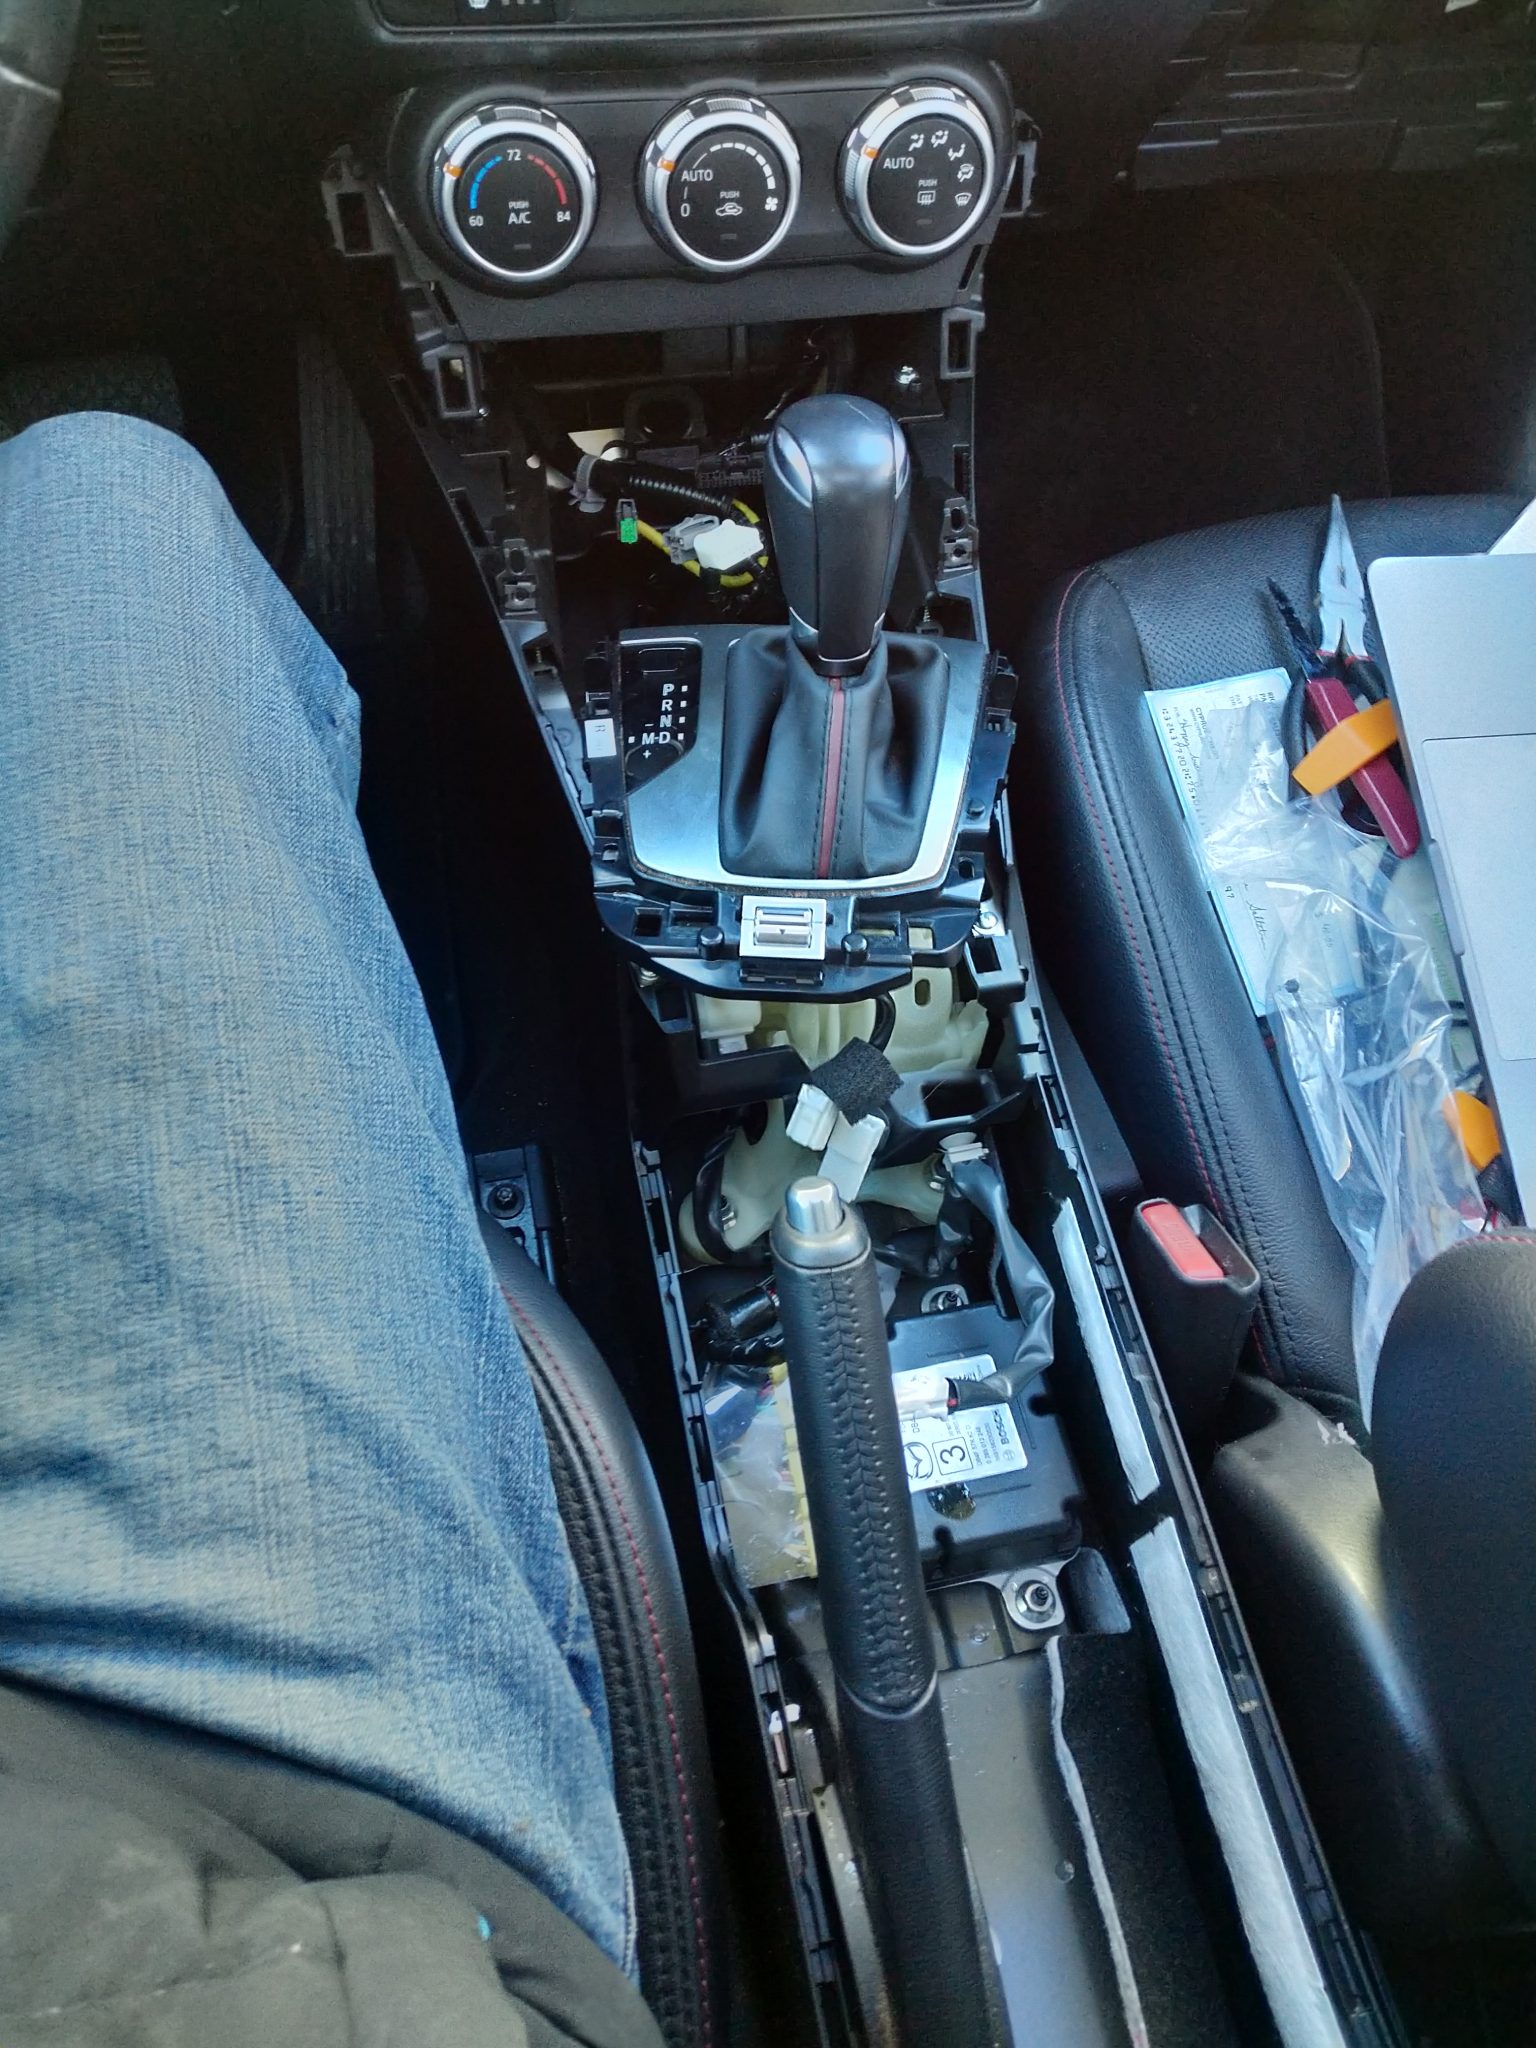
- Remove shift bezel
- Remove upper panel
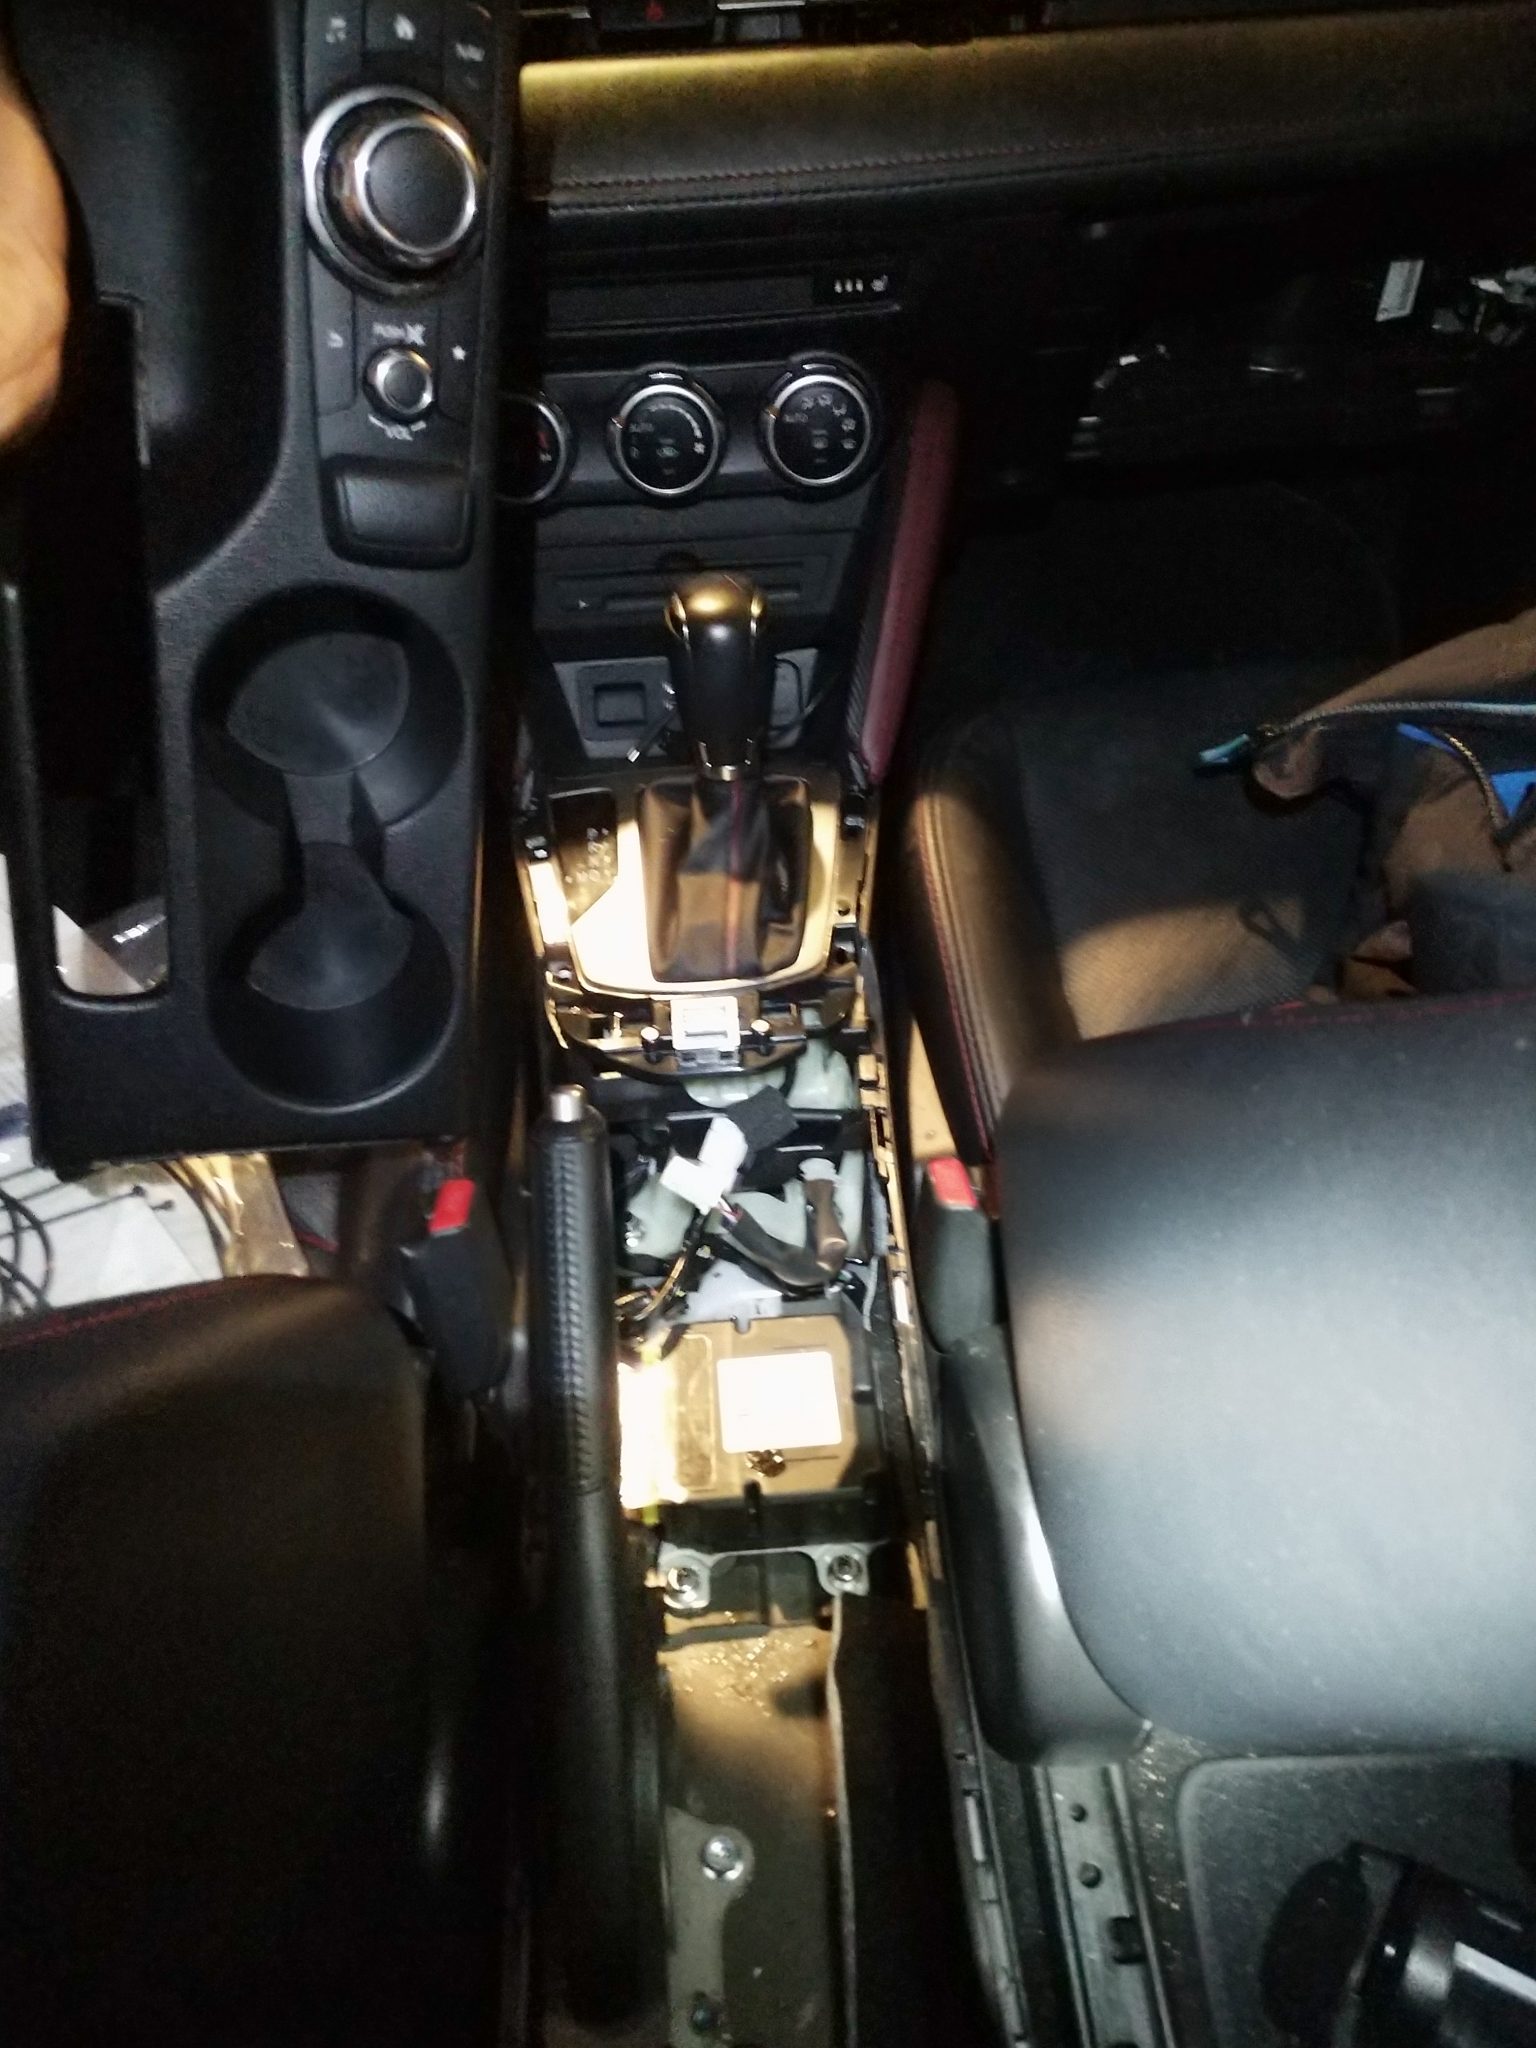
- Remove/detach shift panel (Removal not necessary)
- I didn’t want to undo the shift knob, so I just unplugged the panel and rotated the whole assembly to the side. It was enough for the installation – no removal required.
- Remove console side panels
- Remove front console box
- Remove DVD/CD Player (if installed)
- Removal keys were not easy to find. I ended up using two small cutting knives I found in my kitchen. Insert into keyholes, angle them slightly, and pull.
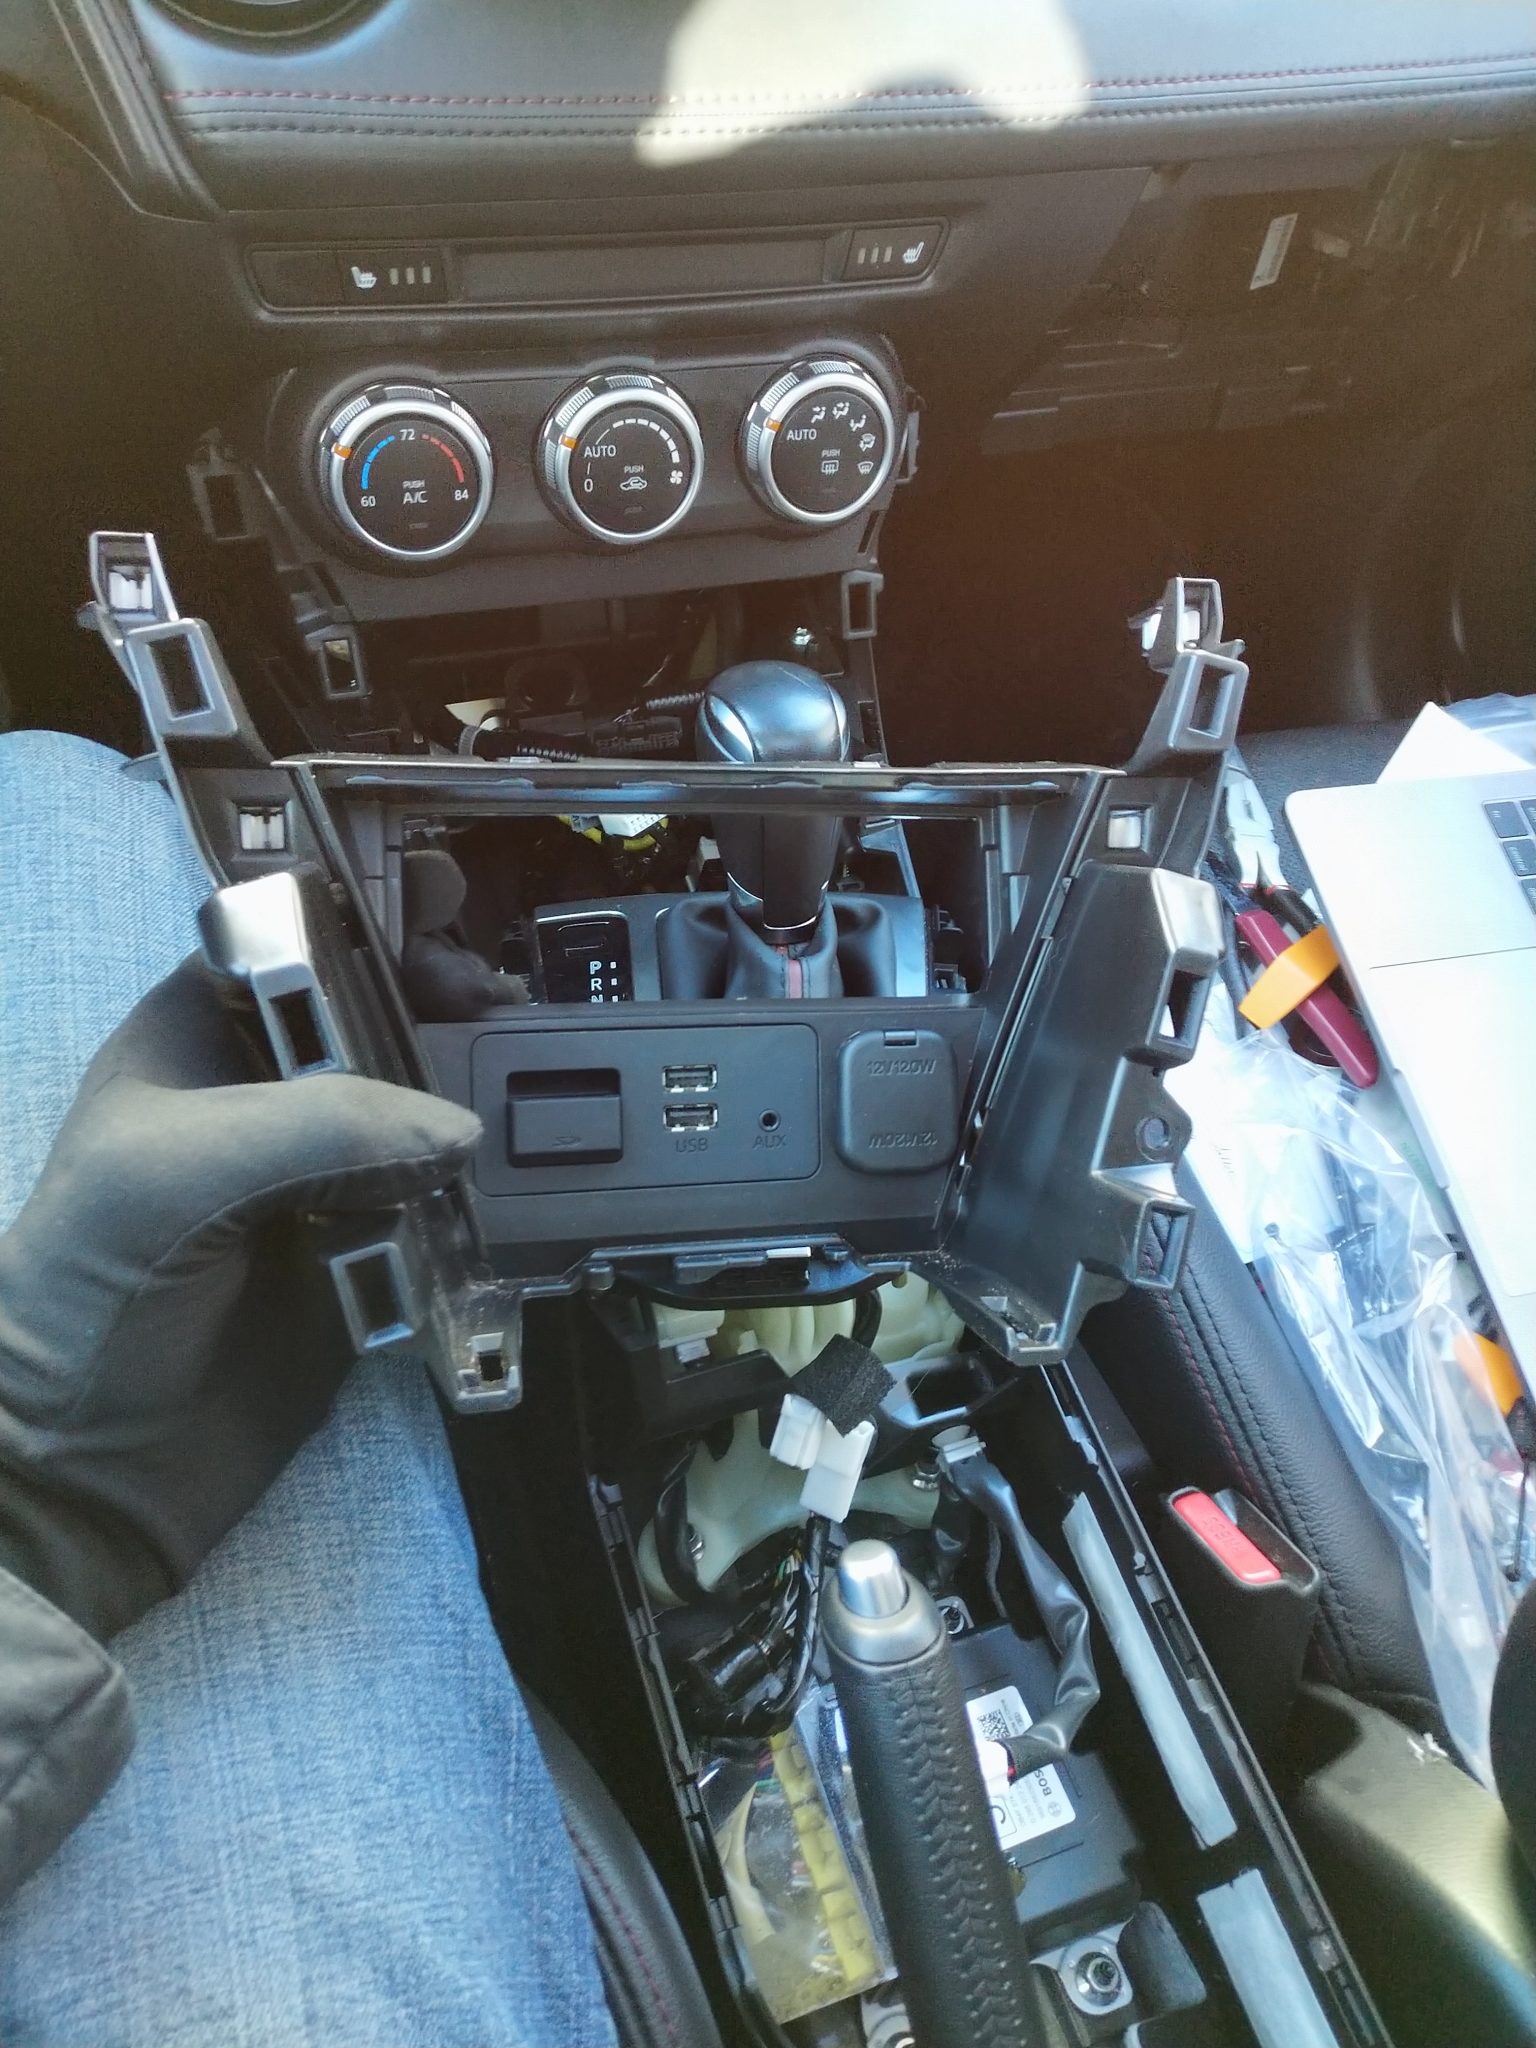
- Remove Front Console
- Remove old USB hub from front console
- Replace USB hub in front console
- Wrap wiring in foam
- Route wiring and add zip ties
- Replace components in reverse order from how you removed them
The biggest challenges for me were the armrest and CD player. The rest of it was pretty straightforward. Here are some pictures of the process: