Tag Archives: USB

Installing Android Auto / Apple Carplay retrofit in Mazda CX3

I just finished installing the Android Auto / Apple CarPlay retrofit kit into my 2016 Mazda CX-3 Grand Touring AWD. It’s sweet! The process to get it installed was a learning experience for me.

The CX-3 is not as popular as its bigger brother the CX-5 and therefore there wasn’t nearly as much information on how to do the retrofit. Of great help were various posts over at CX3 forum and this youtube video.

The steps to accomplish the retrofit are as follows, taken from the official Mazda guide

  1. Update Mazda firmware to latest 70.00+ version
    1. Firmware can be found here
  2. Remove glove compartment
  3. Remove Audio Panel 1
  4. Remove Audio Panel 2
  5. Remove Central display
    1. Be careful here. This will scratch up your dashboard. Do not ignore recommendations to lay down protective tape/other layer
  6. Remove Center Console Tray (or, in my case, the armrest attachment)
  7. Remove shift bezel
  8. Remove upper panel
  9. Remove/detach shift panel (Removal not necessary)
    1. I didn’t want to undo the shift knob, so I just unplugged the panel and rotated the whole assembly to the side. It was enough for the installation – no removal required.
  10. Remove console side panels
  11. Remove front console box
  12. Remove DVD/CD Player (if installed)
    1. Removal keys were not easy to find. I ended up using two small cutting knives I found in my kitchen. Insert into keyholes, angle them slightly, and pull.
  13. Remove Front Console
  14. Remove old USB hub from front console
  15. Replace USB hub in front console
  16. Wrap wiring in foam
  17. Route wiring and add zip ties
  18. Replace components in reverse order from how you removed them

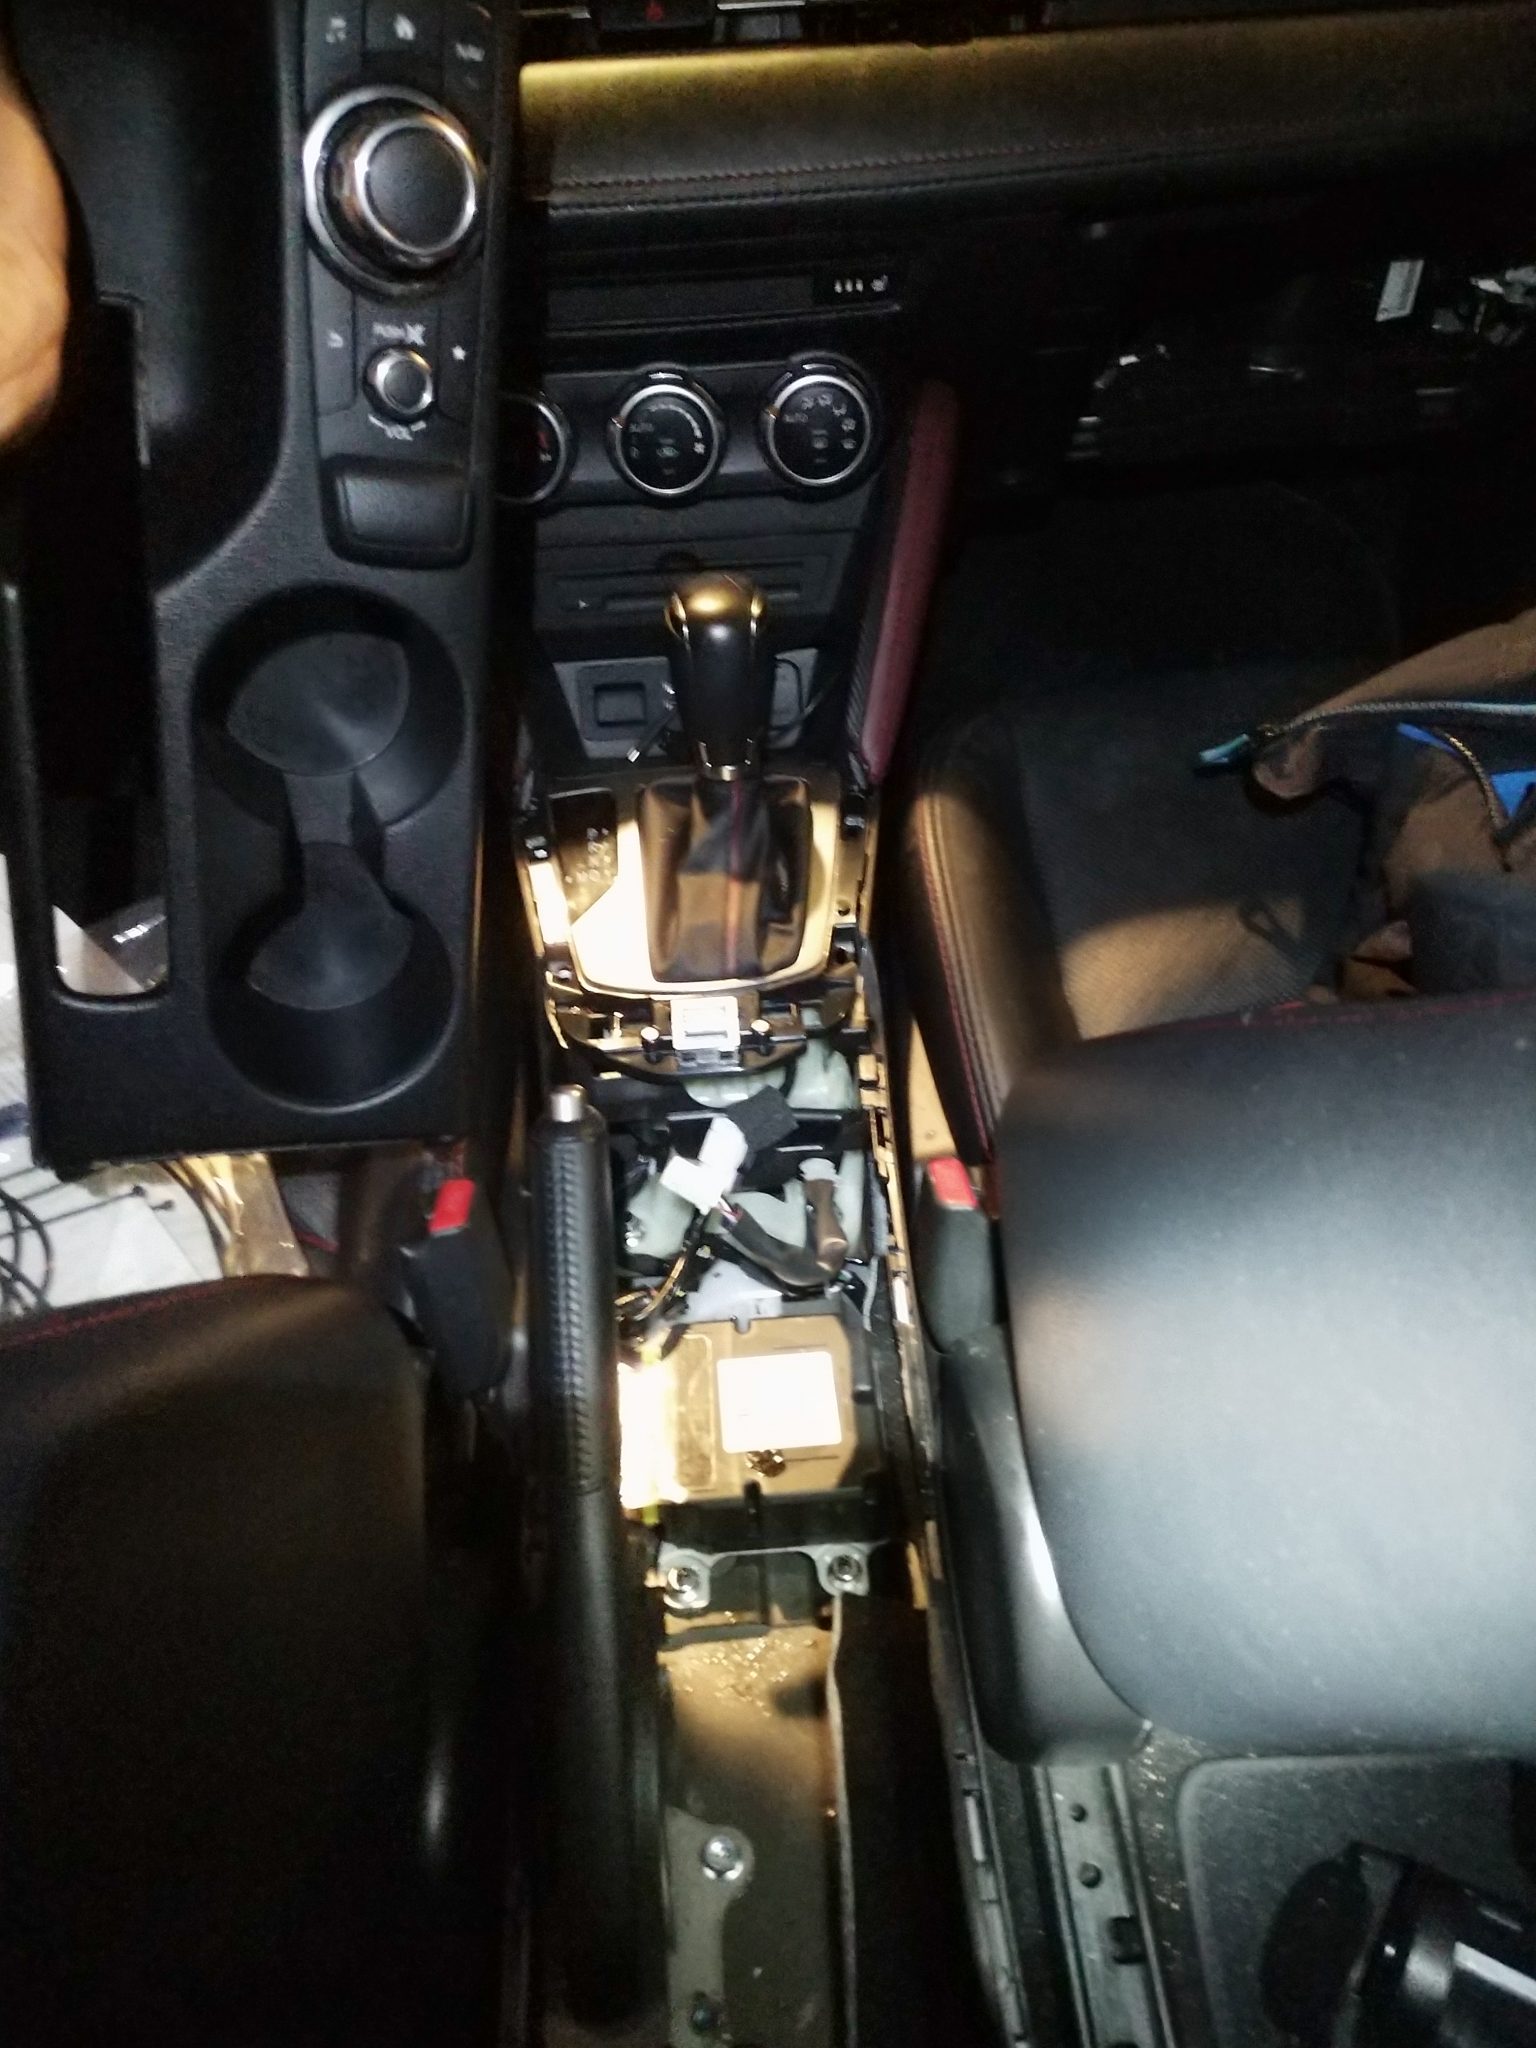
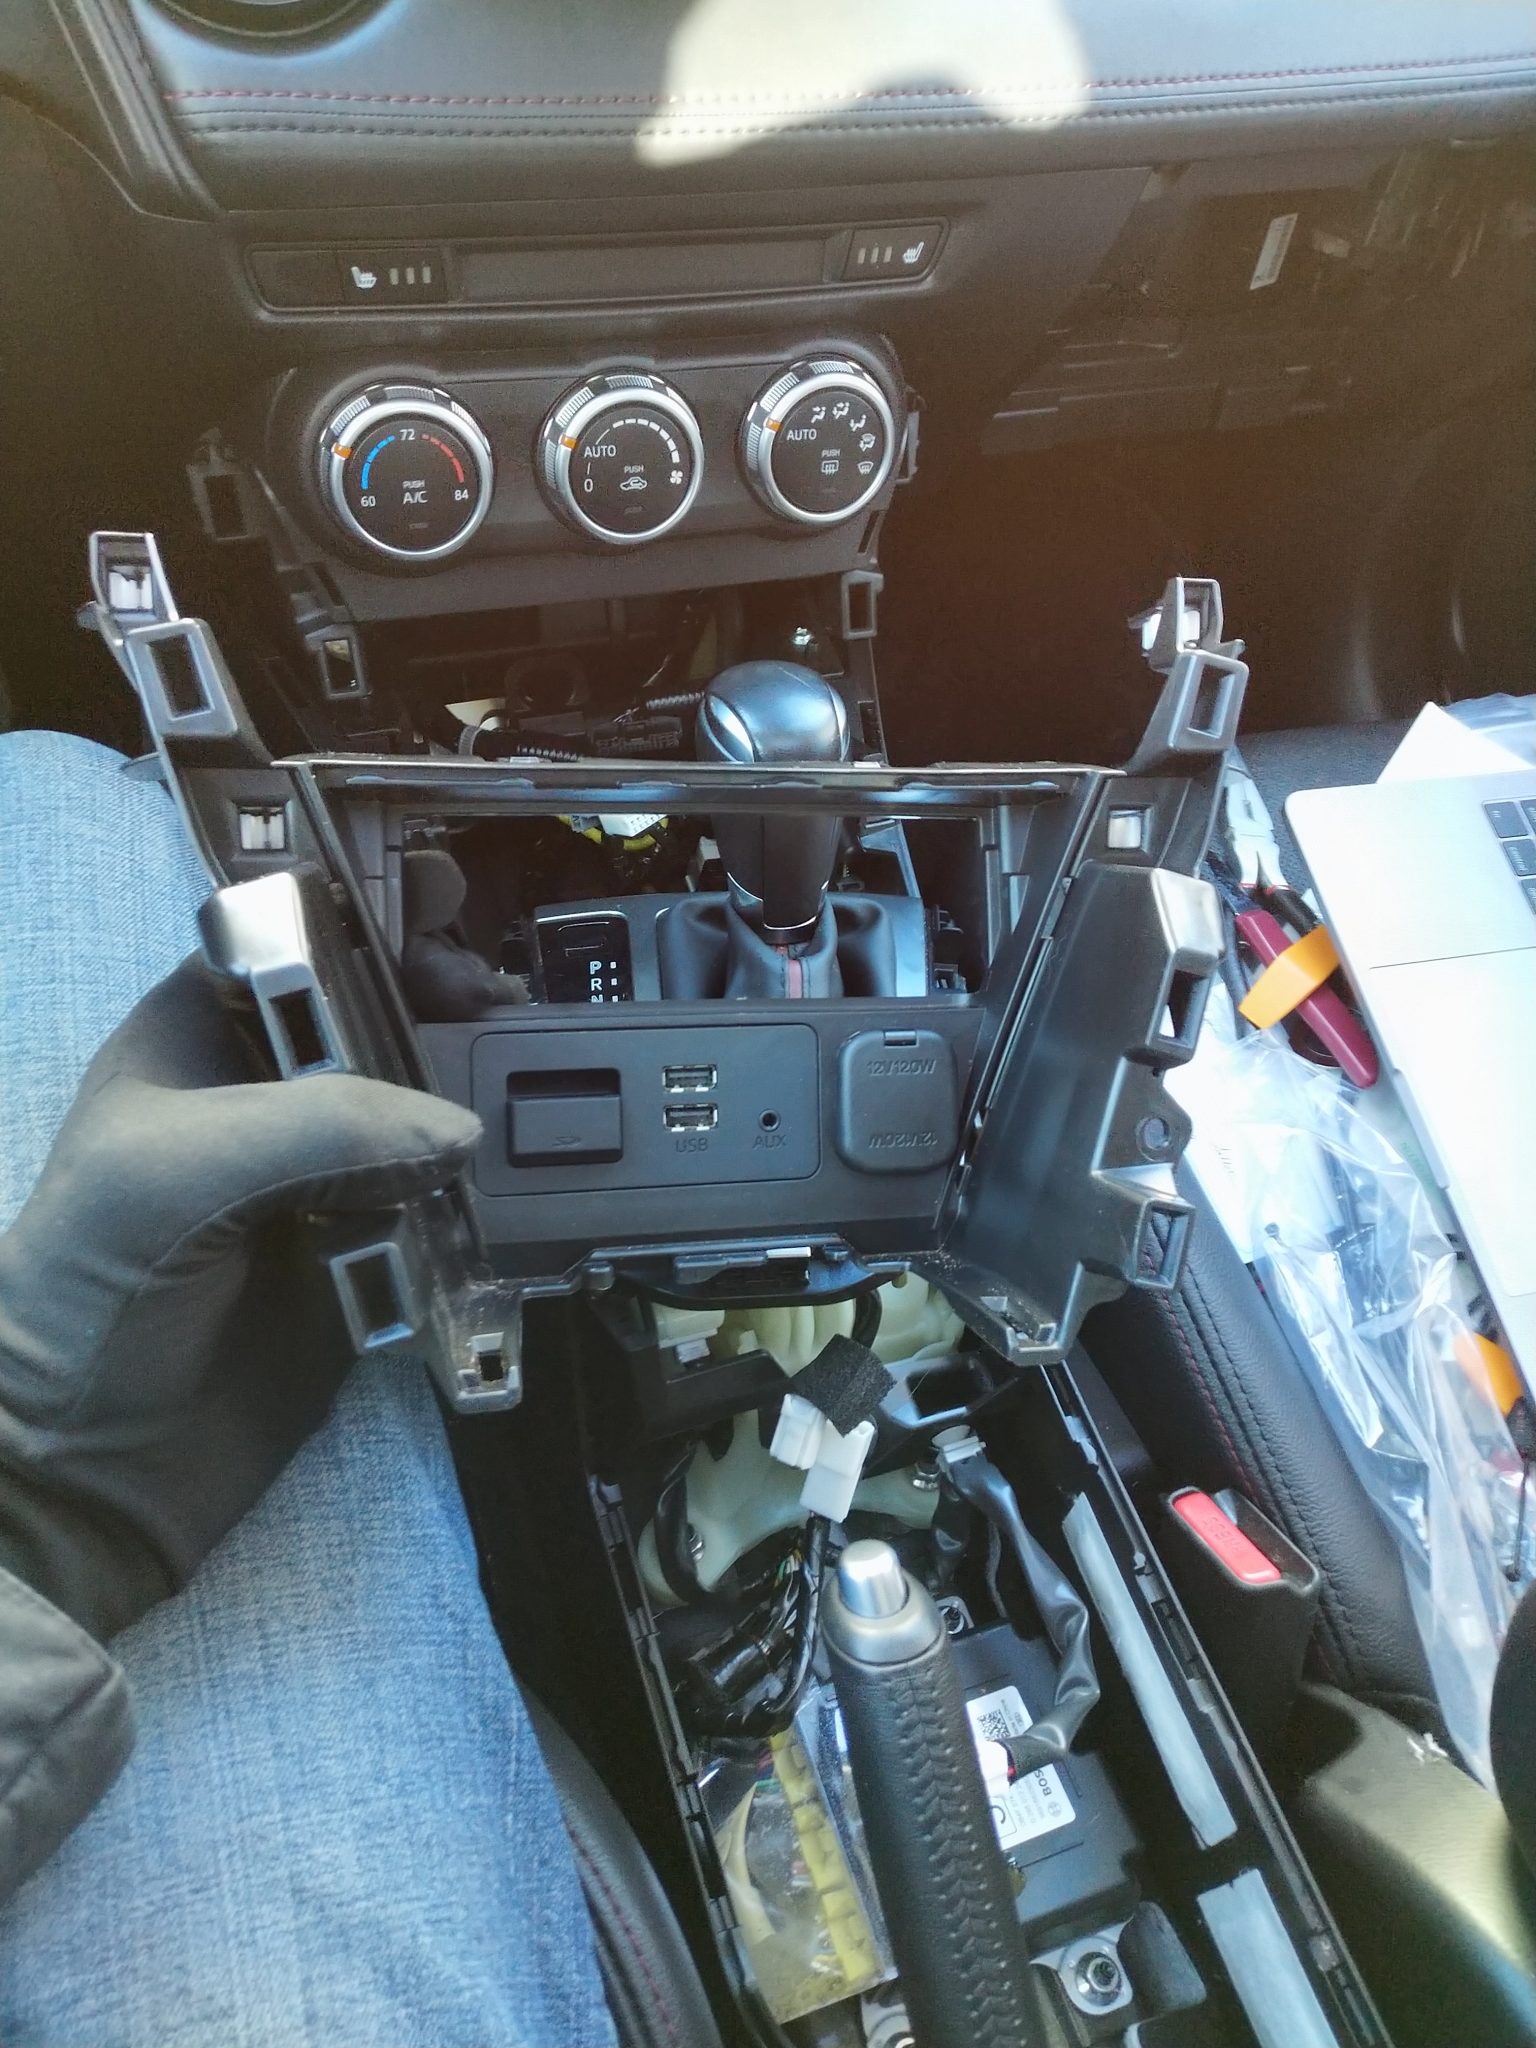
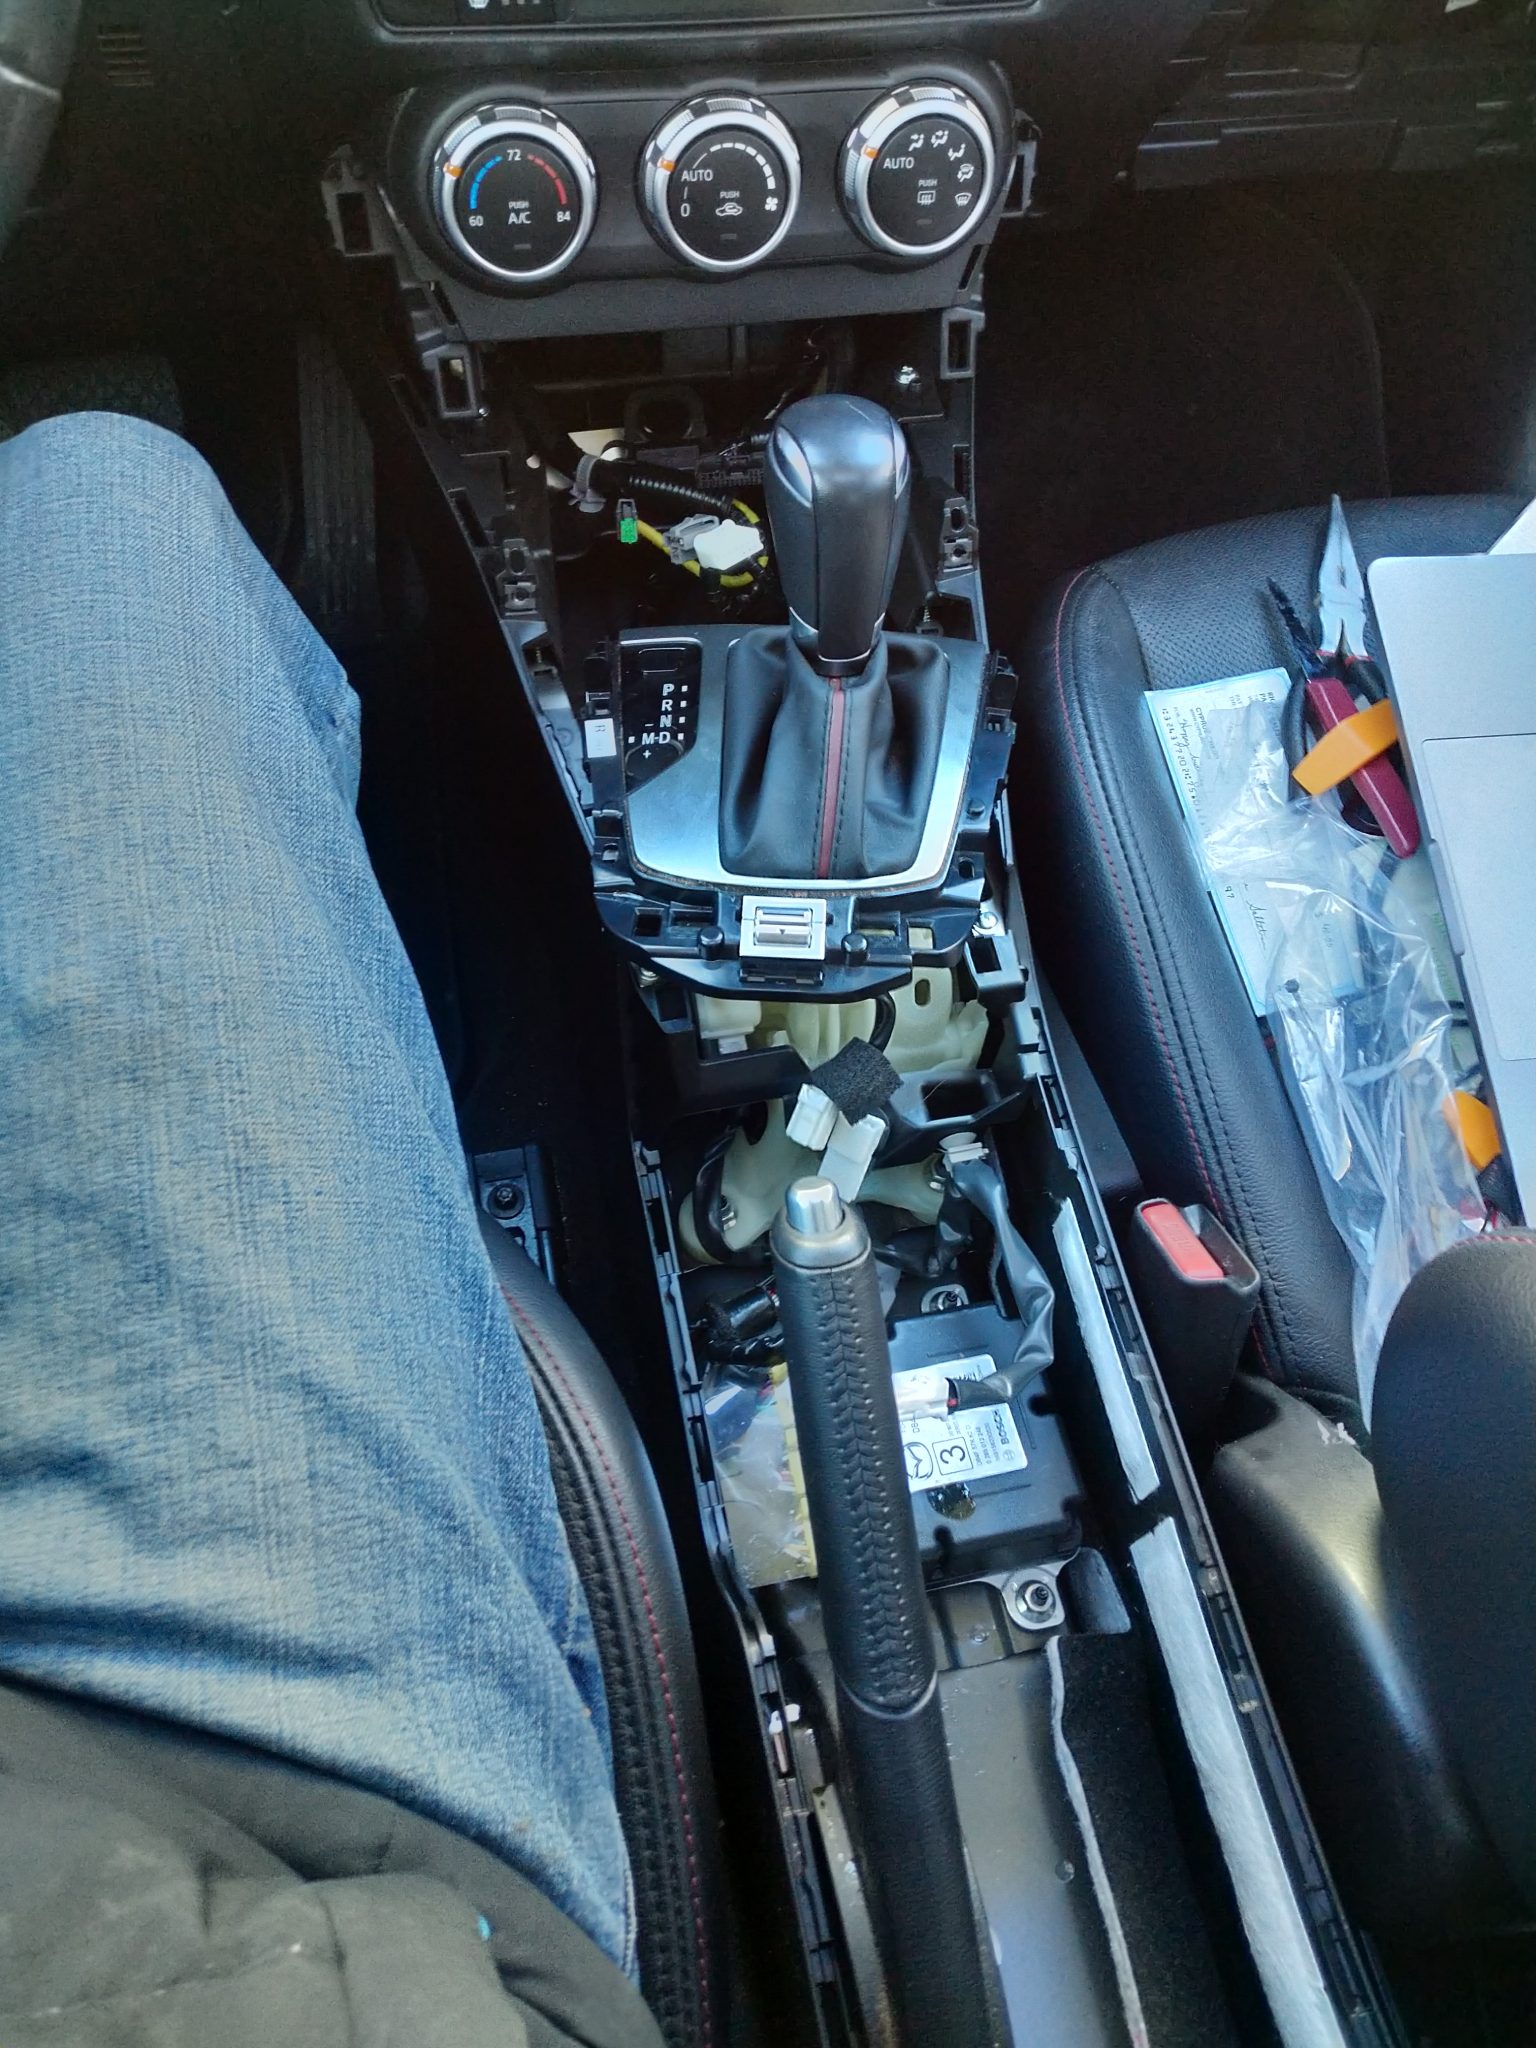
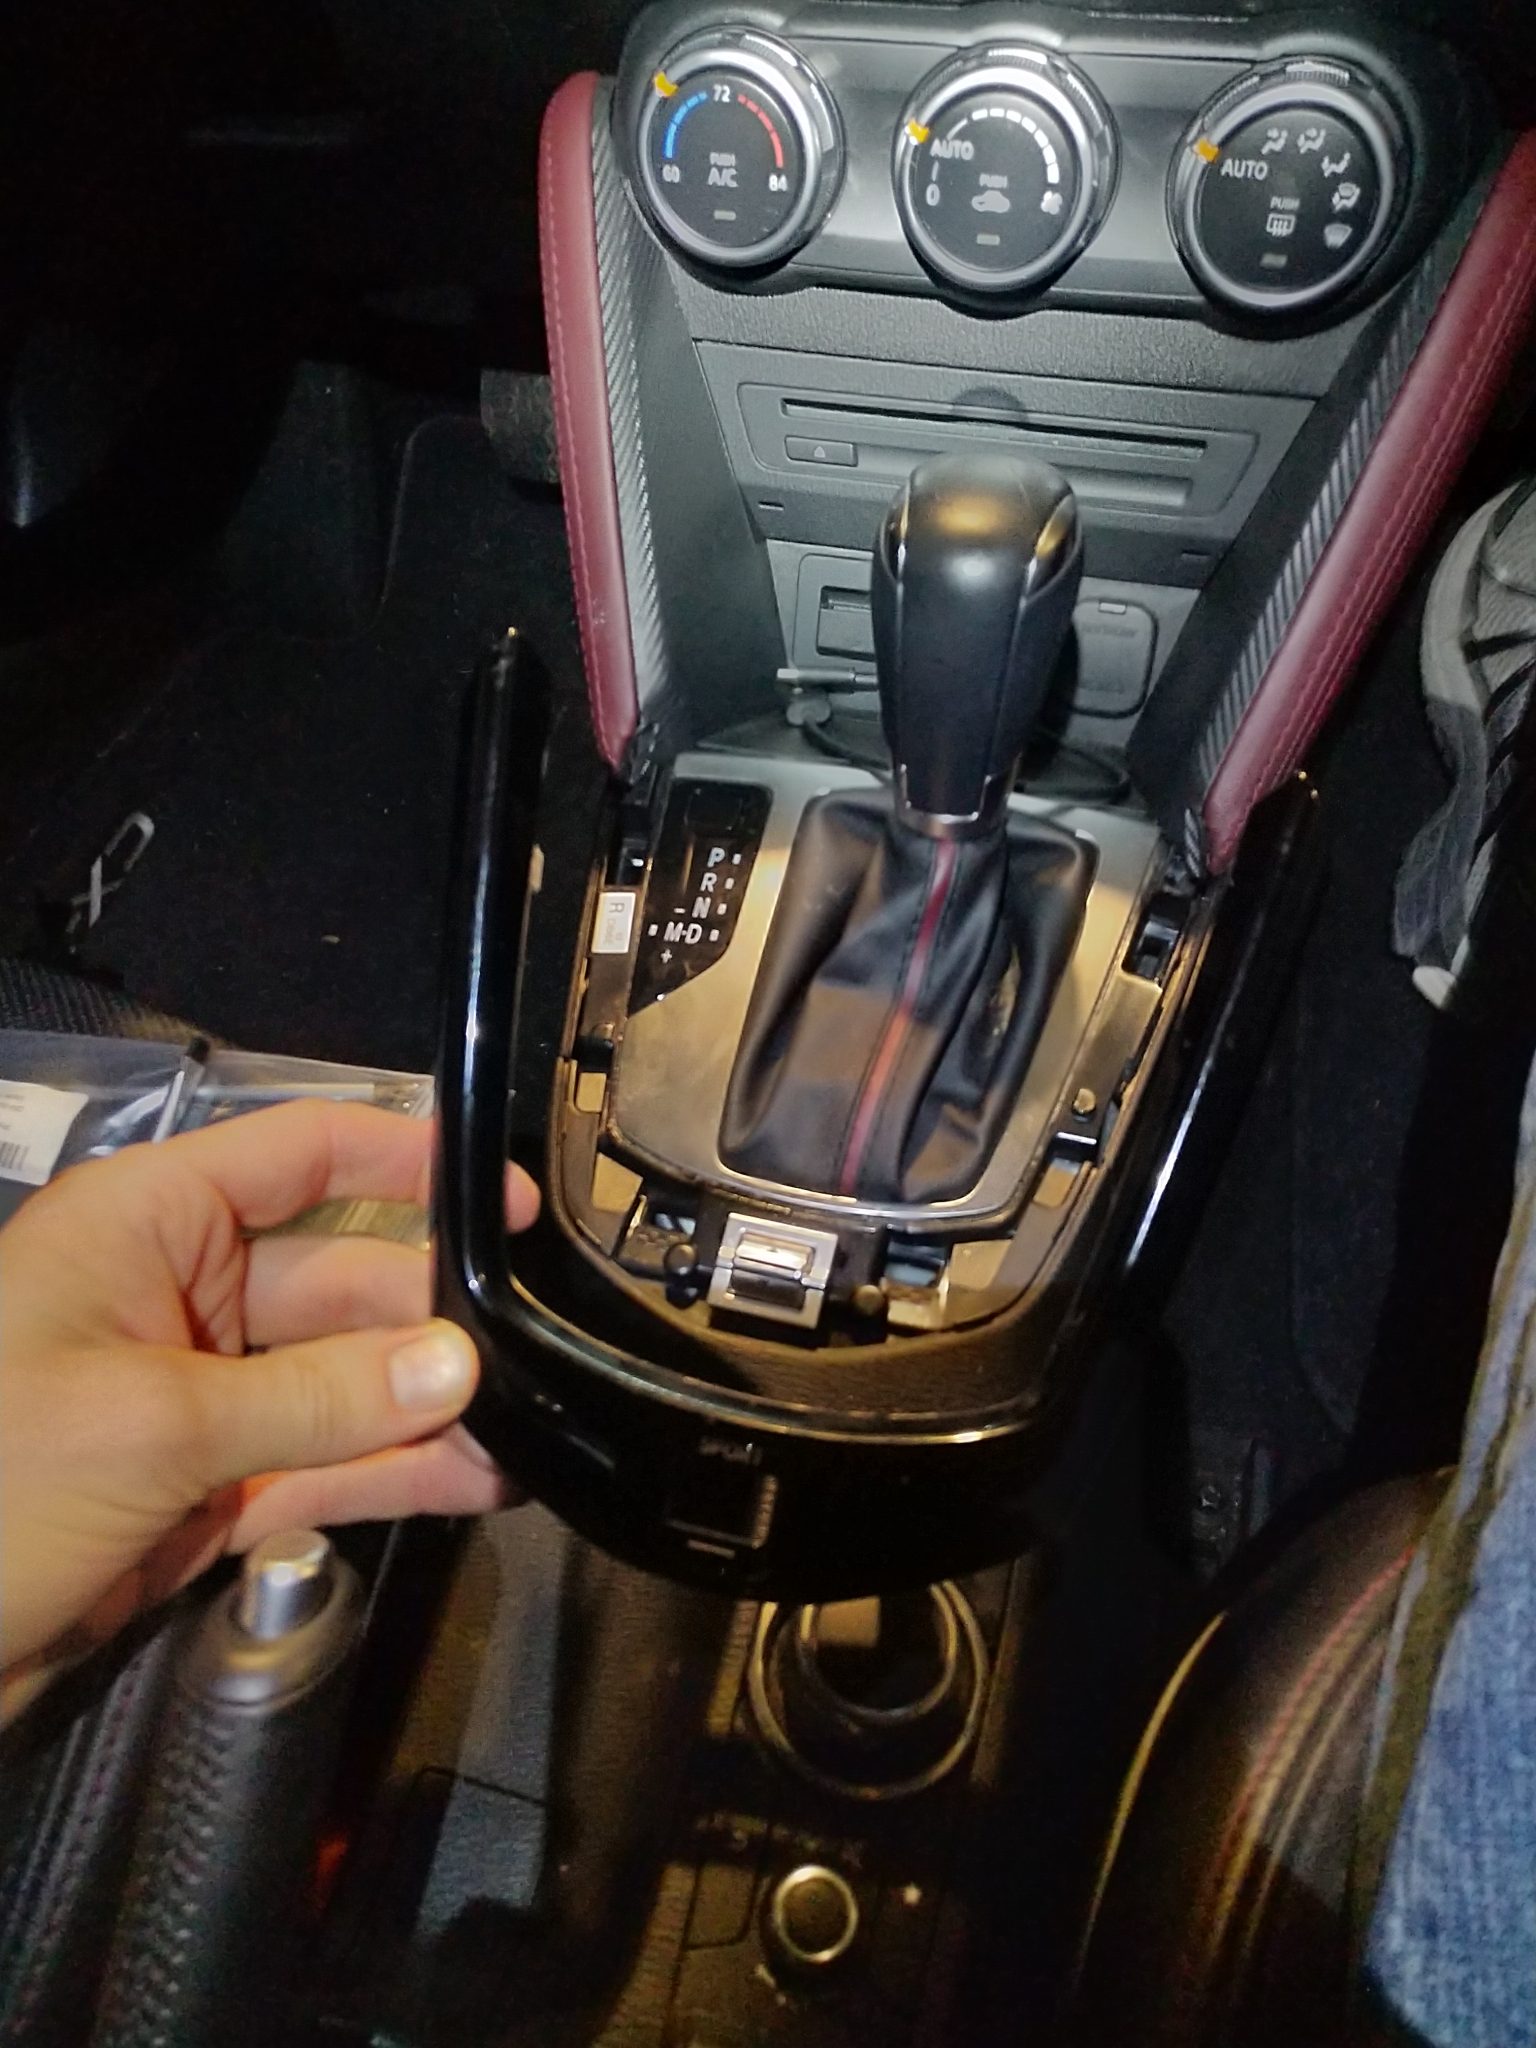
The biggest challenges for me were the armrest and CD player. The rest of it was pretty straightforward. Here are some pictures of the process:
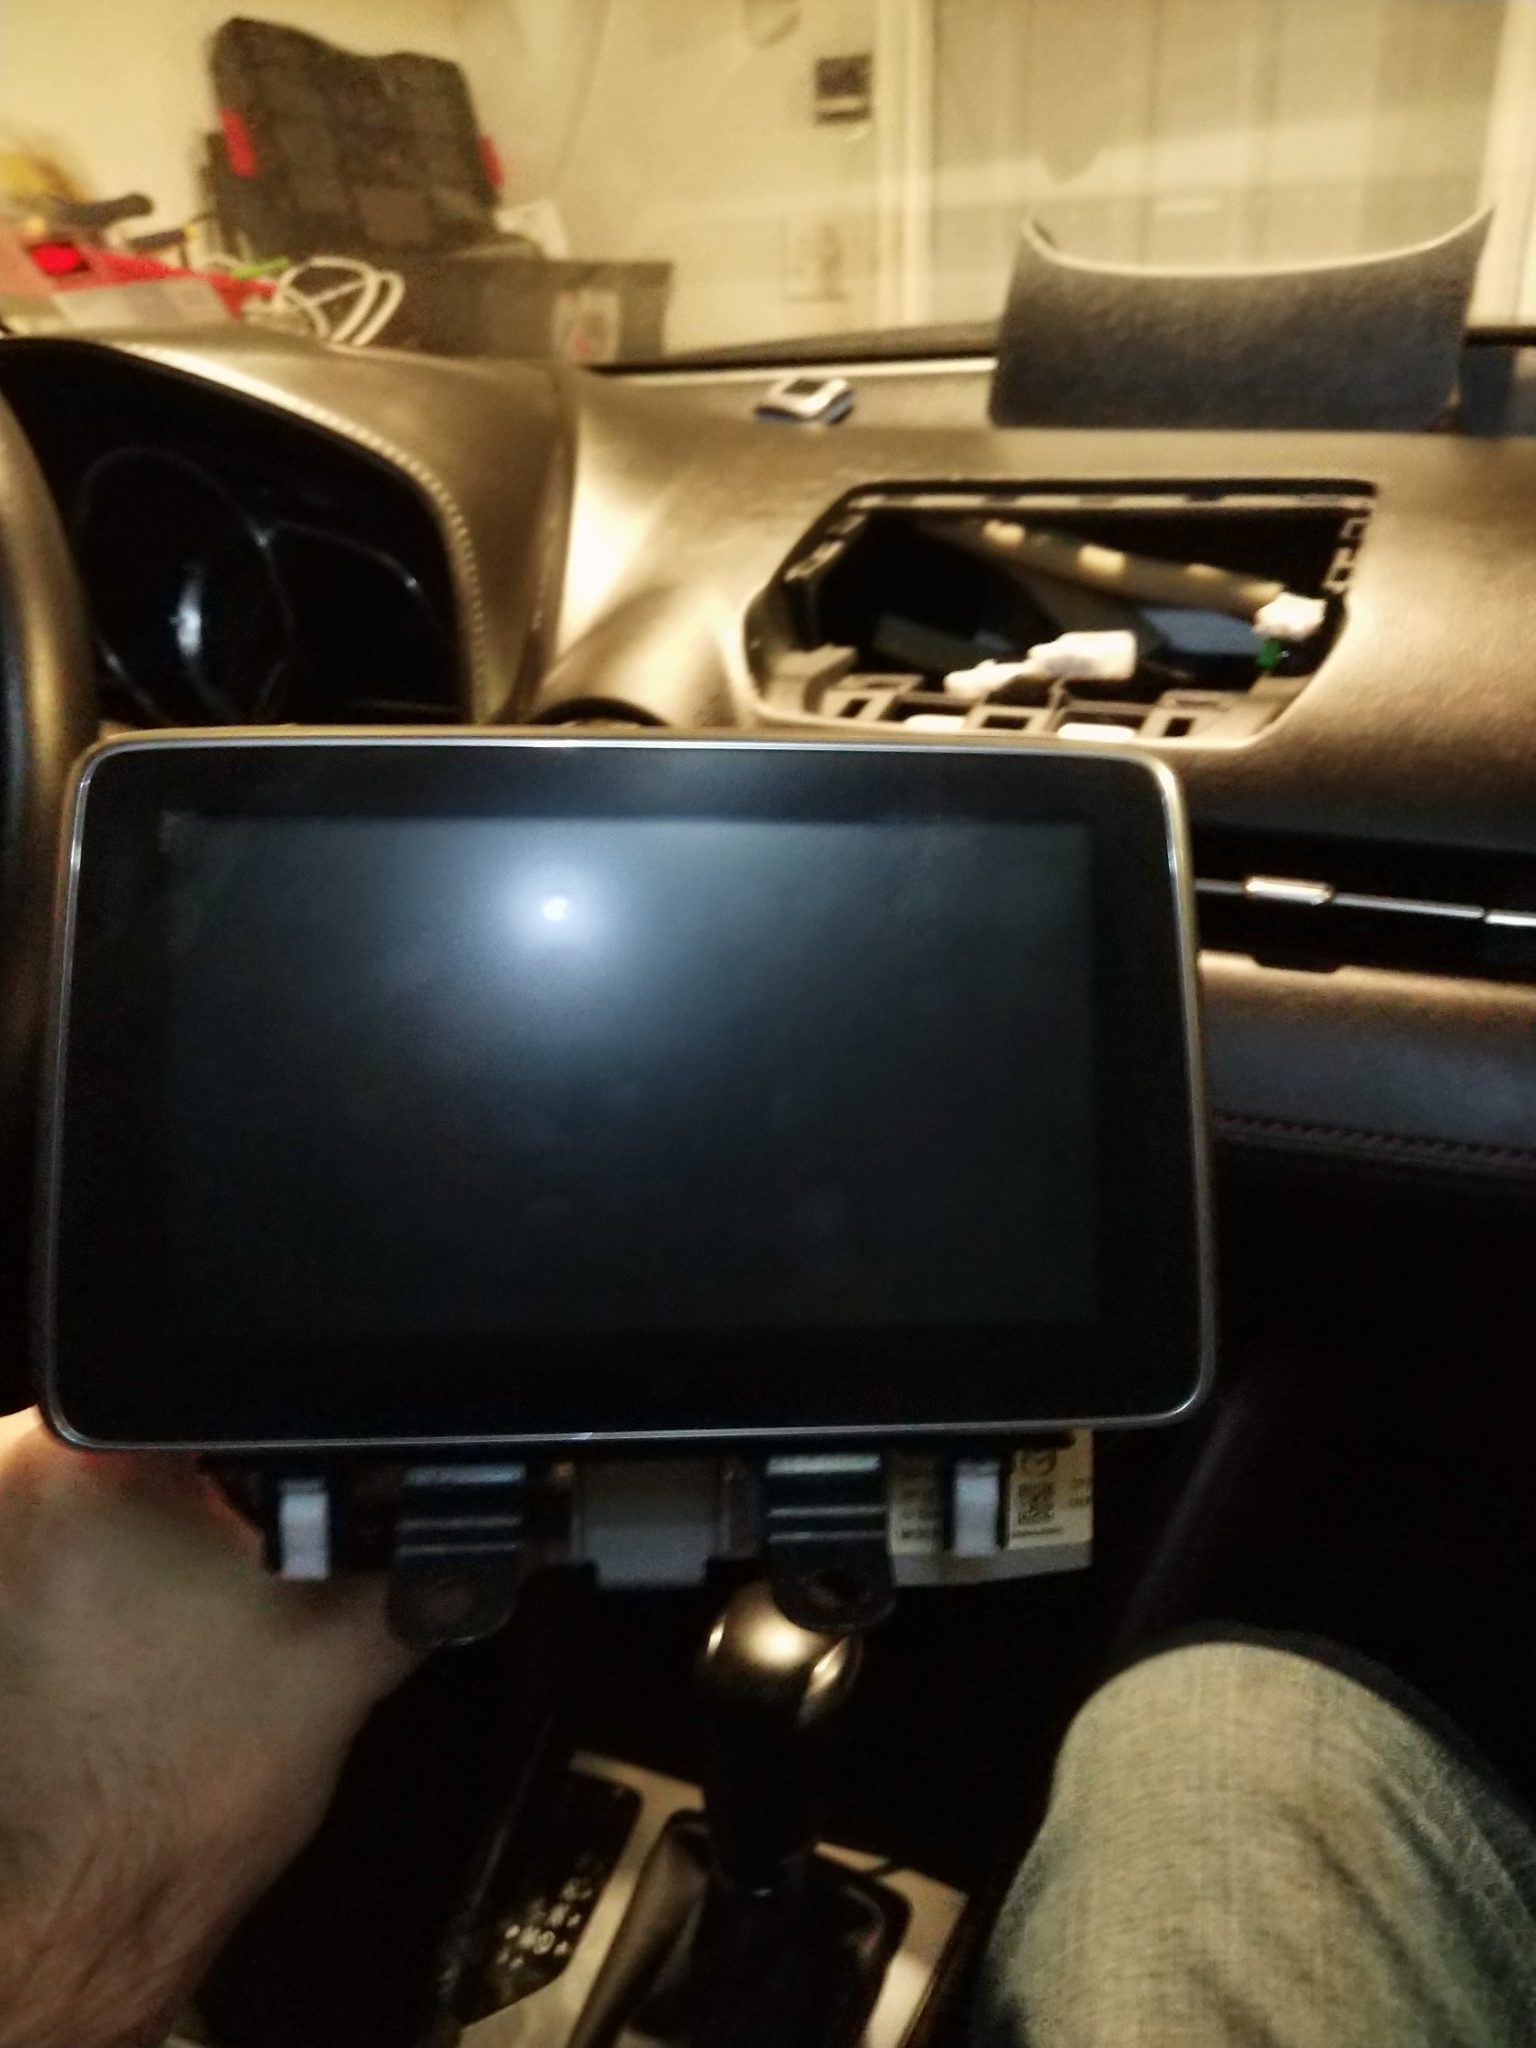
Mazda CX3 CMU removal
CX3 bezel removal
CX3 upper panel removed
CX3 front console removed
CX3 everything removed

Fix USB bluetooth in KDE Plasma on CentOS 7

I spent too many hours trying to figure this stupid thing out.. but FINALLY! I have my bluetooth headset working in CentOS 7 with the KDE 4 Plasma environment. Read on if you dare…

First, you must configure dbus to allow your user to use the bluetooth dongle. Add the following above the closing /busconfig tag.  Be sure to replace USERNAME with your user account:

sudo nano /etc/dbus-1/system.d/bluetooth.conf
  <policy user="USERNAME">
    <allow send_destination="org.bluez"/>
    <allow send_interface="org.bluez.Agent1"/>
    <allow send_interface="org.bluez.GattCharacteristic1"/>
    <allow send_interface="org.bluez.GattDescriptor1"/>
    <allow send_interface="org.freedesktop.DBus.ObjectManager"/>
    <allow send_interface="org.freedesktop.DBus.Properties"/>
  </policy>

Remove and re-plug the adapter in.

Next, follow Arch Linux’s excellent guide on how to pair a bluetooth device using bluetoothctl


bluetoothctl
[bluetooth]# power on
[bluetooth]# agent on
[bluetooth]# default-agent
[bluetooth]# scan on

Now make sure that your headset is in pairing mode. It should be discovered shortly. For example,

[NEW] Device 00:1D:43:6D:03:26 Lasmex LBT10

shows a device that calls itself “Lasmex LBT10” and has MAC address “00:1D:43:6D:03:26”. We will now use that MAC address to initiate the pairing:

[bluetooth]# pair 00:1D:43:6D:03:26

After pairing, you also need to explicitly connect the device (every time?):

[bluetooth]# connect 00:1D:43:6D:03:26

If you’re getting a connection error org.bluez.Error.Failed retry by killing existing PulseAudio daemon first:

$ pulseaudio -k
[bluetooth]# connect 00:1D:43:6D:03:26

Finally, configure pulseaudio to automatically switch all audio to your headset by adding the following line to the bottom of /etc/pulse/default.pa:

nano /etc/pulse/default.pa

# automatically switch to newly-connected devices
load-module module-switch-on-connect

Update 7/27: I rebooted my machine and lost my bluetooth, to my dismay. I discovered that my user needs to be a member of the audio group. Since I’m in an active directory environment I think the local audio group got removed at reboot. So, to restore it, as root I had to run this:

usermod -aG audio <user>

After doing that, to prevent logging out and back in again, you can do the following:

su - <USERNAME>

Once that’s done all the bluetoothctl commands worked again.

Sabrent USB AU-MMSA microphone not working in Windows 10

I recently installed Windows 10 for my gaming VM and discovered that my microphone was no longer working. All the drivers were properly installed and sound worked fine, but there was nothing coming from the microphone.

My gaming VM uses a Sabrent USB External Stereo Sound Adapter model  AU-MMSA passed through for sound. This was most perplexing because it worked in other OSes, but not Windows 10.

After much digging I finally found this youtube video which outlined the problem: Microphone permissions to the system. The hybrid that Windows 10 is between Store apps / permissions and regular desktop apps reminds me of Windows ME. An unholy union.. terrible.

At any rate, the fix is to grant the system permission to use its own microphone, un-granting it first if necessary.

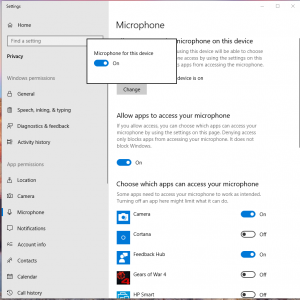
Go to Start / Settings (little gear icon in bottom left) then search for Microphone Privacy Settings. Click the big Change button beneath “Microphone access for this device is on”  at the top of that screen. Change the toggle to “off”, then change it back to “on” again. This fixed my microphone.


Revive an old Samsung Galaxy S3

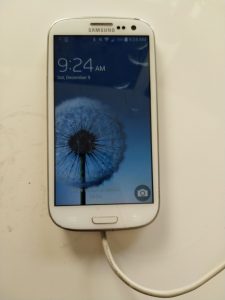
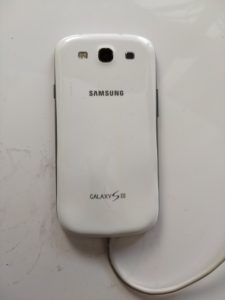
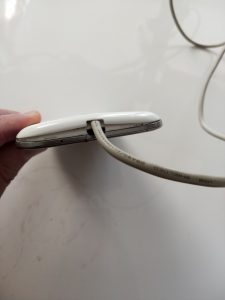
I have an old Samsung Galaxy SIII (S3) that has been collecting dust in my closet. Its batter has swollen to alarming size and as a result it won’t ever turn on (even when plugged in.) I wondered if I could bypass the battery completely and it turns out you can! Thanks to xda forums I was able to hack this old phone to get it to work again.

Here’s the trick:

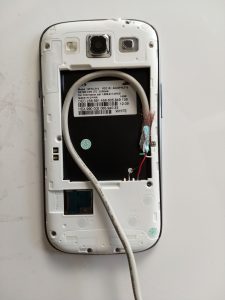
  • Look on the battery for + and – signs. These correspond to the positive and negative terminals on the battery prongs on the phone.
  • Grab any USB cable and cut the micro-usb end off of it. Strip away the shielding until you get the four smaller wires: red, green, white, black. Ignore white and green, we’re interesting in black and red (power)
  • Carefully strip the plastic sheath around red & black wires, and solder them to the battery terminal to the phone (be careful to line up the red wire with + and the black wire with – )
  • Profit! Once you’ve soldered red & black into their appropriate terminals you can plug the other end of the USB cable into a power source and turn the phone on!

Caution: Plugging something that provides power into the MicroUSB port will cause the phone to attempt to charge your “battery.” In my case this was pretty disastrous as the usb cable  got REALLY hot very fast. Not recommended.

VMWare Horizon View Mac client USB Smartcard passthrough

I came across a need to pass through a USB smartcard device to a VM using the VMware Horizon View client for Mac OS. My smart card reader would not show up in the list of devices to redirect to the VM. After doing some research I came across this document which outlines the commands I needed to run:

sudo defaults write com.vmware.viewusb IncludeFamily smart-card
sudo defaults write com.vmware.viewusb AllowSmartcard Enable

You can verify which settings have been applied with the following command:

sudo defaults read com.vmware.viewusb

Success! The client now sees my smartcard reader as an option to pass through to a VM guest.