In trying to passthrough some LSI SAS cards to a VM I kept receiving this error:
kvm: -device vfio-pci,host=0000:03:00.0,id=hostpci0,bus=ich9-pcie-port-1,addr=0x0,rombar=0: vfio 0000:03:00.0: failed to setup container for group 7: Failed to set iommu for container: Operation not permitted
I found on this post that the fix is to add a line to /etc/modprobe.d/vfio.conf with the following:
I just recently got a $40 external SAS adapter for my new storage server. The plan was to create a DAS device from my old NAS chassis and have it be driven by my new storage server (new to me anyway – a Dell PowerEdge R610.) I ordered what was listed simply as “Dell SAS External Dual Ports PCI-E 6GB/S Host Bus Server Adapter 12DNW 342-0910 Consumer Electronics” from Amazon for $40 to accomplish this goal.
When I plugged everything in, to my dismay none of my disks with greater than 2TB capacity showed up. Well, they sort of showed up – they all reported capacities of exactly 2TB. I was clearly running into some sort of firmware issue.
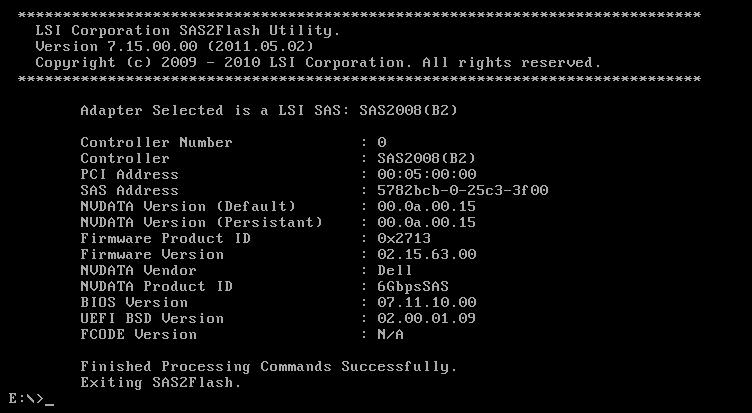
lspci revealed this card uses the LSI SAS2008 chipset, which from what I’ve read is capable of drives greater than 2TB in size. I later found the model number of my card – Dell PERC H200E – which proved to be quite vital information. After hours of digging around in unholy corners of the internet I finally arrived on this Dell Support page. It had exactly what I was hoping for:
ENHANCEMENTS: – Added support for SAS HDDs larger than 2TB
To flash this I chose to create a bootable dos ISO as per the instructions here. First, download the Windows installer, open with your archive program of choice and extract to the folder you’re going to build your ISO from. Then follow the instructions linked to above of downloading a freeDOS ISO, extracting it to the same folder you extracted the firmware to, then running the command to build your ISO (adjust as needed)
I got so far and yet tripped at the finish line. If you simply run flash.bat you’ll be greeted with a message saying no compatible adapters were found. Fortunately that’s a LIE. My savior was this writeup on how to flash certain versions of these cards to IT mode. I didn’t care about IT mode (my card is not a RAID card) but it had the information I needed. Here are the magic commands!
sas2flsh -listall
#Use the number in the first column to get the SAS Address for the card.
sas2flsh -c 0 -list
#Write down the SAS Address and continue to the next steps.
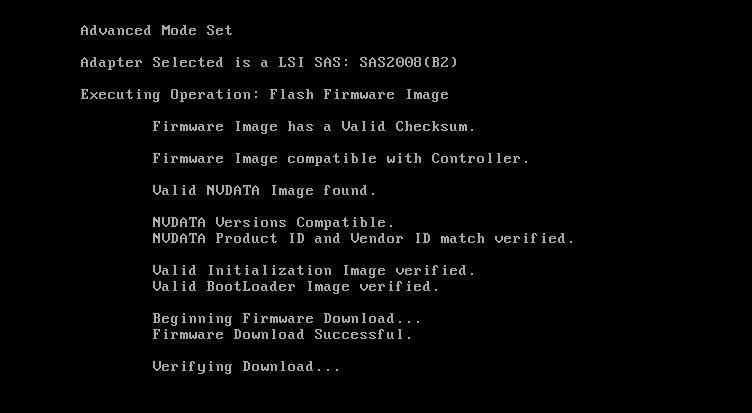
sas2flsh -o -f 6GBPSAS.FW
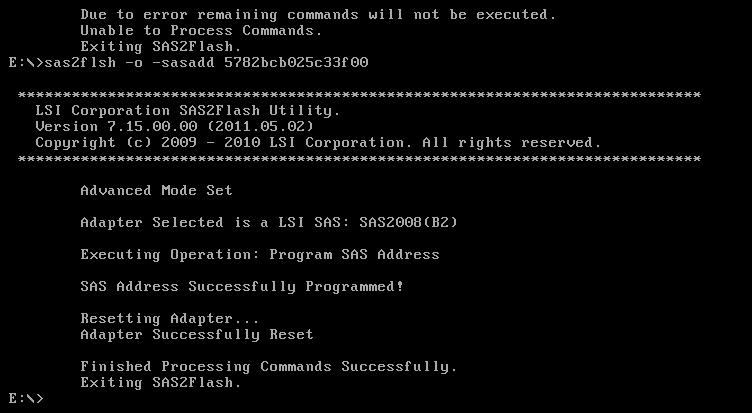
sas2flsh -o -sasadd 5xxxxxxxxxxxxxxx (replace this address with the one you wrote down in the first steps).
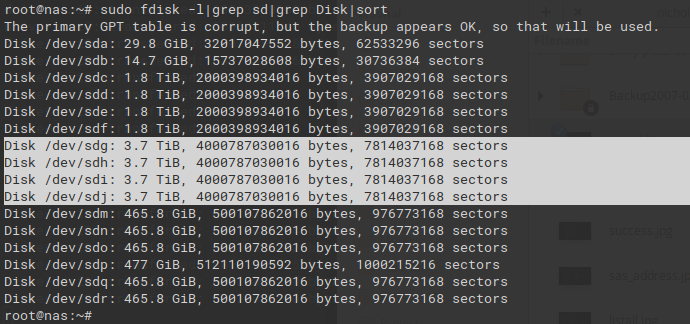
Reboot, and finally, after hours of banging my head on the wall… success!!!
These 4 drives were only being reported as 2TB before
I had some issues with my 4tb+ drives dropping out of my zpools. I found better firmware to flash in order to fix it. It was very frustrating to flash, however. I tried following the instructions as laid out here but I was met with this lovely message:
"Cannot Flash IT Firmware over IR Firmware"..
I found this guide on how to use the megarec utility to wipe the firmware in order to flash over properly. I was able to find the megarec utility here.
I very frustratingly found I couldn’t use the megarec utility on my Dell server; megarec would simply hang
I ended up taking the card out and putting it into my desktop to run megarec commands. Comically, my desktop had a chipset that caused sas2flash not to work!! It would fail with the message
Failed to initialize PAL
Instructions per this page were to boot to EFI and run the flash utilities there, but that desktop didn’t have an EFI shell and I couldn’t get it to boot one from USB.
My final resort: an even older desktop (my Dad’s old PC, circa 2008.) It did the deed!
FINALLY
With both utilities working I was still having trouble with sas2flash erroring out on me. I finally found the wise words from fourlynx on this homelab reddit discussion on the final song and dance I had to perform to get my Dell H200 card to work with the LSI firmware I wanted
Flash to Dell 6GBPSAS.FW
I used megarec to wipe the card first before it would let me install that firmware
Erase the card
sas2flsh -o -e 7 -c 0
Flash to 6GBPSAS.FW again
sas2flsh -o -f 6GBPSAS.FW
If asked me to state a firmware, I entered 6GBPSAS.FW, waited for it to finish, then ran the sas2flsh command (flashed a total of 3 times the same firmware.)
Reboot
Finally flash LSI firmware
sas2flsh -o -f 2118it.bin
No need to flash BIOS (-b flag) if not going to boot from that controller. Also no need to set SAS address if it’s the only card in the server.
Words of wisdom from fourlynx:
For what concerns your case, I’d try to flash it to the Dell firmware first (any of your choice, for H200I, H200A or with the 6GBPSAS.fw). From there, clear it completely sas2flsh -o -e 7 -c 0 and flash the 6GBPSAS.fw before rebooting. You should now have better luck in crossflashing that to the LSI firmware. Note that you’ll need to use the v5 or v7 version of the flasher to do this step as newer versions will refuse to crossflash. You can then flash the bootloader for EFI (x64sas2.rom) or for BIOS (mptsas2.rom) at your leisure according to what you’re going to use, or flash both, or none if you’re not going to boot from those drives at all but instead use an USB key.
megarec -cleanflash 0 is equivalent to sas2flsh -o -e 7, btw, and the megarec -writesbr sbrempty.bin command that is often found in guides is only relevant when coming from a M1015 afaik, so not being able to use megarec is not a show stopper.
I feel I should add that, contrary to what seems the popular opinion in the various guides, these cards aren’t really easy to brick and I haven’t managed to achieve that despite all the experiments I’ve subjected them to 🙂
Update 3/8/2020
I still had issues with a drive popping out of the array so I found this page with an even better firmware for my card:
I recently acquired a Dell PowerEdge R610 and had a hard time getting its iDRAC to work properly on my ElementaryOS setup (Ubuntu 18.04 derivative.) I had two problems: Connection failed error and keyboard not working.
The post explains the problem is with the security settings of Java 8+ preventing the connection. I didn’t know where my security file was so I first ran a quick find command to find it:
sudo find / -name java.security
In my case it was located in /etc/java-11-openjdk/security/java.security
The last step was to remove RC4 from the list of blacklisted ciphers, as this is the cause of the problem.
Update 2022-04-13 I recently had an issue where the keyboard didn’t work despite having Java 8. I fixed it by going to Tools and checking “Pass all keystrokes to server” within the jvm window.
My system was defaulting to using JRE 11, which apparently causes the keyboard to not function at all. I found on this reddit post that you really need an older version of Java. To do so on Ubuntu 18.04 you need to install it along with the icedtea plugin and run update-alternatives
sudo apt install openjdk-8-jre icedtea-8-plugin
Edit /etc/java-8-openjdk/security/java.security and remove the restriction on the RC4 algorhythm. Then configure the system to run java 8:
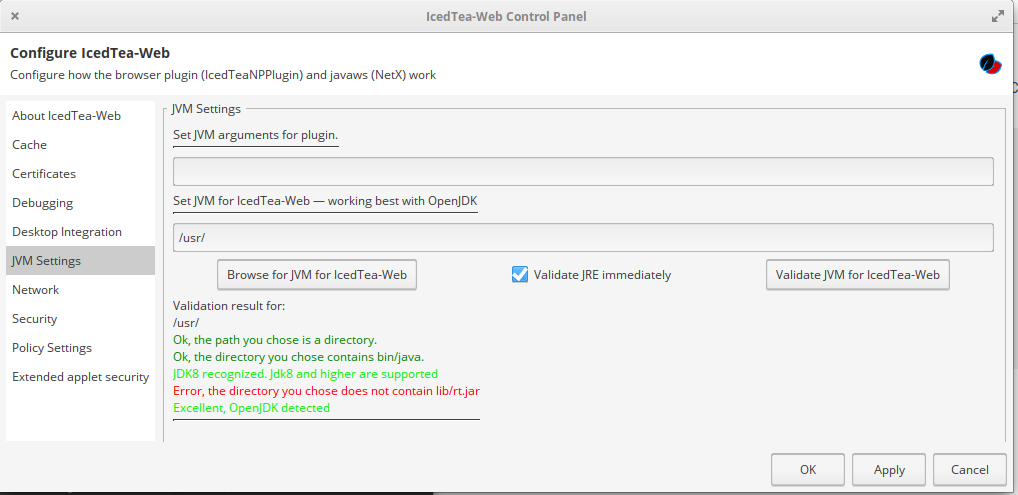
Lastly, configure the icedtea plugin to run Java 8 instead of 11, because for some reason this plugin ignores the system java settings. Launch the IcedTea Web Control panel (find it in your system menu) and then Navigate to JVM settings. Enter /usr/ in the section “Set JVM for IcedTea-Web – working best with OpenJDK” section. Then hit Apply / OK
Phew. FINALLY you should be able to use iDRAC 6 on your modern Ubuntu system.
Update 12/17/2019: Added logic to wait for VM to be suspended before suspending the shypervisor
Update 12/8/2019: After switching VMs I needed to tweak the pair of scripts. I modified it to make all the magic happen on the hypervisor; the VM simply needs to SSH into the hypervisor and call the script. The hypervisor now also needs access to SSH via public key to the VM to tell it to suspend.
#!/bin/sh
#ProxMox suspend script part 1 of 2
#To be run on the VM
#All this does is call the suspend script on the hypervisor
#This could also just be a bash alias

####### Variables #########
HYPERVISOR=        #Name / IP of the hypervisor
SSH_USER=          #User to SSH into hypervisor as
HYPERVISOR_SCRIPT= #Path to part 2 of the script on the hypervisor

####### End Variables ######

#Execute server suspend script
ssh $SSH_USER@$HYPERVISOR "$HYPERVISOR_SCRIPT" &
#!/bin/bash
#ProxMox suspend script part 2 of 2
#Script to run on the hypervisor, it waits for VM to suspend and then suspends itself
#It relies on passwordless sudo configured on the VM as well as SSH keys to allow passwordless SSH access to the VM from the hypervisor
#It resumes the VM after it resumes itself
#Called from the VM

########### Variables ###############

VM=             #Name/IP of VM to SSH into
VM_SSH_USER=    #User to ssh into the vm with
VMID=           #VMID of VM you wish to suspend

########### End Variables############

#Tell guest VM to suspend
ssh $VM_SSH_USER@$VM "sudo systemctl suspend"

#Wait until guest VM is suspended, wait 5 seconds between attempts
while [ "$(qm status $VMID)" != "status: suspended" ]
do
    echo "Waiting for VM to suspend"
    sleep 5
done

#Suspend hypervisor
systemctl suspend

#Resume after shutdown
qm resume $VMID
I have a desktop running ProxMox. My GUI is handled via a virtual machine with physical hardware passed through it. The challenge with this setup is getting suspend & resume to work properly. I got it to work by suspending the VM first, then the host; on resume, I power up the host first, then resume the VM. Doing anything else would cause hardware passthrough problems that would force me to reboot the VM.
I automated the suspend process by using two scripts: one for the VM, and one for the hypervisor. The first script is run on the VM. It makes an SSH command to the hypervisor (thanks to this post) to instruct it to run the second half of the script; then initiates a suspend of the VM.
The second half of the script waits a few seconds to allow the VM to suspend itself, then instructs the hypervisor to also go into suspend. I had to split these into two scripts because once the VM is suspended, it can’t issue any more commands. Suspending the hypervisor must happen after the VM itself is suspended.
Here is script #1 (to be run on the VM) It assumes you have already set up a private/public key pair to allow for passwordless login into the hypervisor from the VM.
#!/bin/sh
#ProxMox suspend script part 1 of 2
#Tto be run on the VM so it suspends before the hypervisor does

####### Variables #########
HYPERVISOR=HYPERVISOR_NAME_OR_IP
SSH_USER=SSH_USER_ON_HYPERVISOR
HYPERVISOR_SCRIPT_LOCATION=NAME_AND_LOCATION_OF_PART2_OF_SCRIPT

####### End Variables ######

#Execute server suspend script, then suspend VM
ssh $SSH_USER@$HYPERVISOR  $HYPERVISOR_SCRIPT_LOCATION &

#Suspend
systemctl suspend
Here is script #2 (which script #1 calls), to be run on the hypervisor
#!/bin/bash
#ProxMox suspend script part 2 of 2
#Script to run on the hypervisor, it waits for VM to suspend and then suspends itself
#It resumes the VM after it resumes itself

########### Variables ###############

#Specify VMid you wish to suspend
VMID=VMID_OF_VM_YOU_WANT_TO_SUSPEND

########### End Variables############

#Wait 5 seconds before doing anything to allow for VM to suspend
sleep 5

#Suspend hypervisor
systemctl suspend

#Resume after shutdown
qm resume $VMID
I recently decided to amplify my VFIO experience by experimenting with passing my primary display adapter to a VM in proxmox. Previously I had just run tasksel on the proxmox host itself to install a GUI. I wanted better separation from the server side of proxmox and the client side. I also wanted to be able to distro-hop while maintaining the proxmox backend.
Initially I tried following my guide for passing through a secondary graphics card but ran into a snag. It did not work with my primary card and kept outputting these errors:
device vfio-pci,host=09:00.0,id=hostdev0,bus=pci.4,addr=0x0: Failed to mmap 0000:09:00.0 BAR 1. Performance may be slow
After much digging I finally found this post which explained I needed to unbind a few things for it to work properly:
After more searching I found this post on reddit which had a nifty script for automating this when VM startup is desired. I tweaked it a bit to suit my needs.
Find your IDs for GPU by doing lspci and looking for your adapter. Find the IDs by running lspci -n -s <GPU location discovered with lspci>. Lastly VMID is the promxox ID for the VM you wish to start.
#!/bin/sh
#Script to launch Linux desktop
#Adapted from from https://www.reddit.com/r/VFIO/comments/abfjs8/cant_seem_to_get_vfio_working_with_qemu/?utm_medium=android_app&utm_source=share
GPU=09:00
GPU_ID="10de 1c82"
GPU_AUDIO="10de 0fb9"
VMID=116
# Remove the framebuffer and console
echo 0 > /sys/class/vtconsole/vtcon0/bind
echo 0 > /sys/class/vtconsole/vtcon1/bind
echo efi-framebuffer.0 > /sys/bus/platform/drivers/efi-framebuffer/unbind
# Unload the Kernel Modules that use the GPU
modprobe -r nvidia_drm
modprobe -r nvidia_modeset
modprobe -r nvidia
modprobe -r snd_hda_intel
# Load the vfio kernel module
modprobe vfio
modprobe vfio_iommu_type1
modprobe vfio-pci
#Assign card to vfio-pci
echo -n "${GPU_ID}" > /sys/bus/pci/drivers/vfio-pci/new_id
echo -n "${GPU_AUDIO}" > /sys/bus/pci/drivers/vfio-pci/new_id
#Start desktop
sudo qm start $VMID
#Wait here until the VM is turned off
while [ "$(qm status $VMID)" != "status: stopped" ]
do
sleep 5
done
#Reassign primary graphics card back to host
echo -n "0000:${GPU}.0" > /sys/bus/pci/drivers/vfio-pci/unbind
echo -n "0000:${GPU}.1" > /sys/bus/pci/drivers/vfio-pci/unbind
echo -n "${GPU_ID}" > /sys/bus/pci/drivers/vfio-pci/remove_id
echo -n "${GPU_AUDIO}" > /sys/bus/pci/drivers/vfio-pci/remove_id
rmmod vfio-pci
modprobe nvidia
modprobe nvidia_drm
modprobe nvidia_modeset
modprobe snd_hda_intel
sleep 1
echo -n "0000:${GPU}.0" > /sys/bus/pci/drivers/nvidia/bind
echo -n "0000:${GPU}.1" > /sys/bus/pci/drivers/snd_hda_intel/bind
sleep 1
echo efi-framebuffer.0 > /sys/bus/platform/drivers/efi-framebuffer/bind
echo 1 > /sys/class/vtconsole/vtcon0/bind
echo 1 > /sys/class/vtconsole/vtcon1/bind
With my primary adapter passed through I realized I also want other things passed through, mainly USB. I tried Proxmox’s USB device passthrough options but it doesn’t work well with USB audio (stutters and choppy.) I wanted to pass through my whole USB controller to the VM.
This didn’t work as well as I had planned due to IOMMU groups. A great explanation of IOMMU groups can be found here. I had to figure out which of my USB controllers were in which IOMMU group to see if I could pass the whole thing through or not (some of them were in the same IOMMU group as SATA & network controllers, which I did not want to pass through to the VM.)
Fortunately I was able to discover which USB controllers I could safely pass through first by running lspci to see the device ID, then running find to see which IOMMU group it was in, then checking against lspci to see what other devices were in that group. The whole group comes over together when you pass through to a VM.
First determine the IDs of your USB controllers
lspci | grep USB

01:00.0 USB controller: Advanced Micro Devices, Inc. [AMD] Device 43ba (rev 02)
08:00.0 USB controller: Renesas Technology Corp. uPD720201 USB 3.0 Host Controller (rev 03)
0a:00.3 USB controller: Advanced Micro Devices, Inc. [AMD] Device 145c
43:00.3 USB controller: Advanced Micro Devices, Inc. [AMD] Device 145c
Next get which IOMMU group these devices belong to
As you can see one of my USB controllers (01:00.0) has a whole bunch of stuff in its IOMMU group, so I don’t want to use it lest I bring all those other things into the VM with it. The other three, though, are isolated in their groups and thus are perfect for passthrough.
In my case I passed through 0a:00.3 & 43:00.3 as 08:00.0 is a PCI card I want passed through to my Windows VM. This passed through about 2/3 of the USB ports on my system to my guest VM.
I have a new Ubiquiti Unifi Security Gateway Pro 4 which is pretty neat; however, the Unifi web interface is pretty limited. Most advanced firewall functions must be configured outside of the GUI. One must create a .json file with the configuration they need, copy that file to the Unifi controller, and then force a provision of the gateway to get it to pick up the new config.
I wanted a way to automate this process but very frustratingly Ubiquiti hasn’t documented their Unifi Controller API. I had to resort to reverse engineering their API by using my browser’s developer console to figure out which API calls were needed to do what I wanted. I then took the API functions from https://dl.ui.com/unifi/5.10.25/unifi_sh_api (the current unifi controller software download link which has unifi_sh_api) and embedded them into a bash script. Thanks to this forum post for the information on how to do this.
This bash script copies the specified config file to the Unifi controller via SCP, then uses curl to issue the API call to tell the controller to force a provision to the device having the supplied mac address.
#!/bin/bash
# Written by Nick Jeppson 08/01/2019
# Inspired by posts made from ubiquiti forums: https://community.ui.com/questions/API/82a3a9c7-60da-4ec2-a4d1-cac68e86b53c
# API interface functions taken from unifi_sh_api shipped with controller version 5.10.25, https://dl.ui.com/unifi/5.10.25/unifi_sh_api
#
# This bash script copies the specified config file to the Unifi controller via SCP
# It then uses curl to issue an API call to tell the controller to force a provision to the device with the supplied mac address.

#### BEGIN VARIABLES ####
#Fill out to match your environment

gateway_mac="12:34:56:78:90:ab" #MAC address of the gateway you wish to manage
config_file="your_config_file.json"   #Path to config file
unifi_server="unifi_server_name"         #Name/IP of unifi controller server
unifi_gateway_path="/usr/lib/unifi/data/sites/default/config.gateway.json"    #Path to config.gateway.json on the controller
ssh_user="root"                 #User to SSH to controller as
username="unifi_admin_username"             #Unifi username
password="unifi_admin_password" #Unifi password
baseurl="https://unifi_server_name:8443" #Unifi URL
site="default"                  #Unifi site the gateway resides in

#### END VARIABLES ####

#Copy updated config to controller
scp $config_file $ssh_user@$unifi_server:$unifi_gateway_path

#API interface functions
cookie=$(mktemp)
curl_cmd="curl --tlsv1 --silent --cookie ${cookie} --cookie-jar ${cookie} --insecure "
unifi_login() {
    # authenticate against unifi controller
    ${curl_cmd} --data "{\"username\":\"$username\", \"password\":\"$password\"}" $baseurl/api/login
}

unifi_logout() {
    # logout
    ${curl_cmd} $baseurl/logout
}

unifi_api() {
    if [ $# -lt 1 ] ; then
        echo "Usage: $0 <uri> [json]"
        echo "    uri example /stat/sta "
        return
    fi
    uri=$1
    shift
    [ "${uri:0:1}" != "/" ] && uri="/$uri"
    json="$@"
    [ "$json" = "" ] && json="{}"
    ${curl_cmd} --data "$json" $baseurl/api/s/$site$uri
}

#Trigger a provision
unifi_login
unifi_api /cmd/devmgr {\"mac\": \"$gateway_mac\", \"cmd\": \"force-provision\"}
unifi_logout
No more manually clicking provision after manually editing the config file on the controller!
My recent distro hopping has found some distros don’t let you change your monitor’s refresh rate via the GUI. After a while I found this post which explains the syntax for xrandr to force the refresh rate of 100hz (adjust to your liking)
xrandr --output DP-0 --mode 3440x1440 --rate 100
Create an auto start item with this line of code in it to get this to happen automatically on startup.
I’ve been on a quest to find a decent looking doorbell camera that is easy on the wallet while also allowing for local storage recording (no cloud subscription.)
Note this doorbell will ONLY work with MECHANICAL wired chimes. I could not get it to work with my digital chime (it would just chime incessantly or not power up the doorbell camera properly depending on how I used the dummy resistor provided.)
Installation was pretty straightforward. Make sure you have a good transformer and not a terrible one like I had. Connecting it to your WiFi network is a bit different. You have to use the Hik-Connect app to create a QR code with your wifi settings. The you simply need to point the QR code to the camera, and after a moment it will announce it connected to your network.
Once connected you can access the device via web browser by IP address (or continue using the hik-connect app.) The web interface requires a stupid plugin to work properly. Make sure you use IE or older Firefox version for plugin to work. The default username is admin, and the default password is admin+verification code found on the device sticker. For example, “adminHLPVTL”
Sign in on https://www.hik-connect.com/ and register device with hik-connect to get the doorbell button to do something instead of just saying “no account found.”
To configure with Zoneminder or other DVR software, the RTSP URL is as follows:
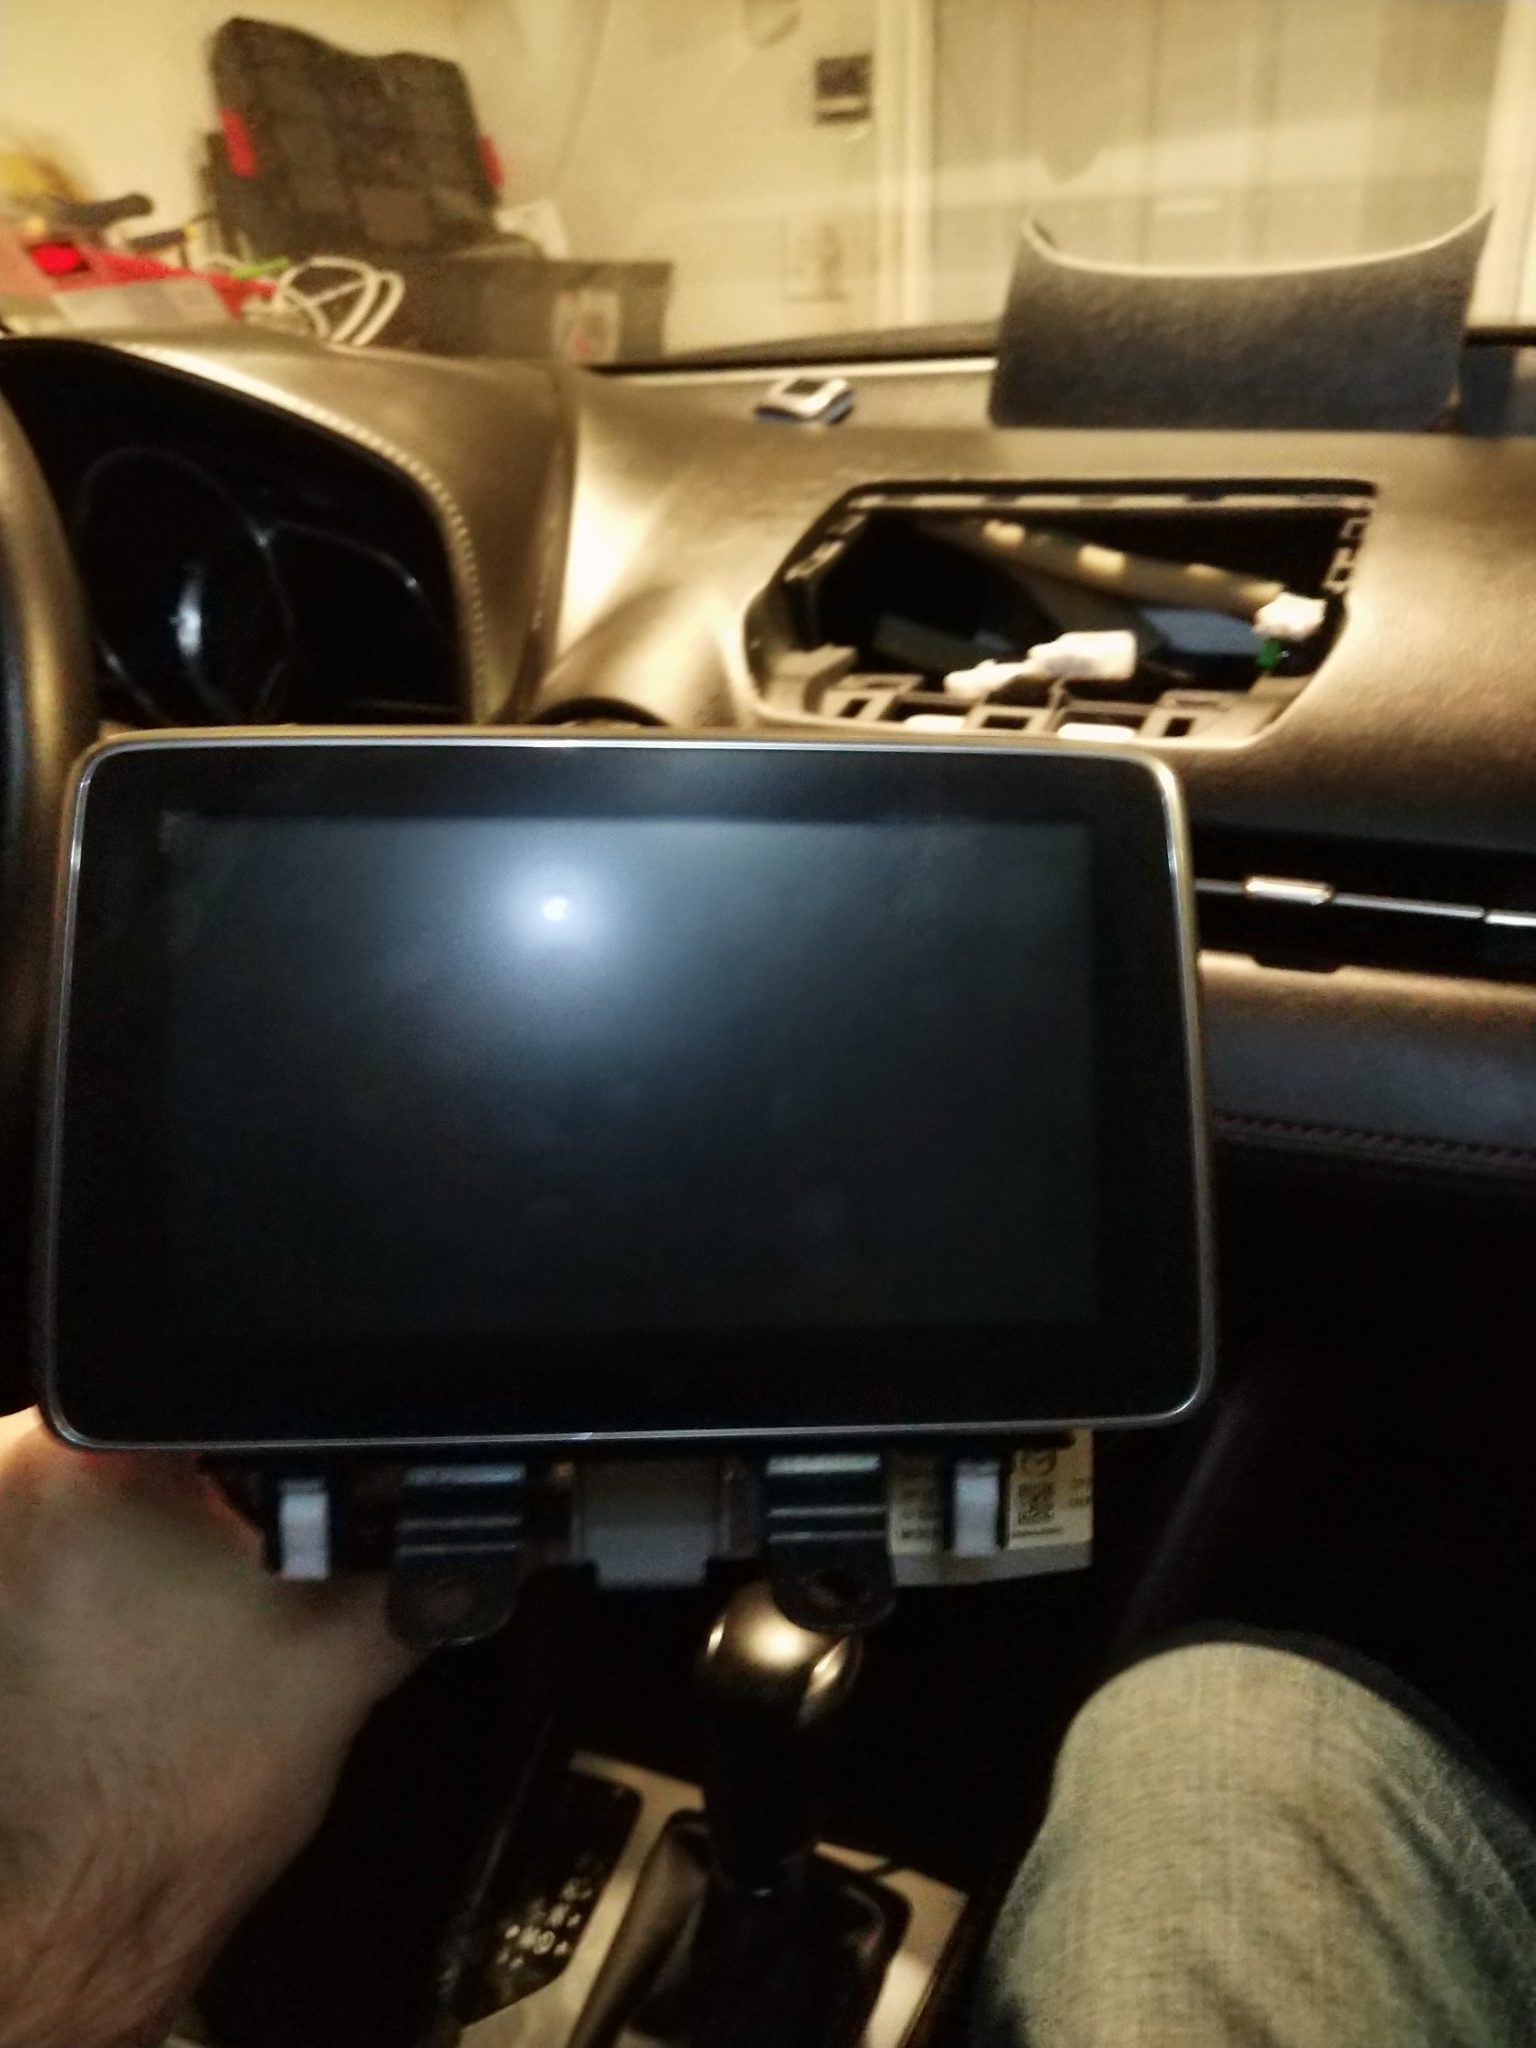
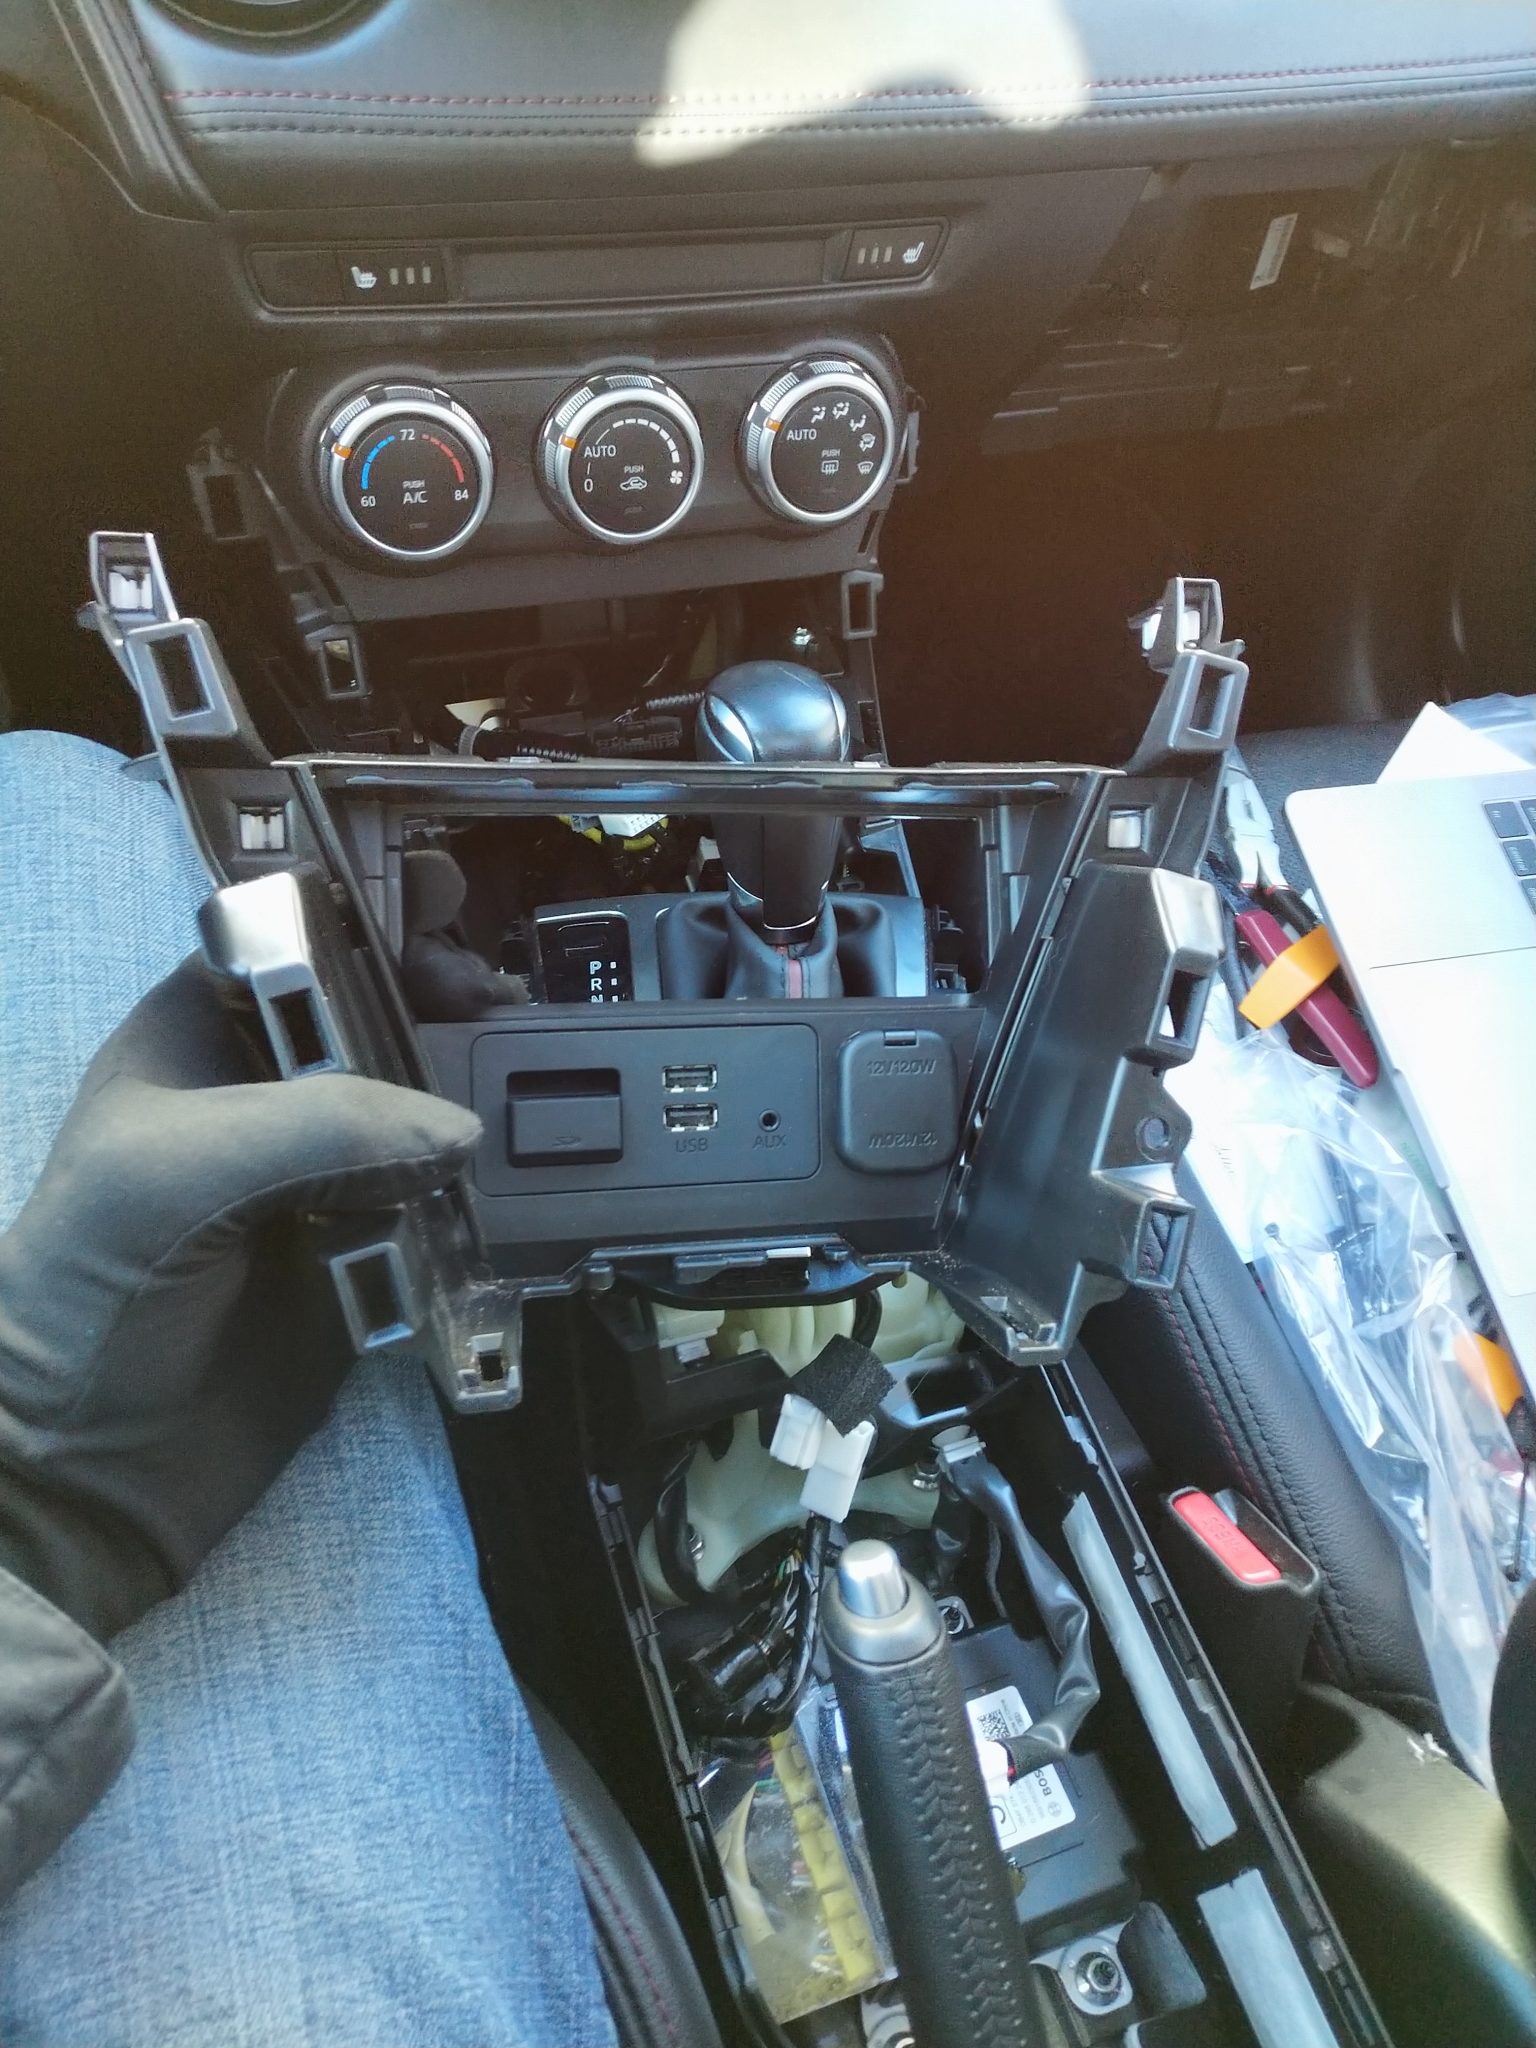
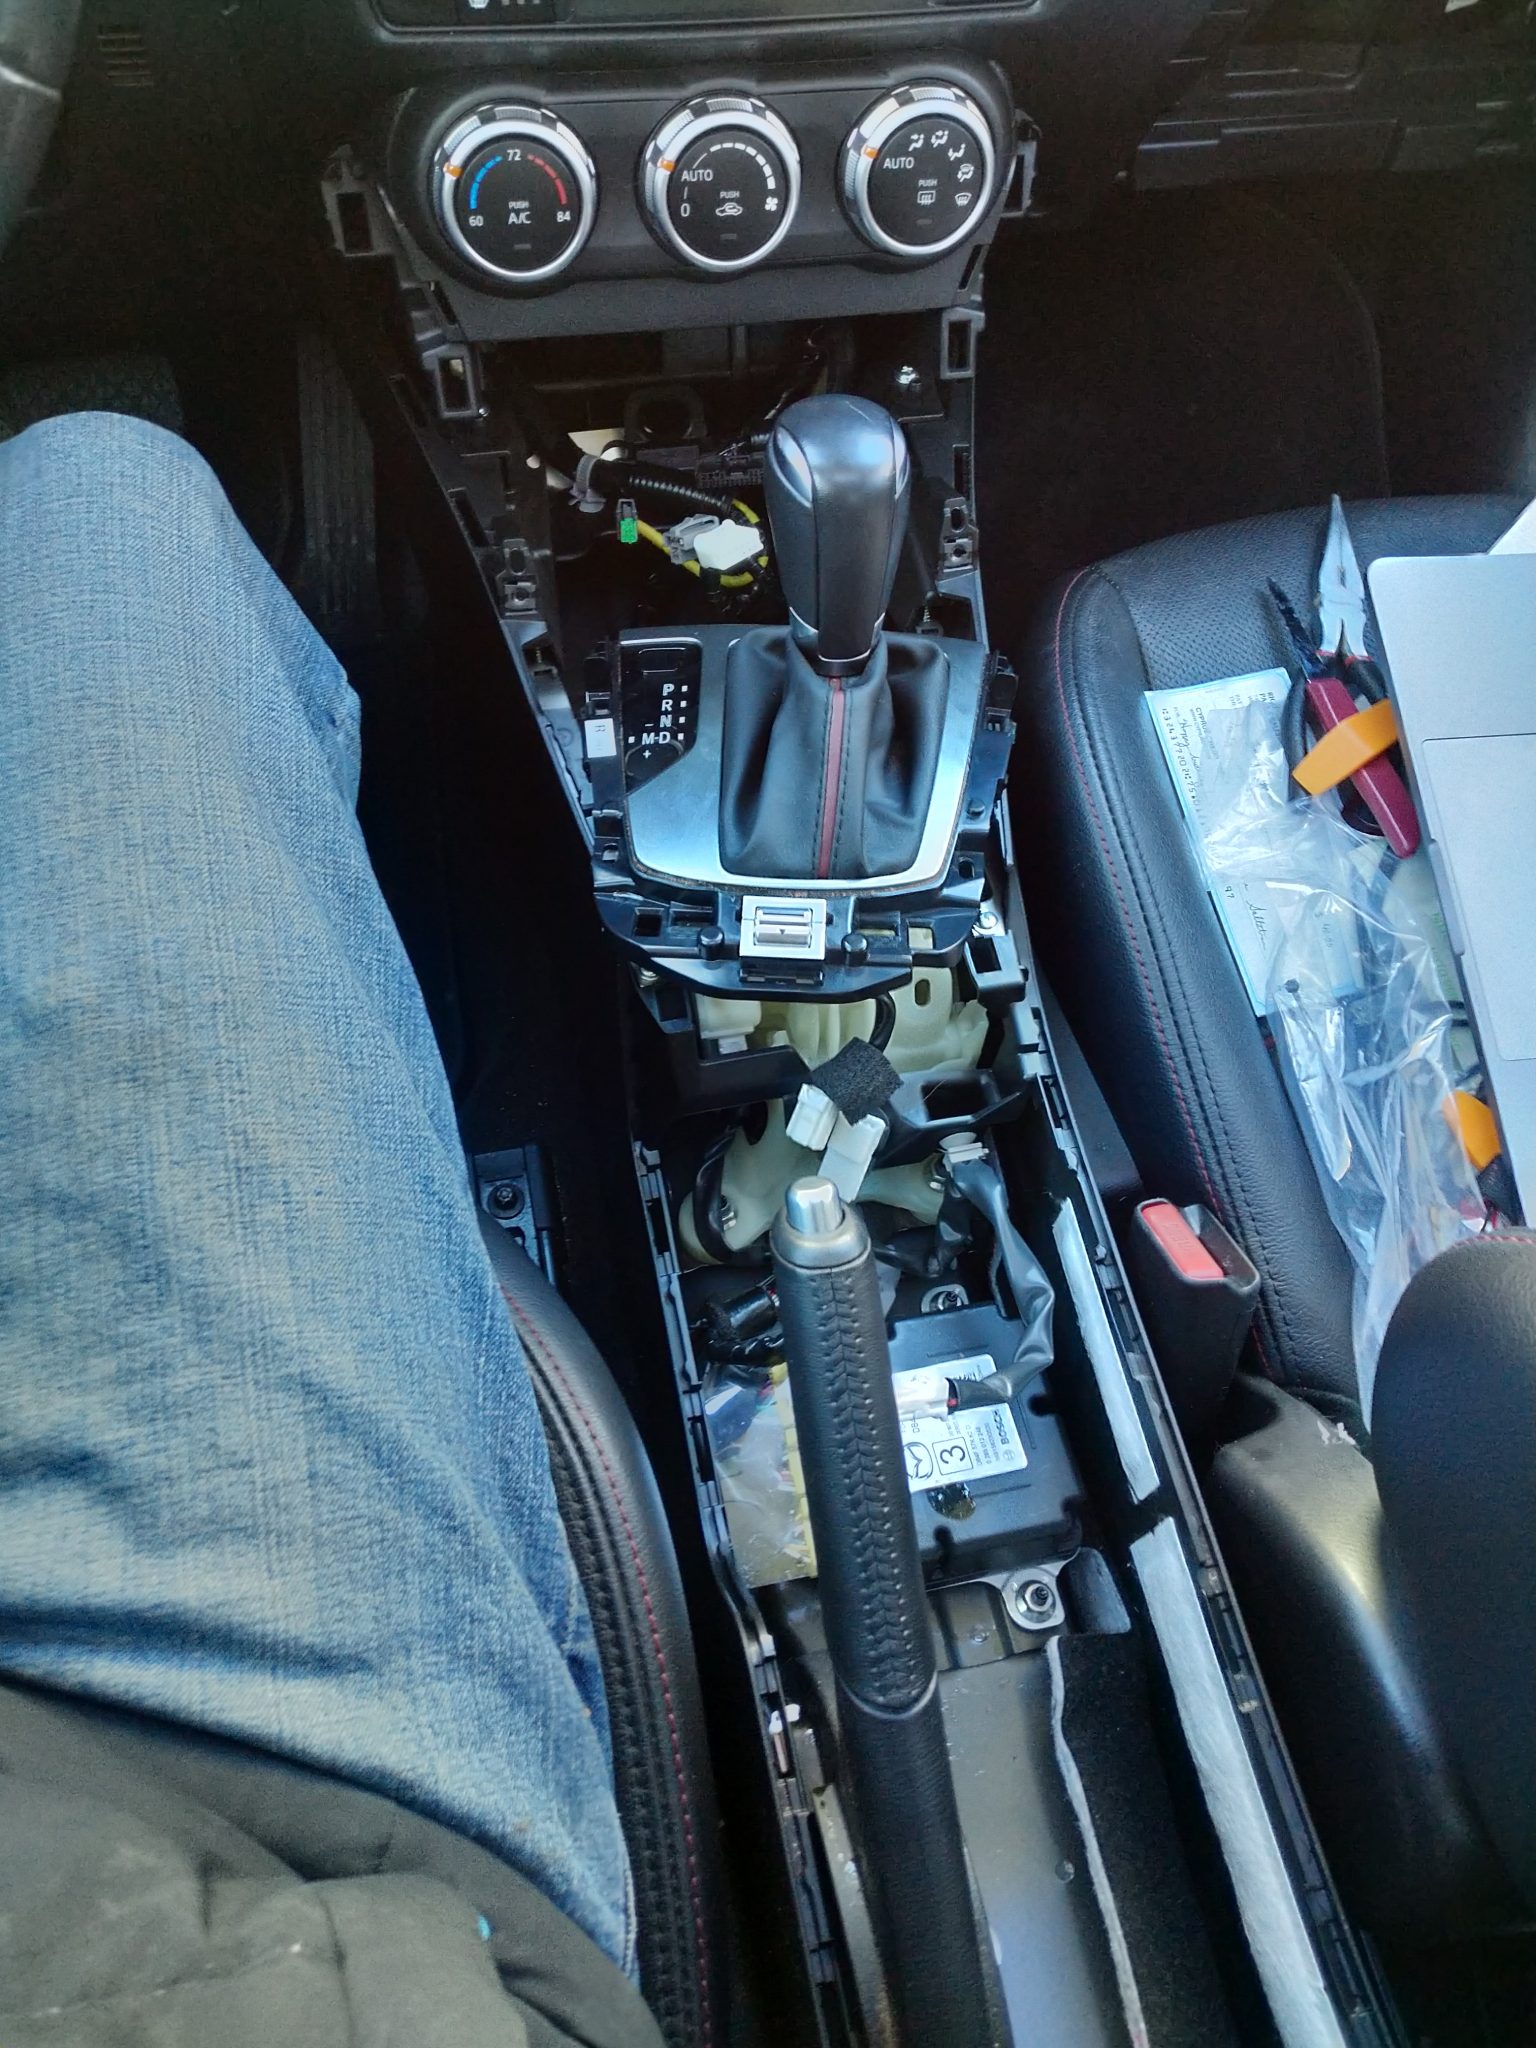
I just finished installing the Android Auto / Apple CarPlay retrofit kit into my 2016 Mazda CX-3 Grand Touring AWD. It’s sweet! The process to get it installed was a learning experience for me.
The CX-3 is not as popular as its bigger brother the CX-5 and therefore there wasn’t nearly as much information on how to do the retrofit. Of great help were various posts over at CX3 forum and this youtube video.
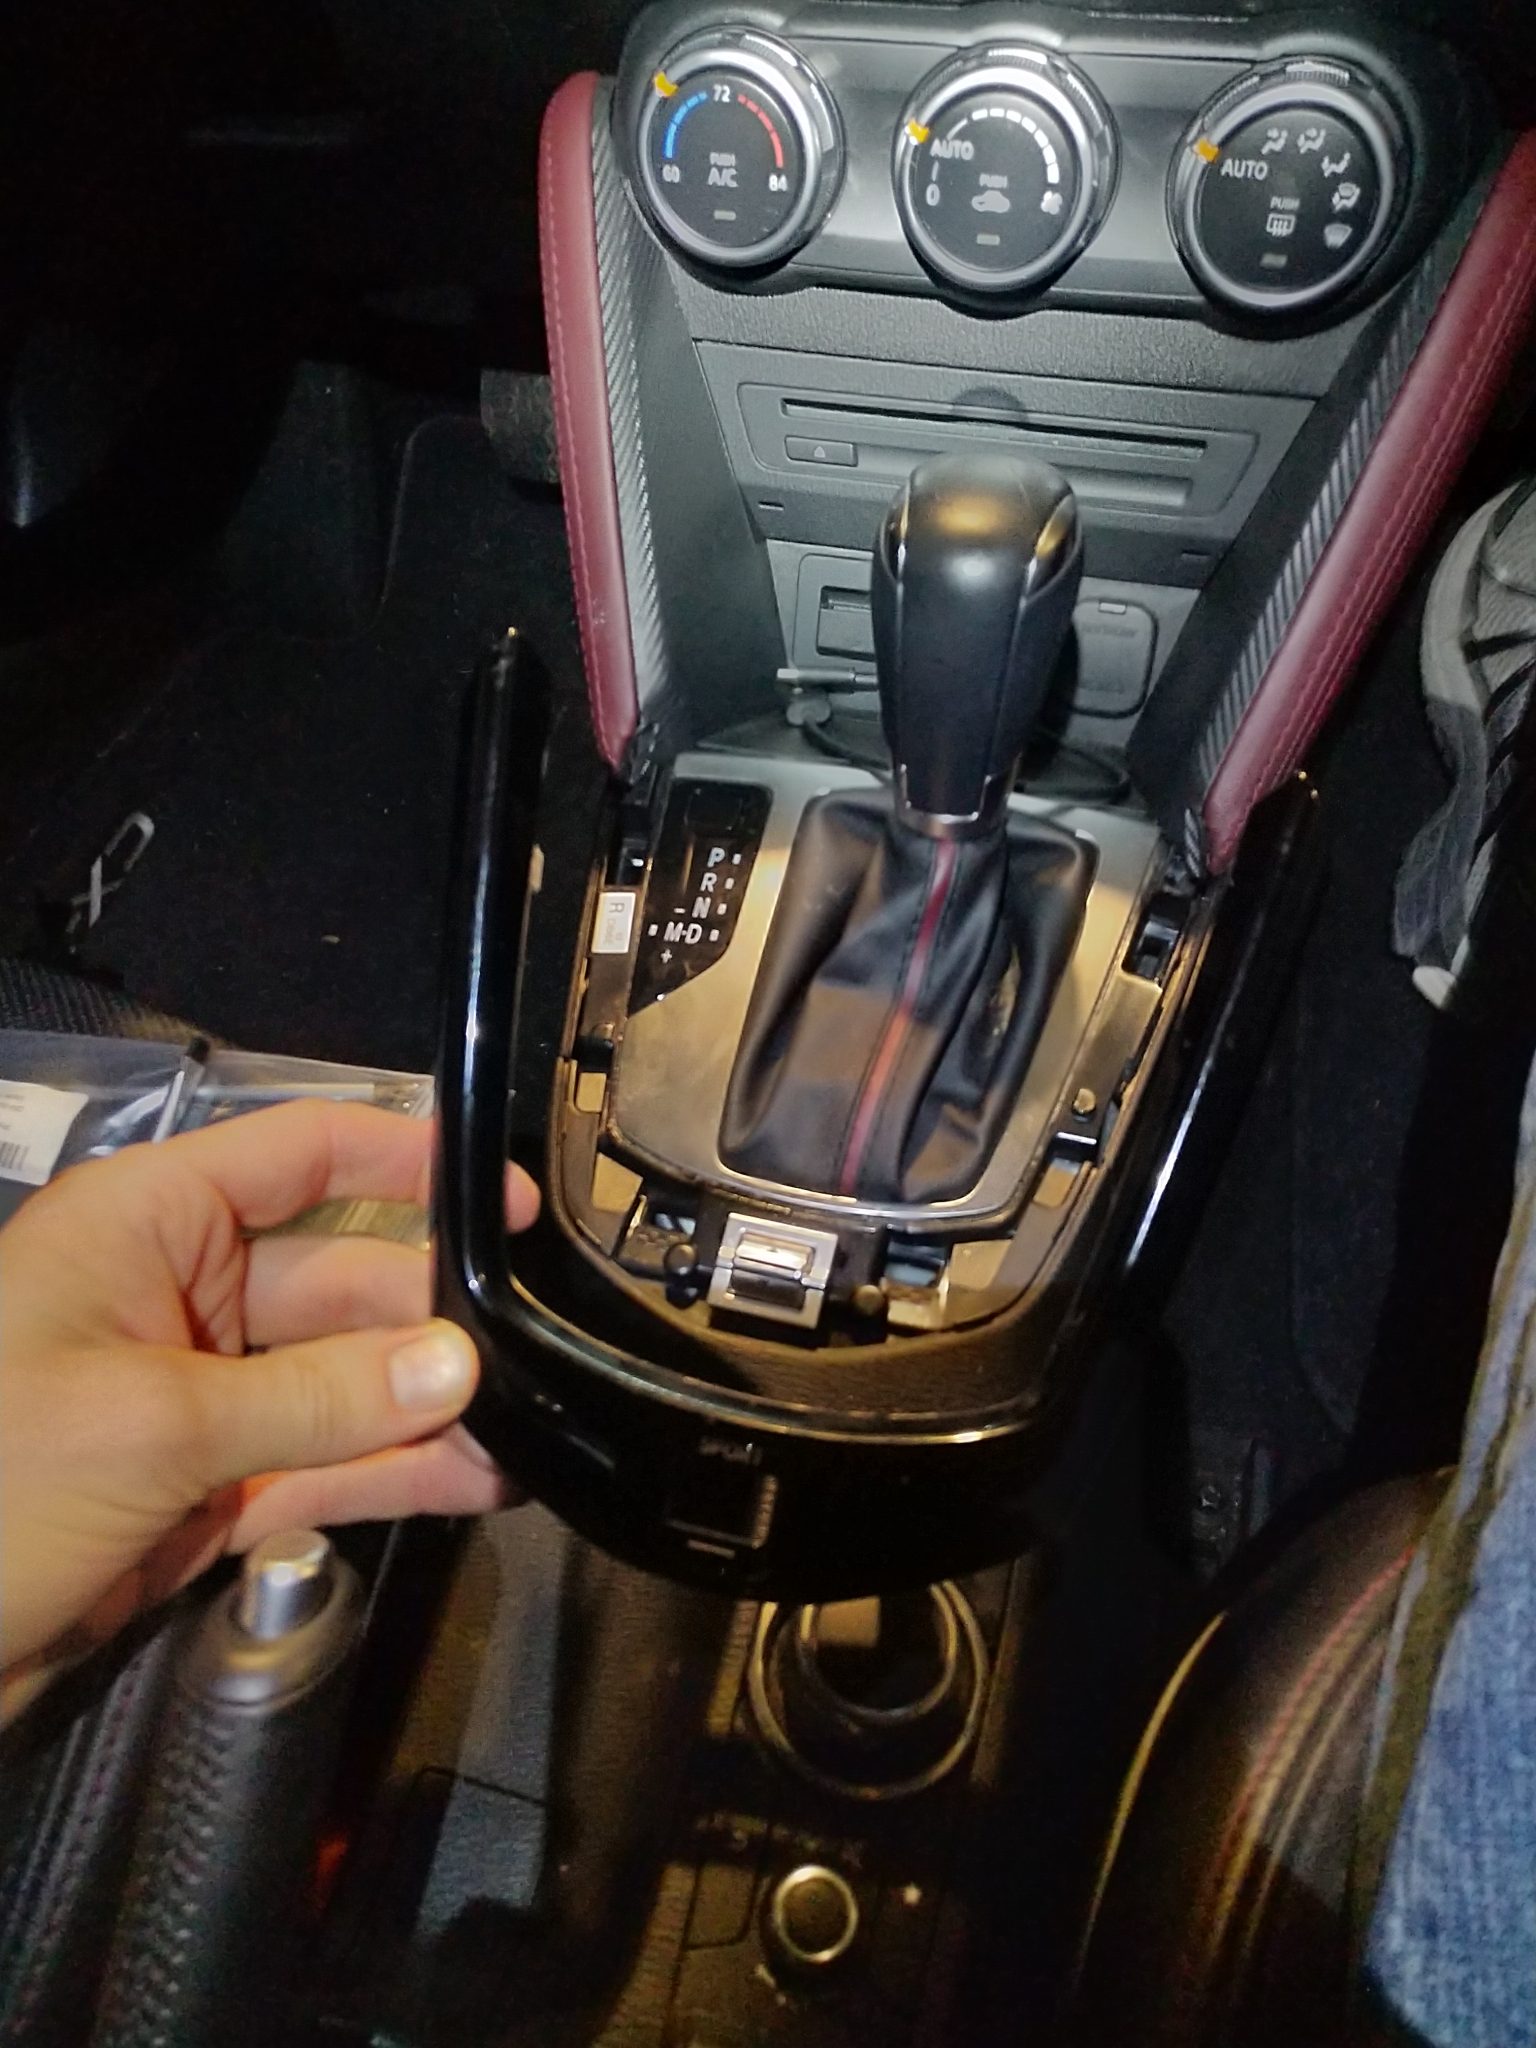
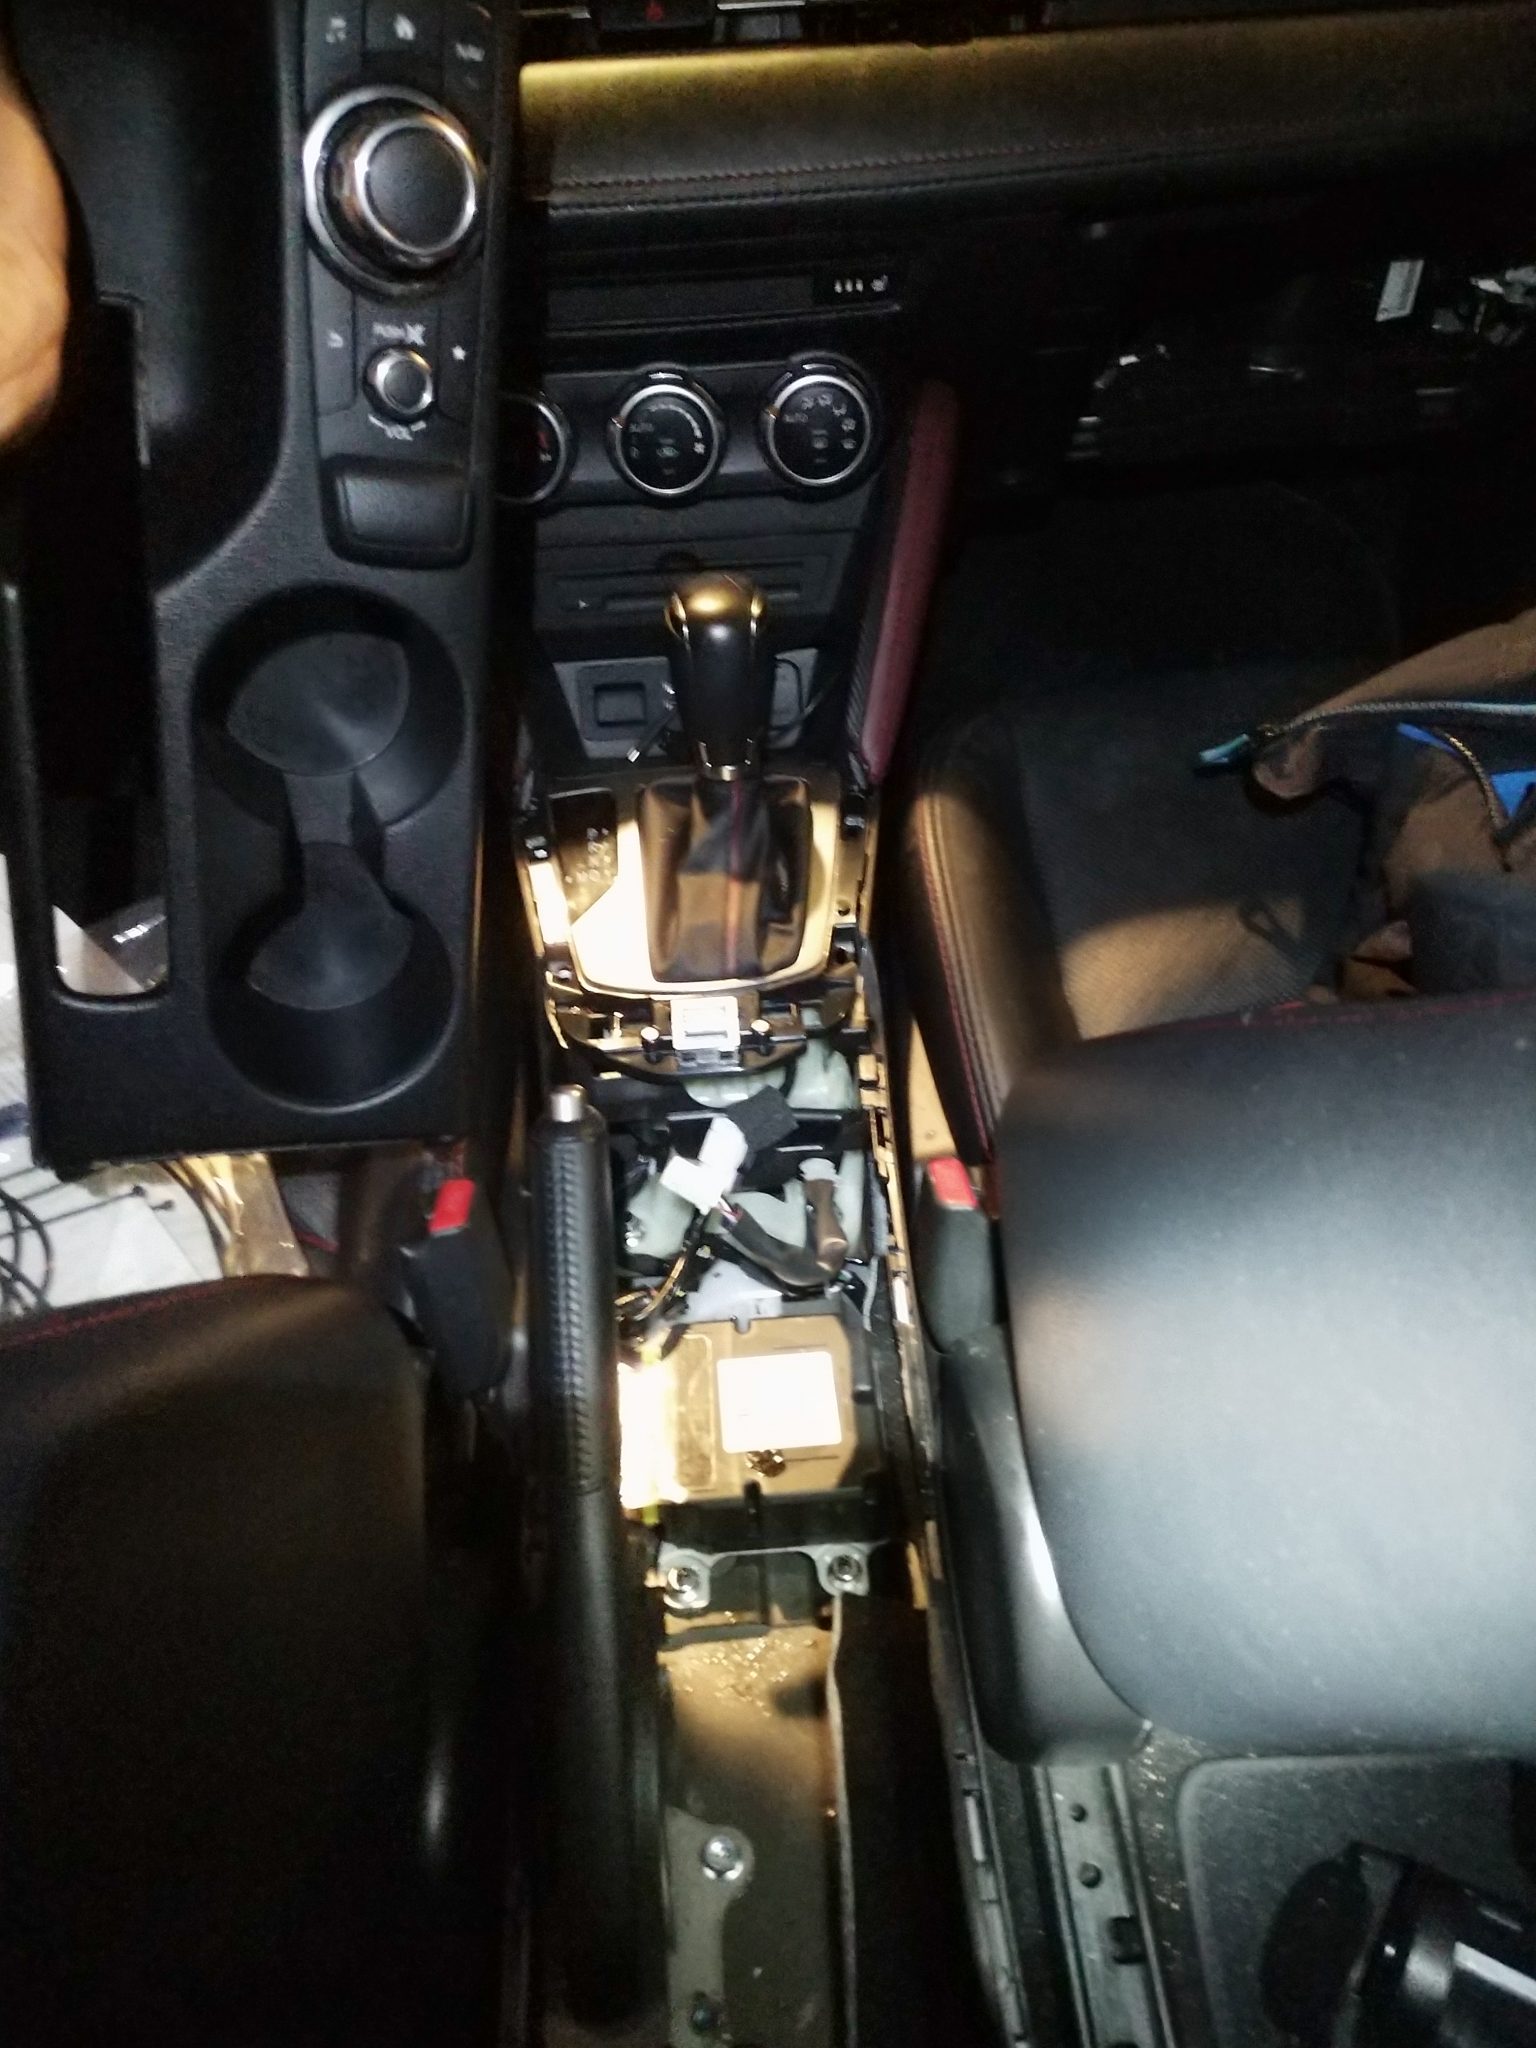
I didn’t want to undo the shift knob, so I just unplugged the panel and rotated the whole assembly to the side. It was enough for the installation – no removal required.
Removal keys were not easy to find. I ended up using two small cutting knives I found in my kitchen. Insert into keyholes, angle them slightly, and pull.